Brian Asbury from Crossroads Church in Roanoke, Virginia brings us this great mixture of mediums for a cohesive look.
The budget for this stage design was $300. They were somewhere around $250, but most of the materials had been previously purchased for other events and stage designs. The total cost of this setup is probably somewhere around $500 (not including LED’s).
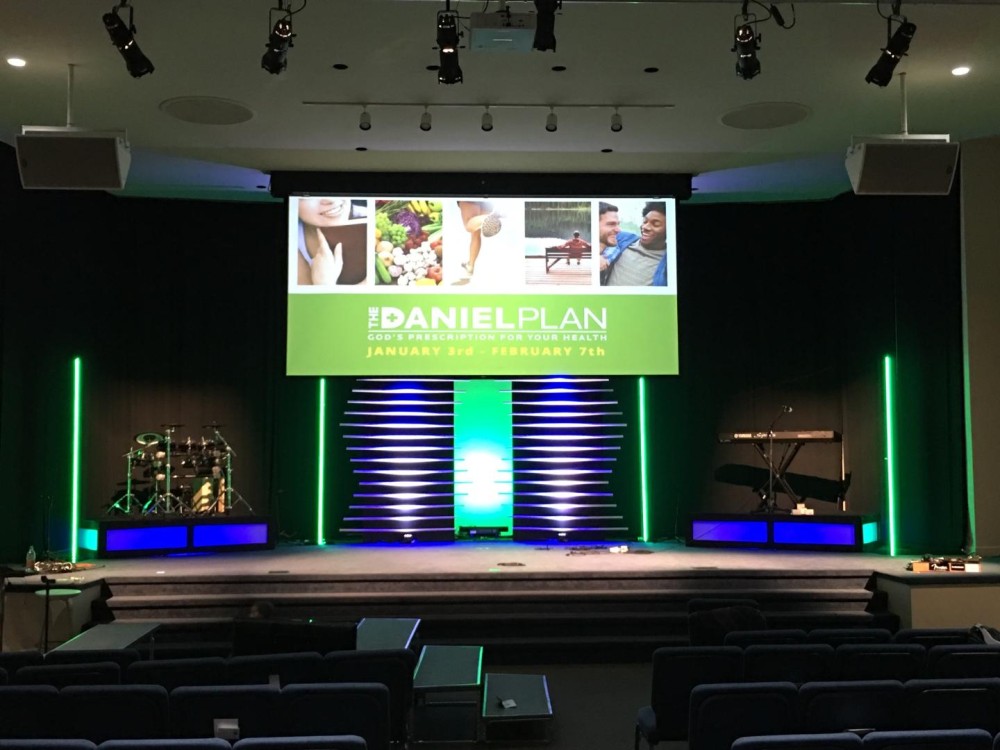
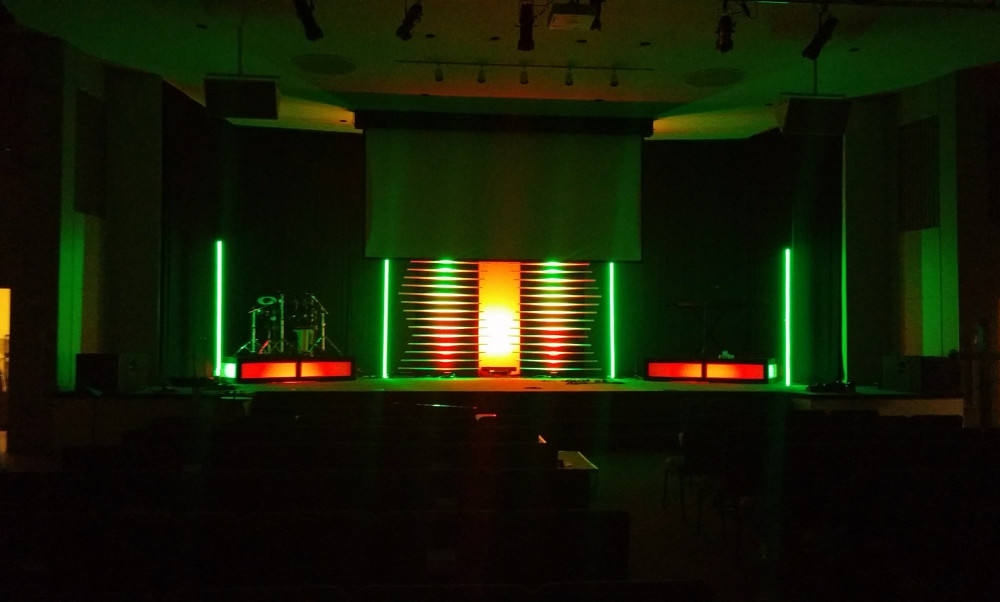
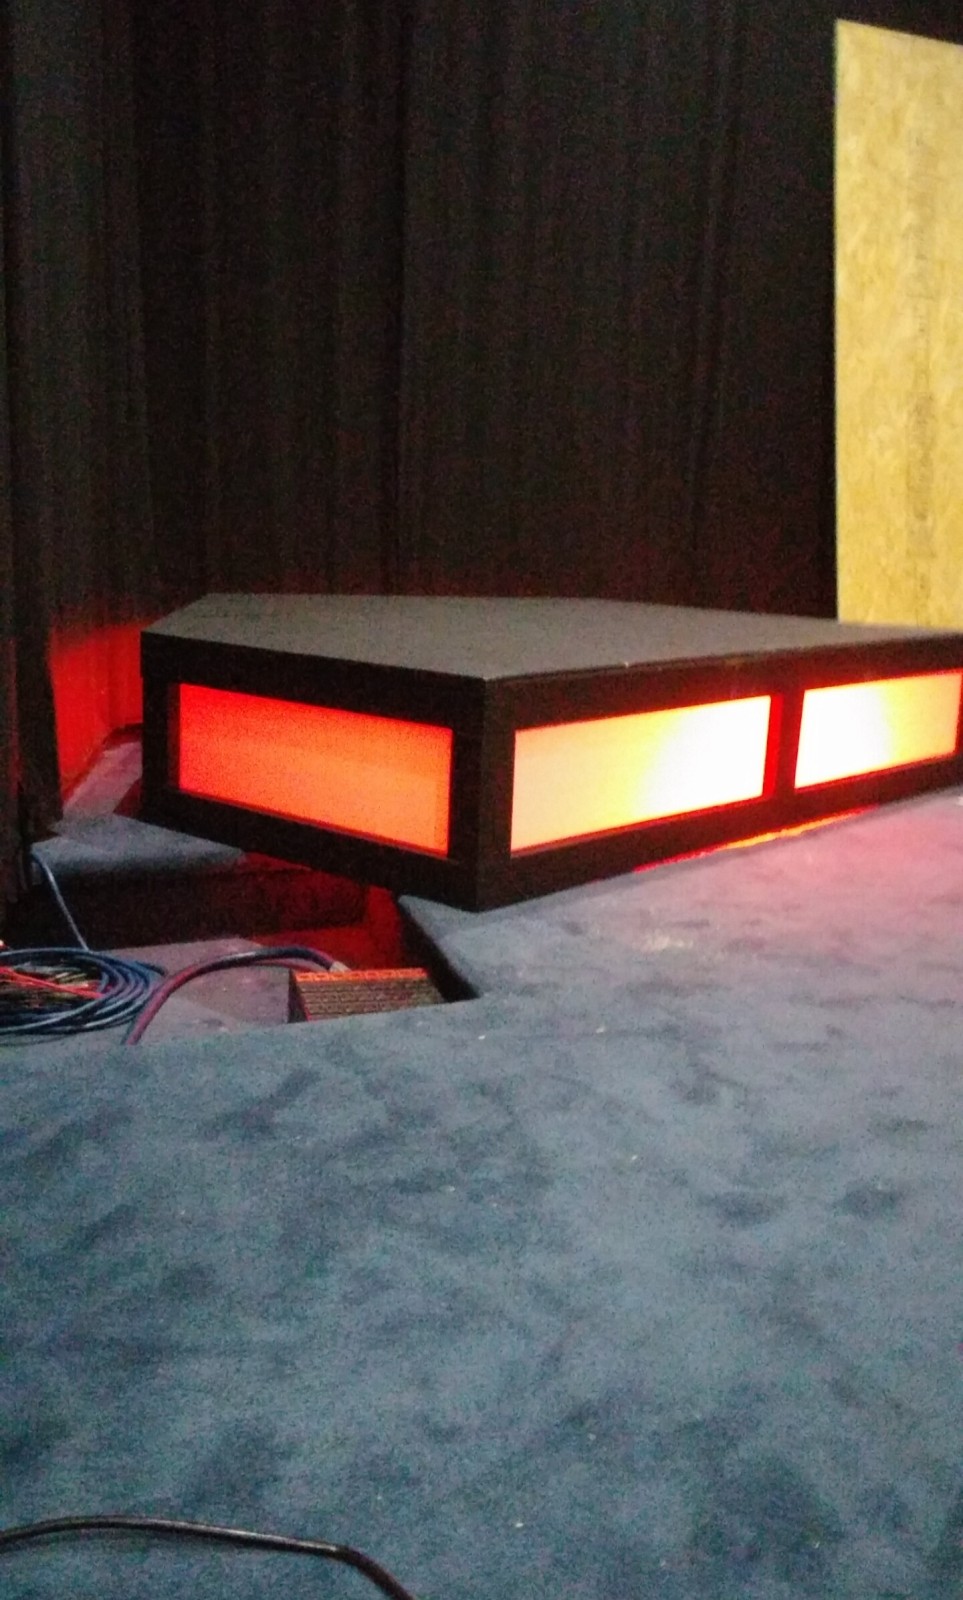
First they built the 16in high platforms for the drums and keyboard. This was put together to fit the size and shape of their stage. They used multiple 2×4’s for the frame and plywood for the top flooring and then painted the entire platform black. Obviously, the platforms needed to be firm and sturdy considering they were holding a drum set and drummer, not to mention all the force that comes with playing the drums. They based the platforms off of the same model used for building decks and porches. After the frame was built, they put white Coroplast on the inside of the frame and placed a Blizzard Hotstik (15 watt LED) under the platforms to allow them to have a cool effect and changeable lighting.
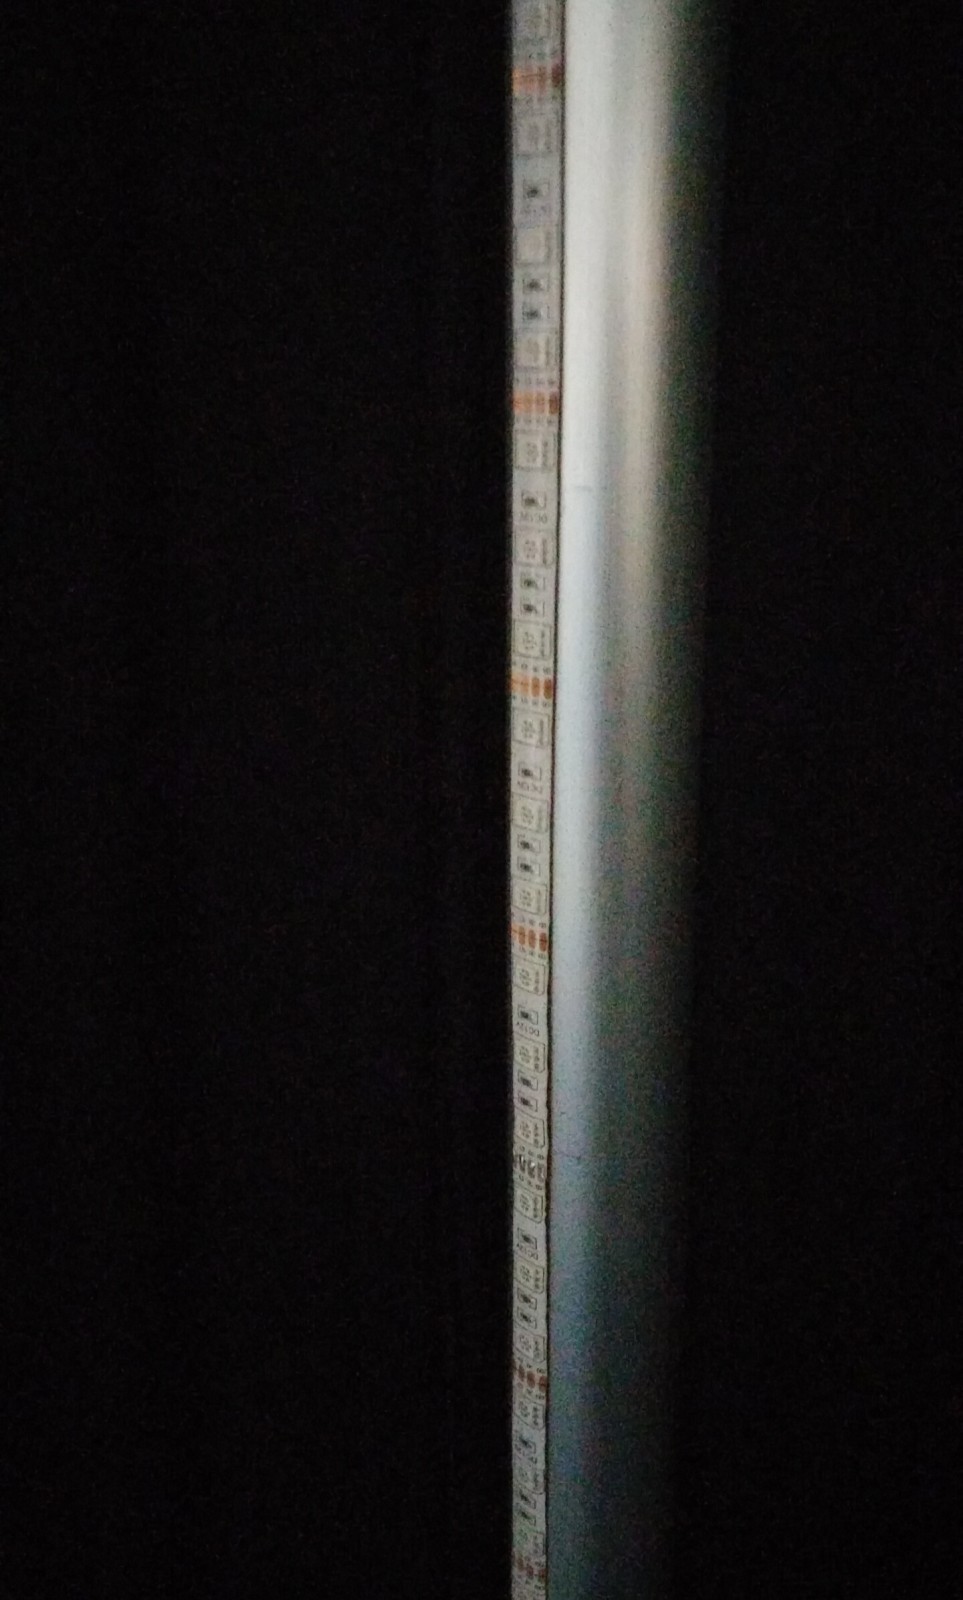
Next they put together the LED poles or pillars. These were very simple and inexpensive. For their purposes, they used an old pipe and drape frame and zip tied LED tape to the poles. The technical part comes into play with using the DMX converter to allow the LED tape to be controlled at a light board.
Here are the products they used:
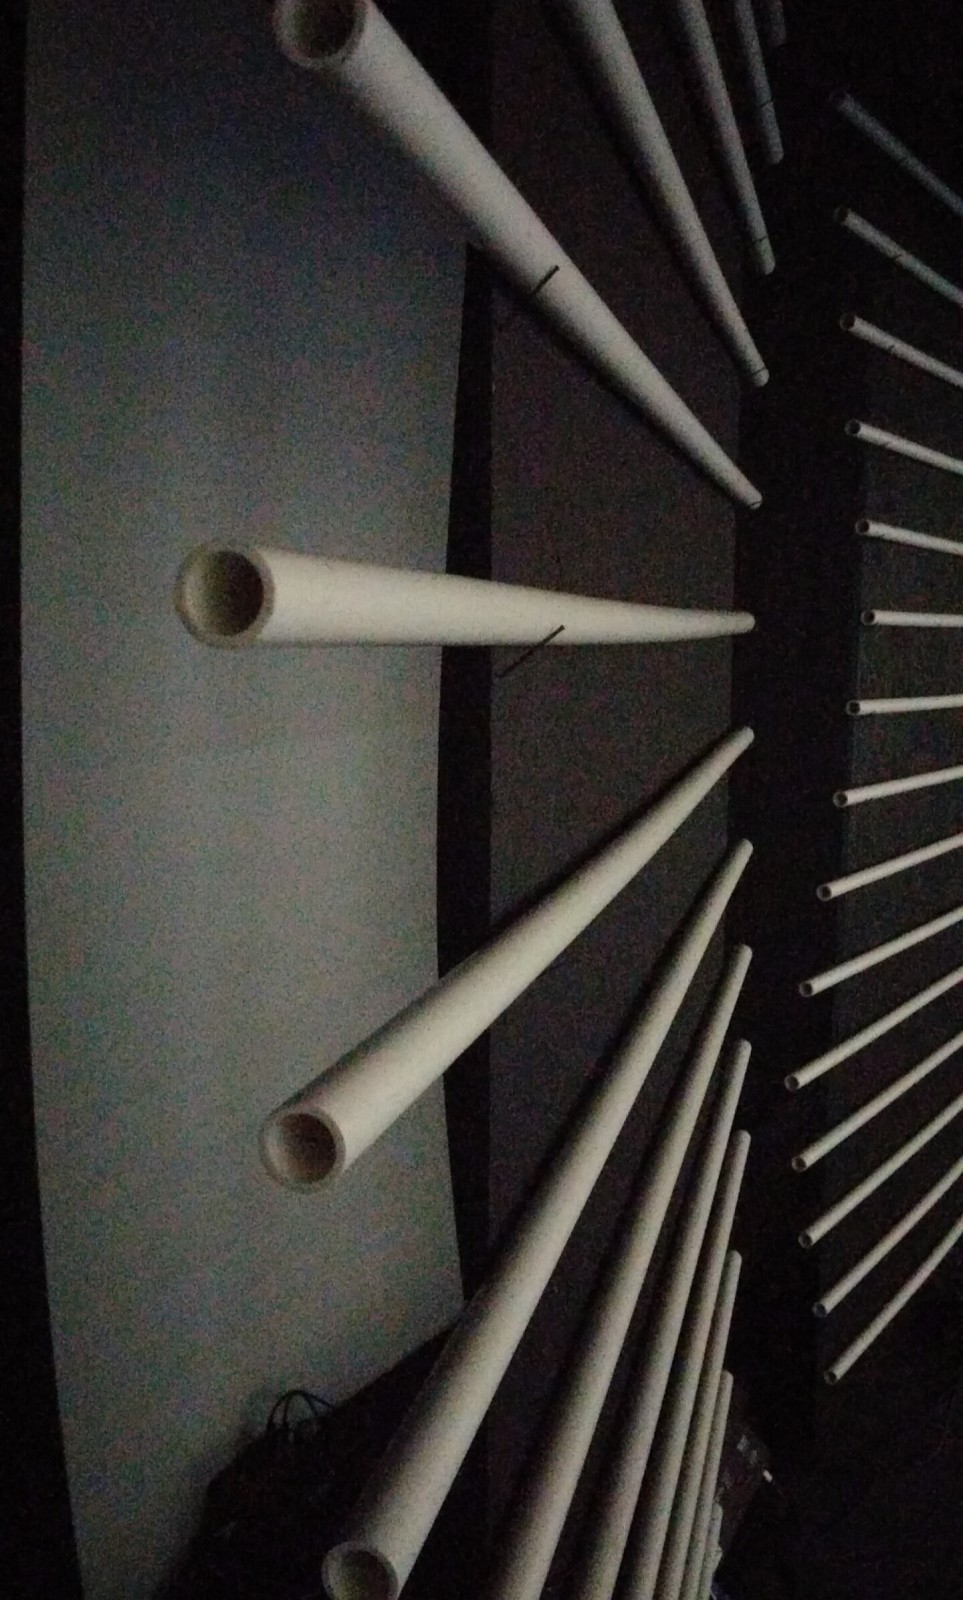
The center piece consisted of the following items: two 4ftx8ft sheets of plywood, sixteen 10ft PVC pipes, one sheet of 4ftx8ft white Coroplast, one Blizzard Hotstik LED light and four Blizzard HotBox LED lights. For this section of the stage, they created a very simple, time saving design. They painted both sheets of plywood a solid black and then hammered in nails on both sides about halfway through the wood and angled the nails upward. The nails were six inches apart from top to bottom. After that was completed, they cut the PVC pipe in half (5ft) and rested the PVC pipe on the nails in the plywood. Then they placed the plywood on the center stage about 3 feet apart and about 5 feet from the very back of the stage. Then they put the plain, white sheet of Coroplast behind and in between the two sheets of plywood and shined an LED on it to give it a cool effect (Coroplast reflects like really well). Then they placed two LED Hotbox’s on the top of the plywood shining down and two on the floor shining up. This allowed for a cool effect with the colors intersecting on the PVC pipe.
The platforms took about 18 man hours to complete while the LED pillars and the entire center piece took about 6 man hours to complete.





Loving your creative stage effects! The pvc pipe design is my favorite. What is the diameter pvc pipe you are using? Thanks for sharing……
Is the power supply you used able to power more than 16′ of LED tape?
What kind of lighting controller are you using?