


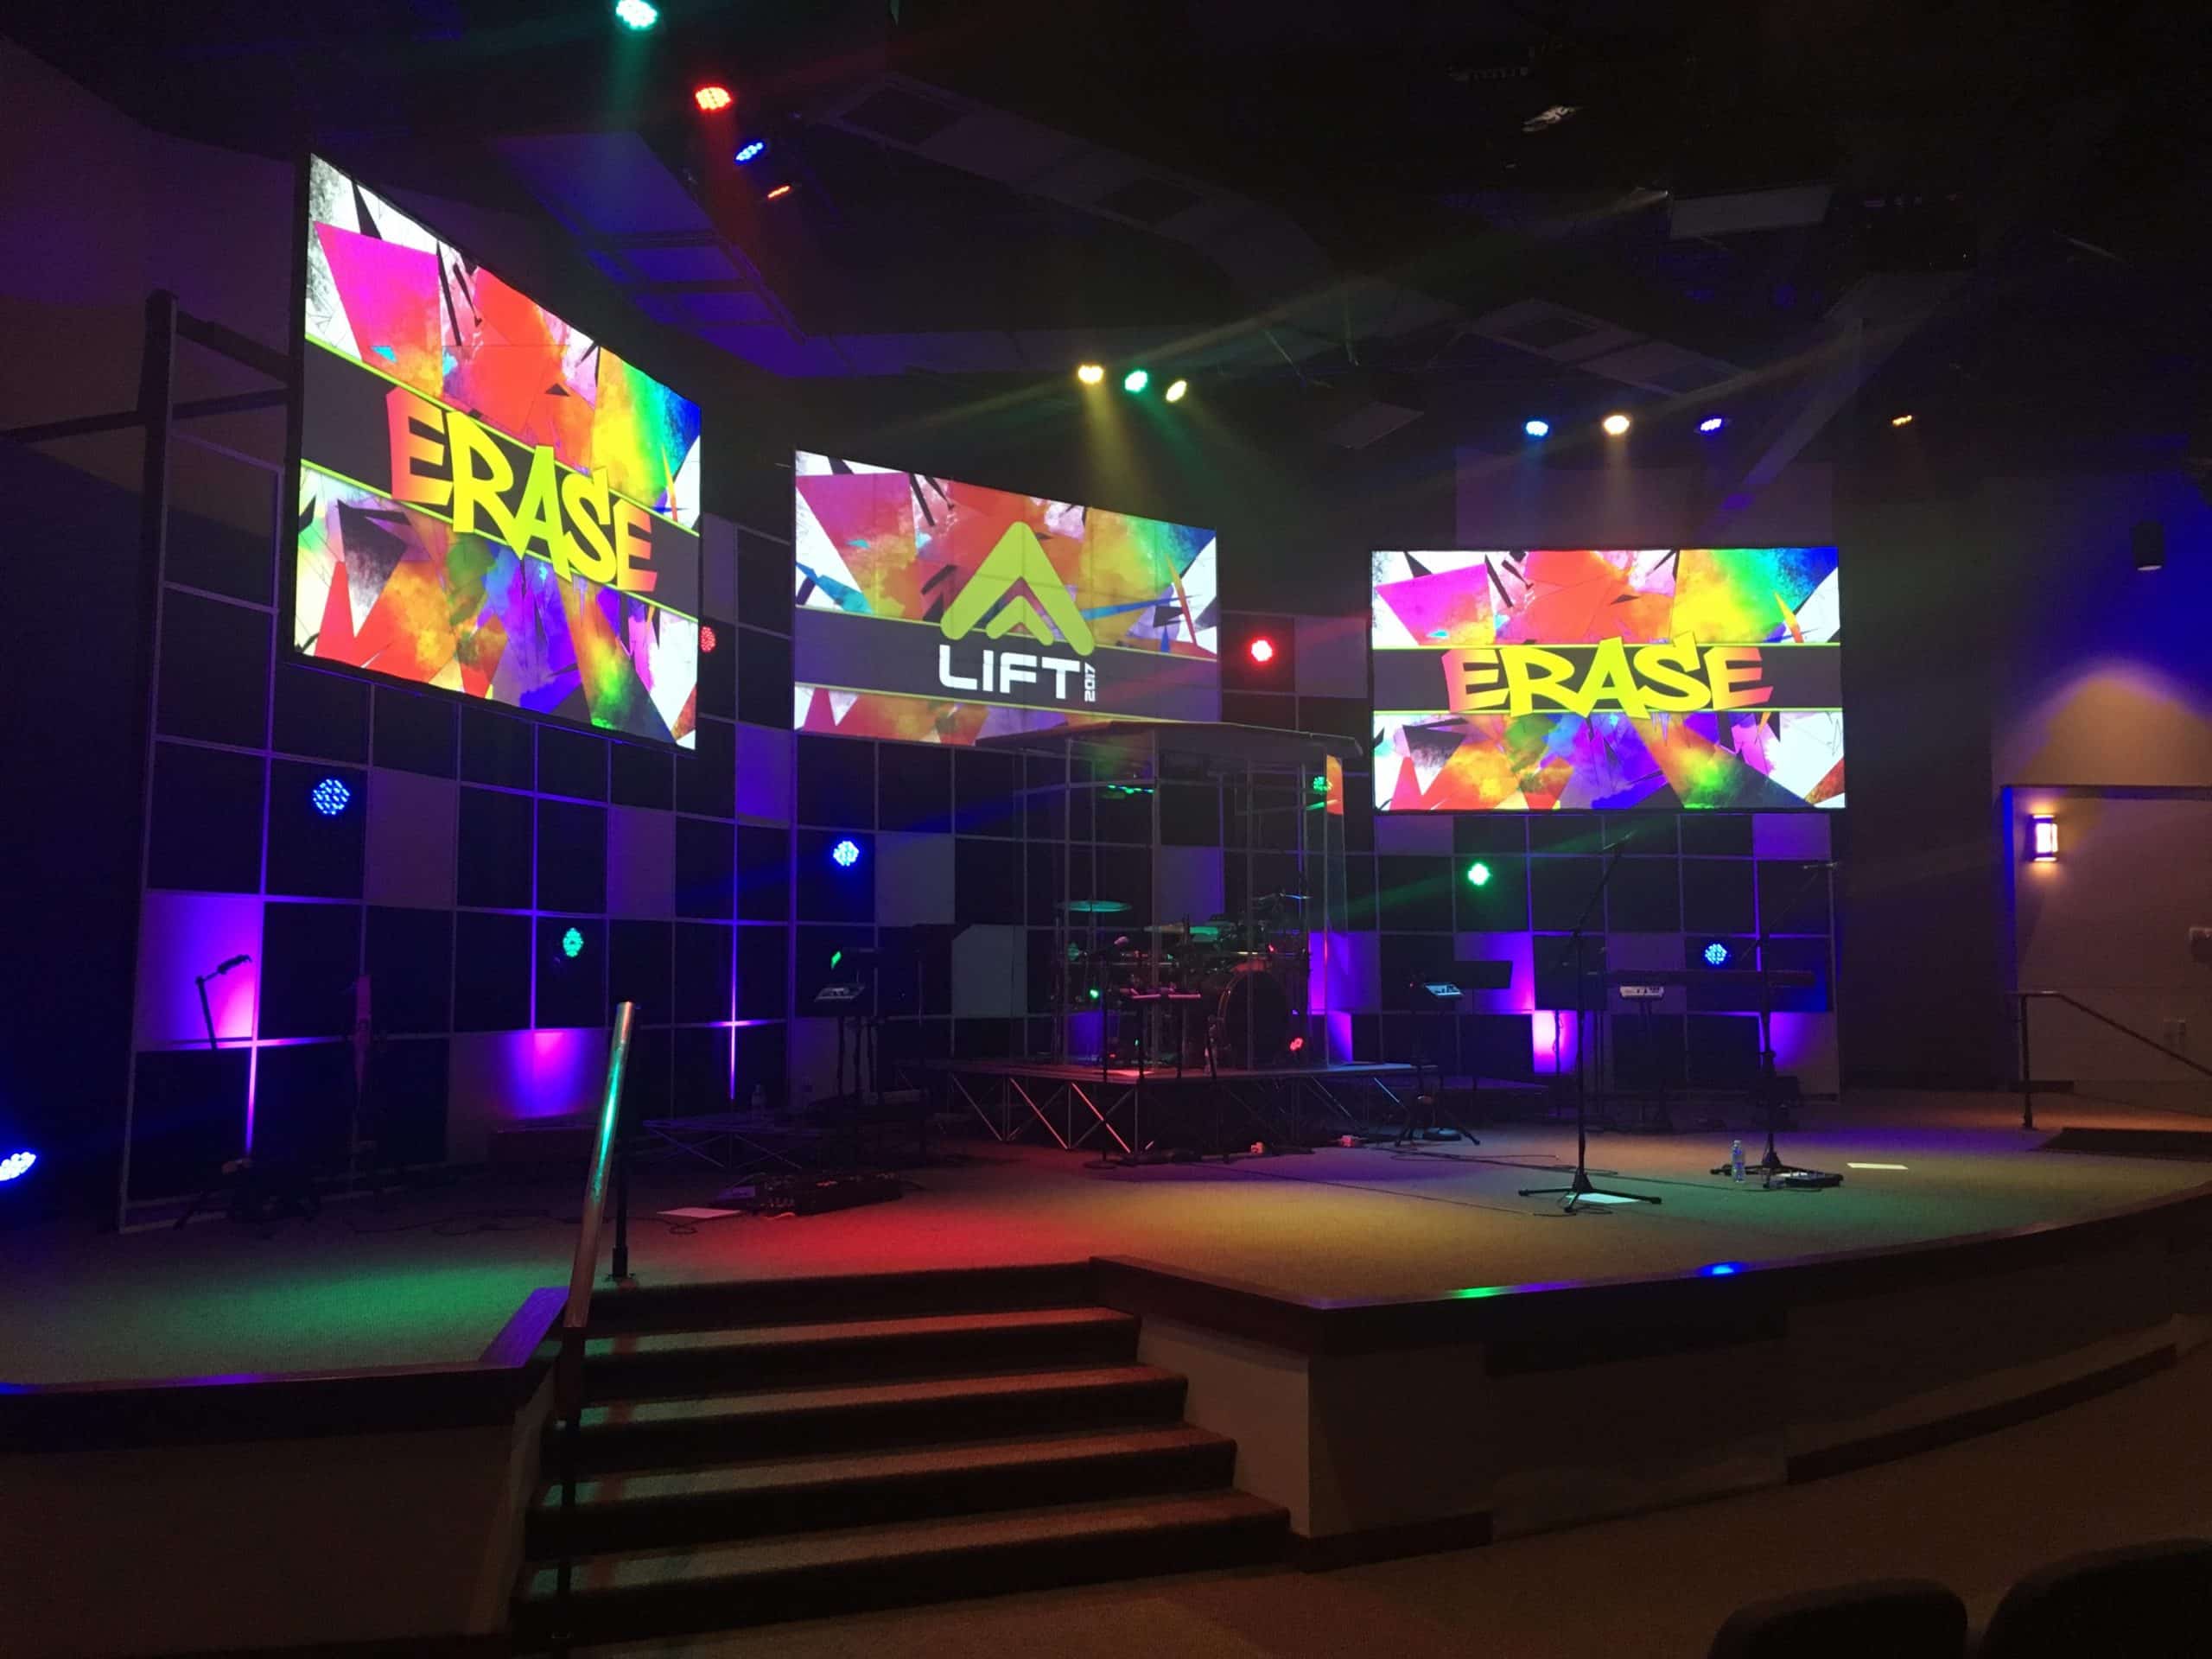
Mark Zuiderveen from Harvest Bible Chapel in Davenport, IA brings us this ceiling grid stage design.
From Mark: This stage build was for our in-house youth retreat for our Jr. High & High School students called LIFT 2017. I got this design idea while looking through various stage designs from tours and conference on Pintrest – and liked the grid pattern I saw.
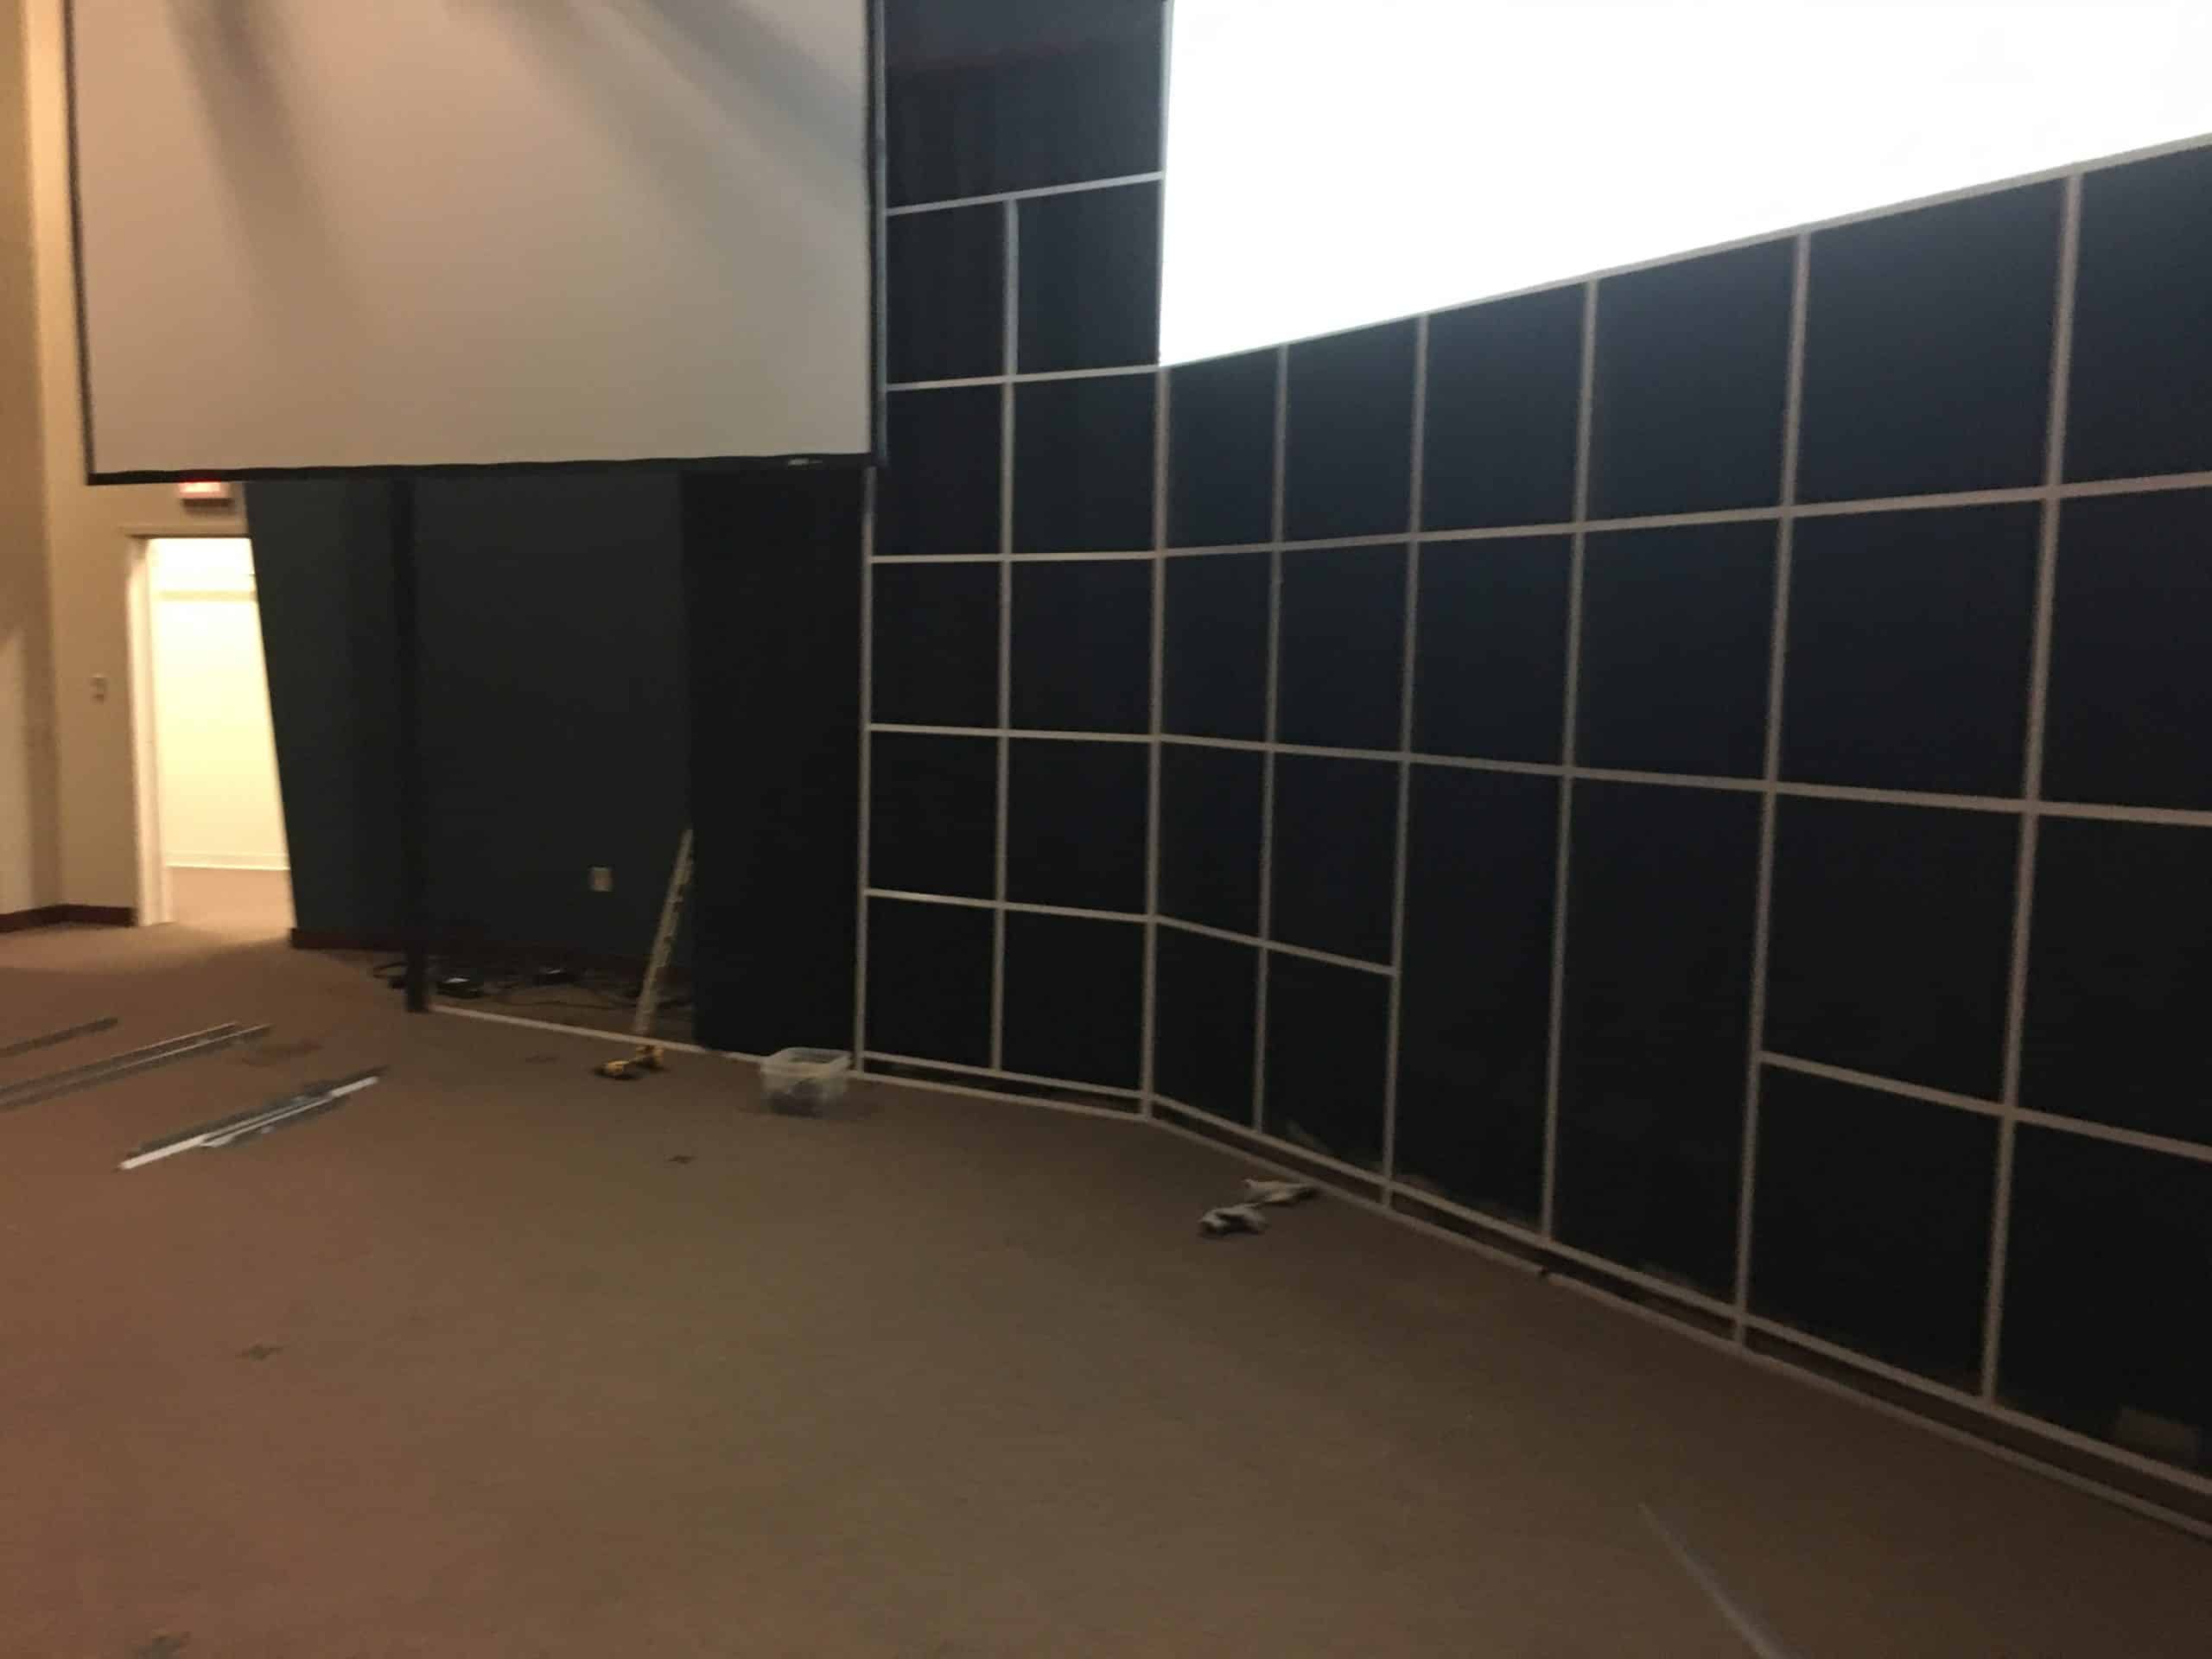
With my construction background, I thought the concert picture looked a lot like a ceiling tile grid on it’s side and with a print-out of my stage dimensions, I started measuring to see if the standard ceiling grid dimensions could work on our stage.
Additionally, our Production Coordinator – Zach McMeen brought up the suggestion of using a spare projector for a center screen, something we had talked about doing for a while and this design allowed for it.
Since we didn’t have a 3rd screen, we modified the standard 12′ high Main Tees of the ceiling grid to go up an additional 4 feet, allowing us to make a “screen” by putting ceiling tiles into the top grids of the structure, and still keeping the drum kit on risers below it.
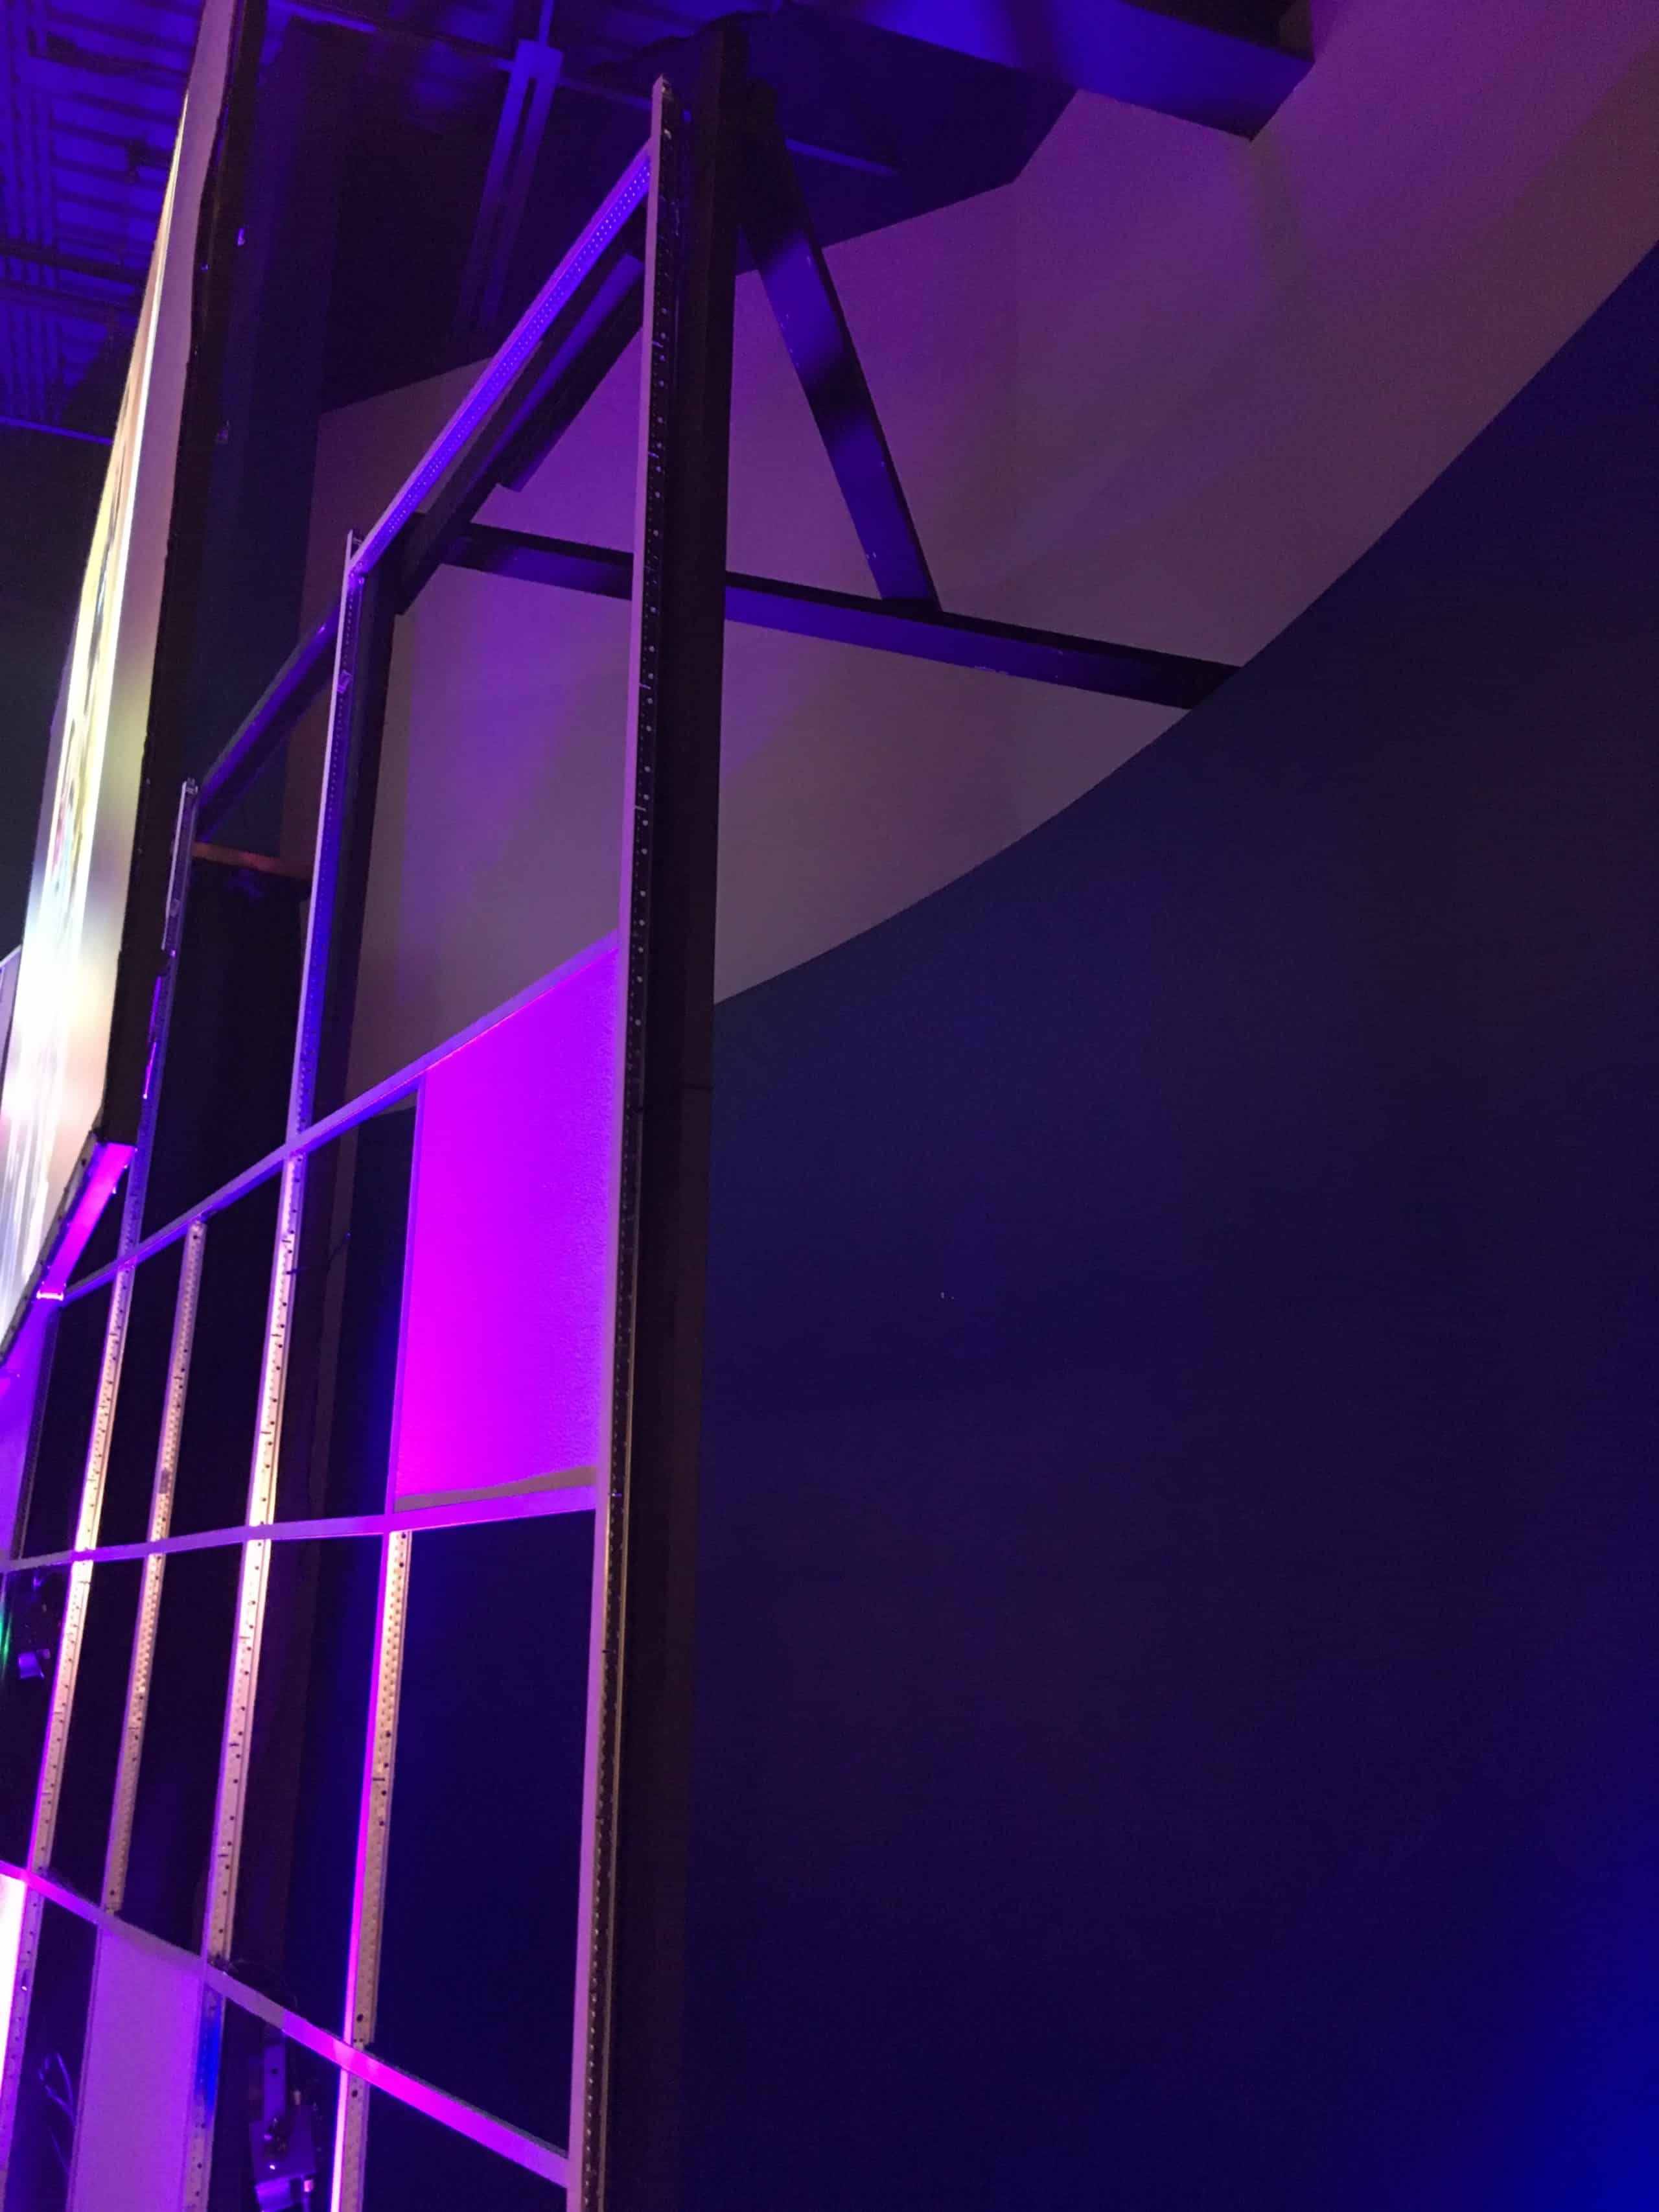
The first step of the build was hanging a black backdrop to make the stone walls on our stage disappear. We then built a 2×4 “super structure” to support the ceiling tile grid – with 2x4x12′ supports placed in the location of the Main support Tees of the ceiling grid. We would eventually tie off the 12′ Main Tees to these 2×4’s using black Tie Line, and then bring down additional tie lines from our roof trussing.
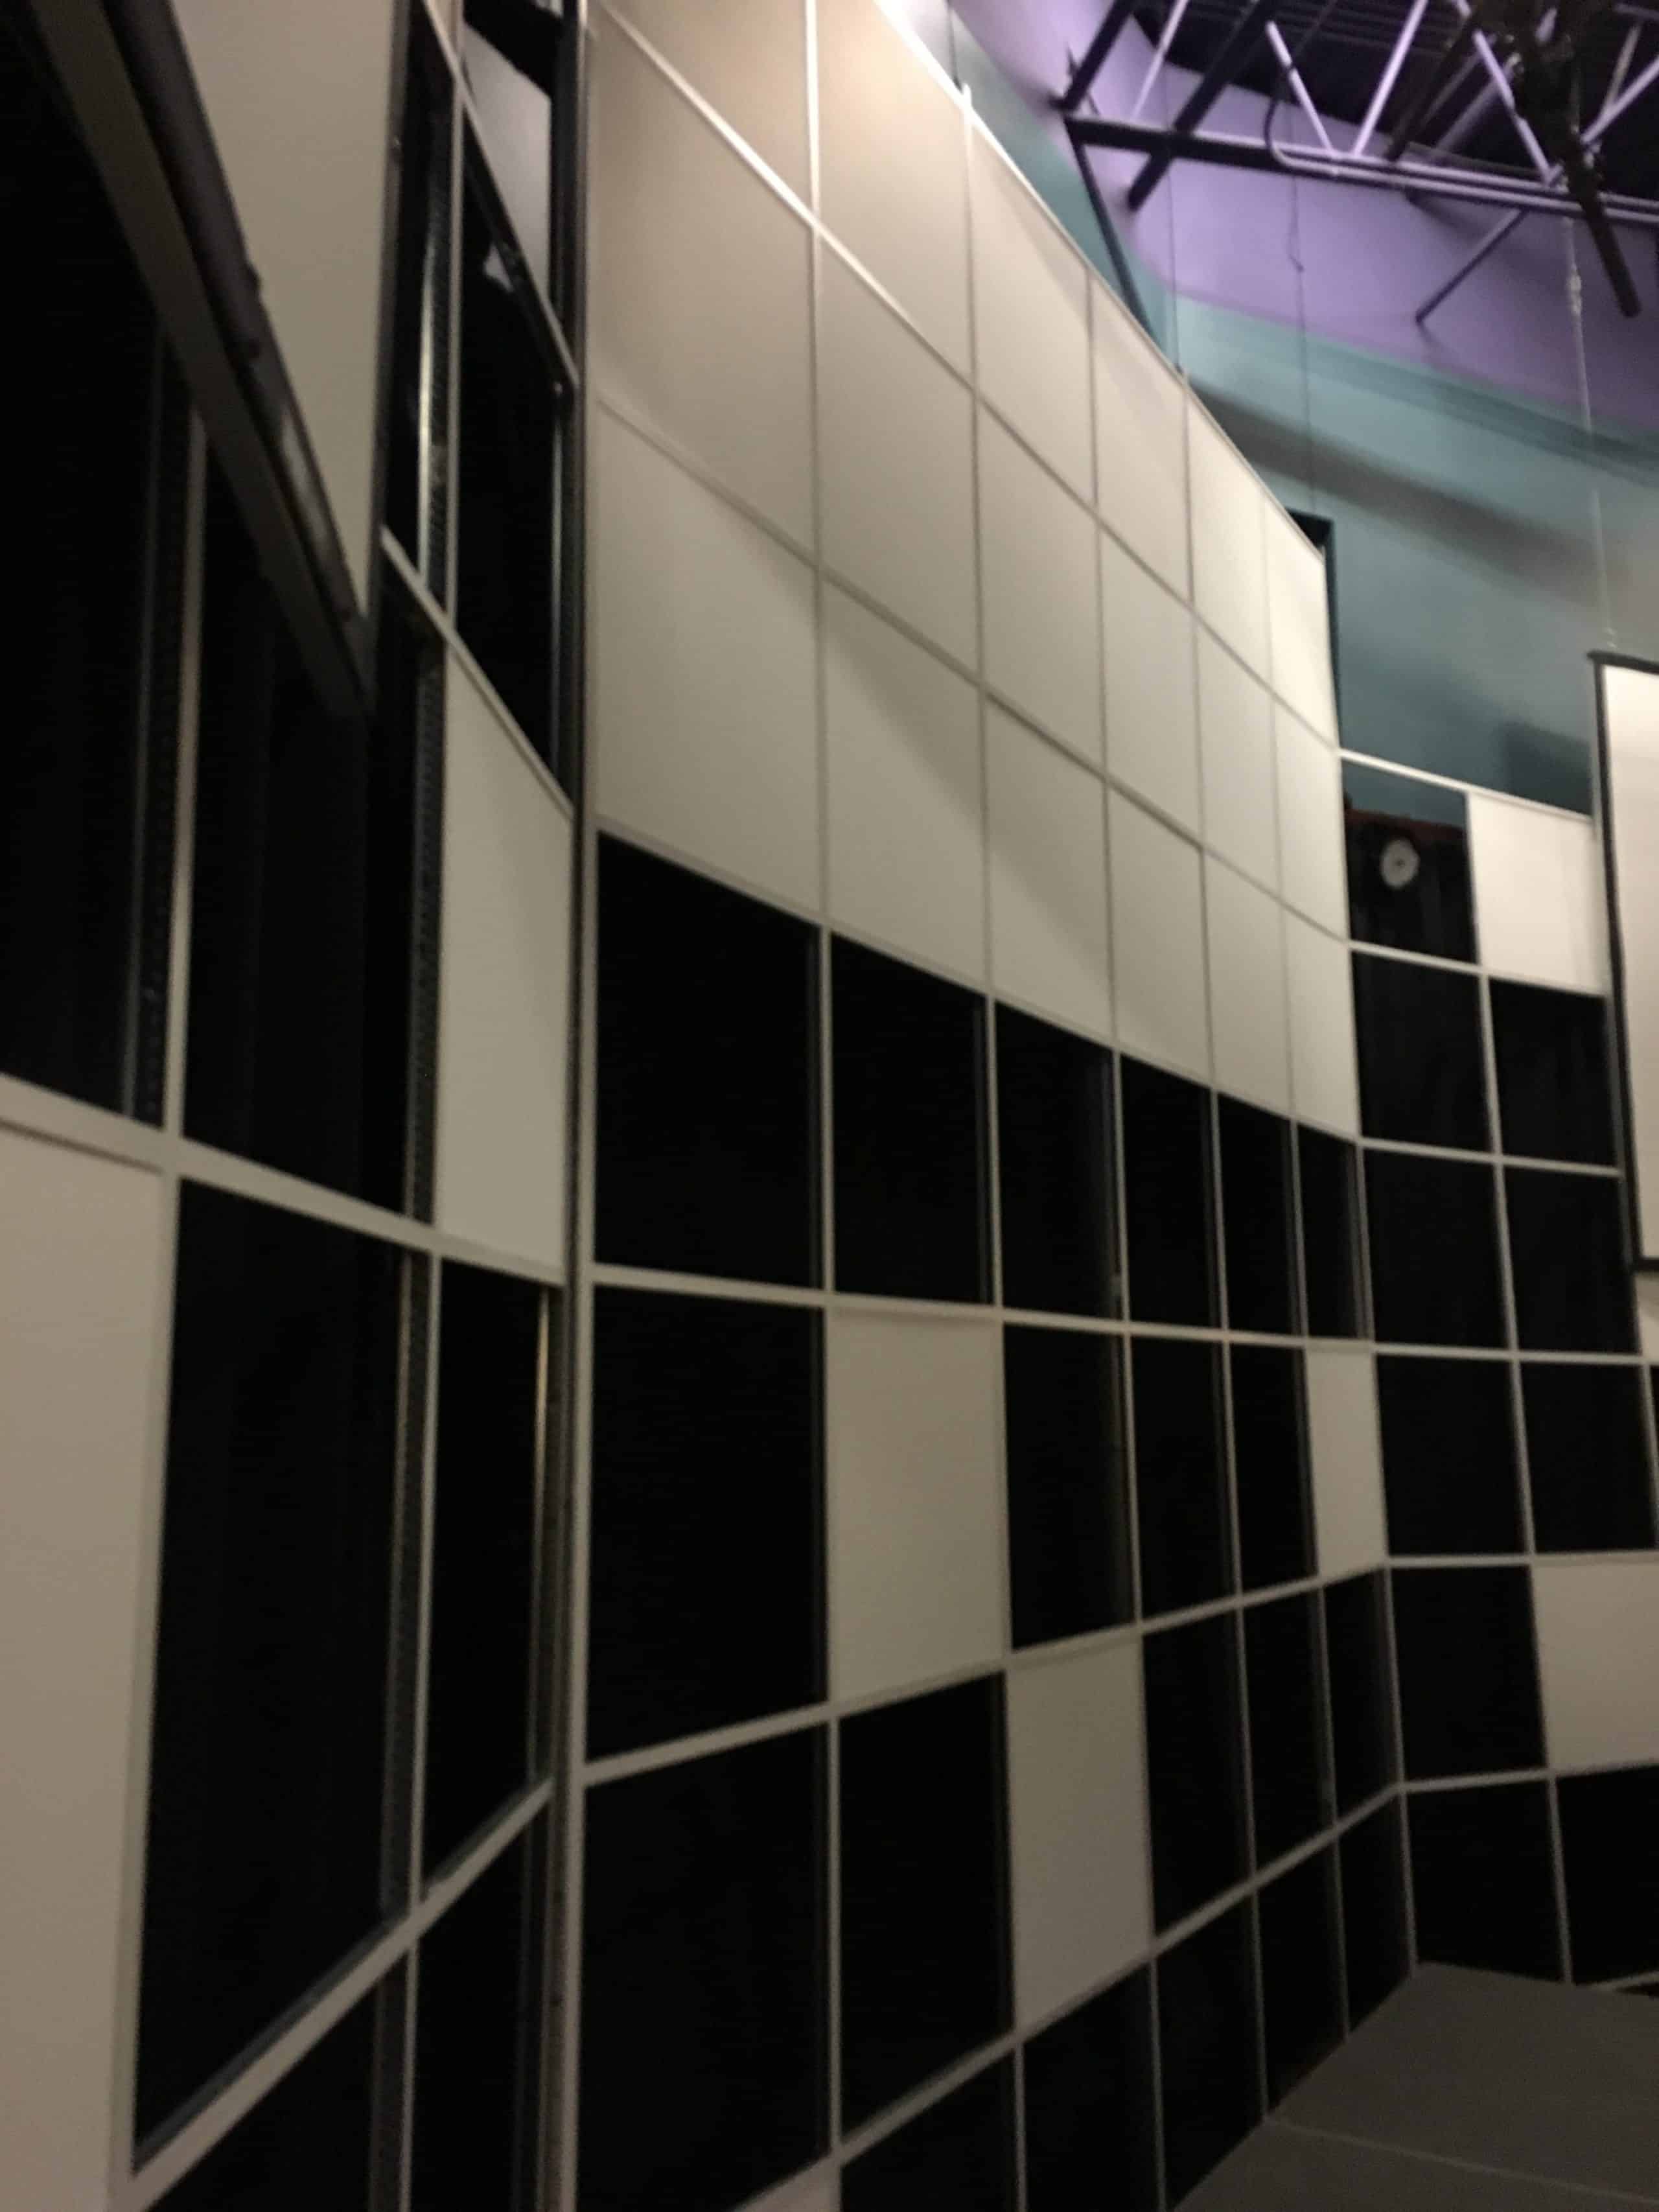
We built the 4′ x 12′ and 4′ x 16′ ceiling grid sections on the ground, then raised them and put the connecting 4′ Tees and 2′ Tees in between those sections. The ceiling tiles were initially put into the grid on the ground of the first sections, but those proved pretty difficult to raise in place with all the weight at the top, so the rest of the tiles we put in while the structure fully assembled.
Each 12′ Main Tee rested in a Main Tee bottom section on the ground so the tabs wouldn’t bend over, or we wouldn’t have to cut them off (so we could re-use the ceiling grid at a future date). The solid white ceiling tiles were screwed in using 1 1/4″ drywall screws that went through the grid, into the sides of the tiles (usually on all 4 sides for safety).
Once the main grid was assembled we then randomly placed 2’x2′ ceiling tiles into holes to fill in the look. We used American DJ Mega Par lights tied to the ceiling grid to do grid lighting, while using 6 – Elation Design LED 36 Tri-Bricks to light the grid structure itself. Hazing was provided by an American DJ Haze Generator (a great, affordable alternative to a DF-50).
The whole set took about 10 hours to build with 2 people (we had to figure some stuff out as we went), and another 6 hours to take down. Here’s our supply list:
- 14 – 12′ Main Tees
- 80 – 4′ Tees
- 60 – 2′ Tees
- 36 – Ceiling Tile Panels
- 14 – 2x4x12′
- 1 box – 3″ wood screws
- 1 box – 1 1/4″ drywall screws
Total Cost for materials – $500 (not including lighting)


Excellent job and execution! Every time I walk by the ceiling grid aisle at my local Home Depot I get ideas turning in my head. Finally a stage design that helps me to bring the idea home. We will look to incorporate some of this in a stage design later this year. Great job Mark and Team!
Do you have a picture of your “Super Structure” 2×4 frame that your ceiling structure was supported? Also what is the total square footage of your entire design? Thanks