


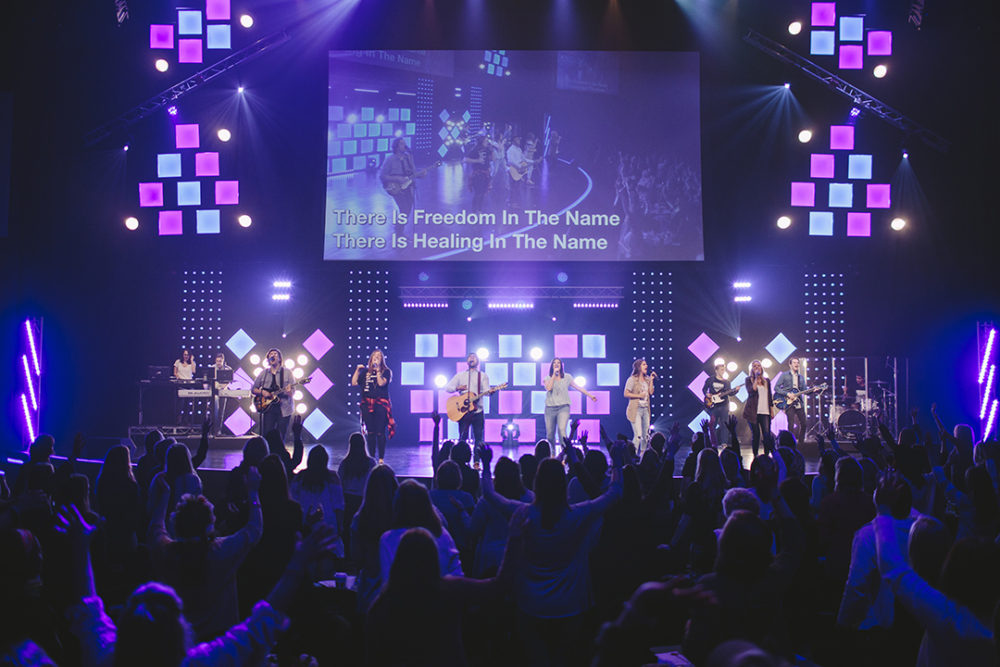
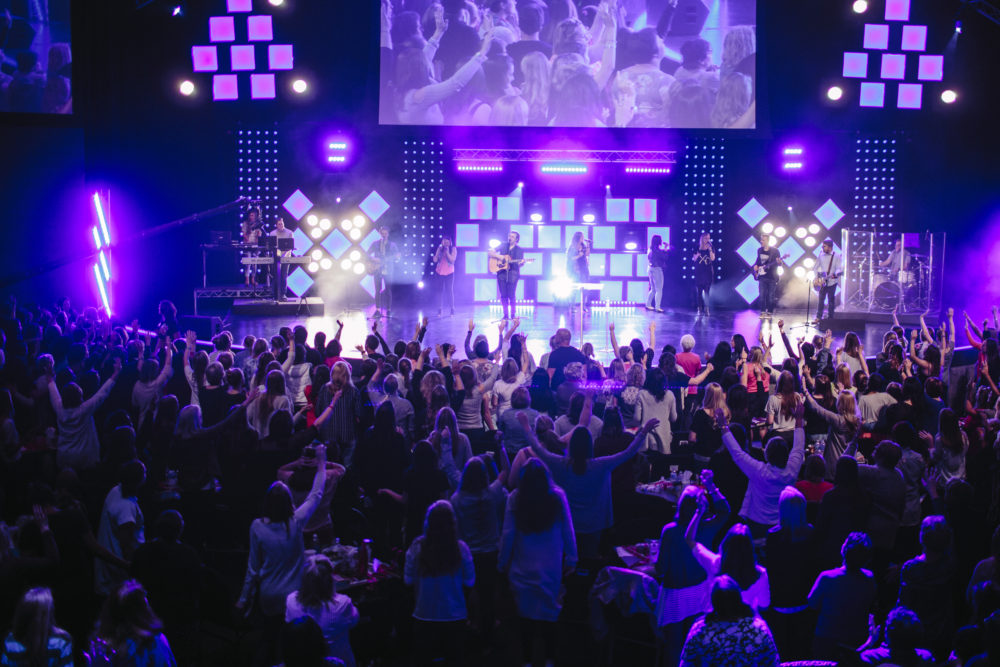
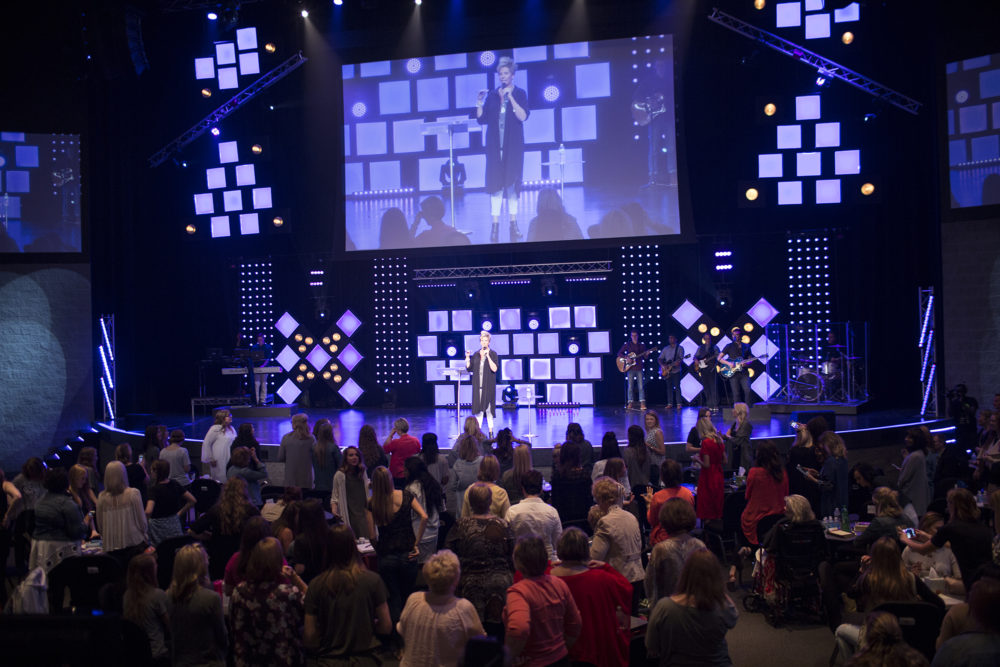
Eric Kelley from Valley Family Church in Kalamazoo, MI brings us this great design with tons of box elements. (originally posted June 2016)
Supplies Used:
2×4’s: 80 – Home Depot
1×4’s: 60 – Home Depot
Led Tape (5050 rgb 5m): 40 – Amazon.com
12V Power Supply: 9 – Amazon.com
24 Channel DMX Decoder: 9 – Amazon.com
Acrylic Light Covers (22″x46.24″): 35 – Home depot
Bowl Clamp Lights (8.5″): 24 – Home Depot
Bowl Clamp Lights (10.5″): 10 – Home Depot
1/4″ Sanded Plywood 4×8′: 4 – Home Depot
30″x50′ White Paper: 5 Rolls – Hobby Lobby
100W Incandescent Lightbulbs – Home Depot
From Eric:
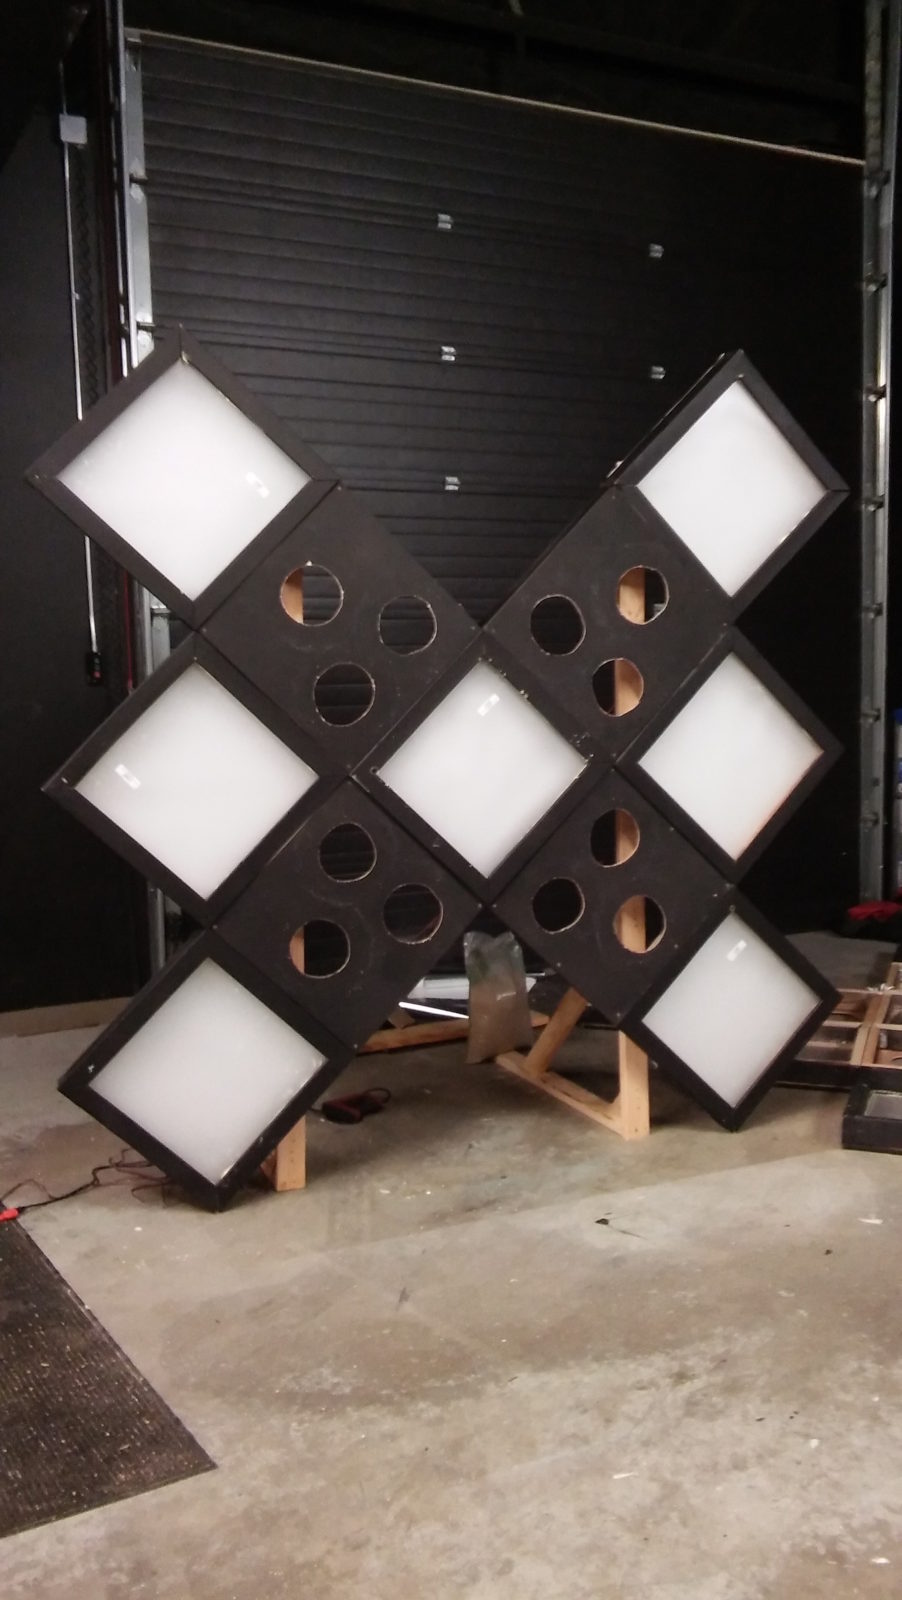
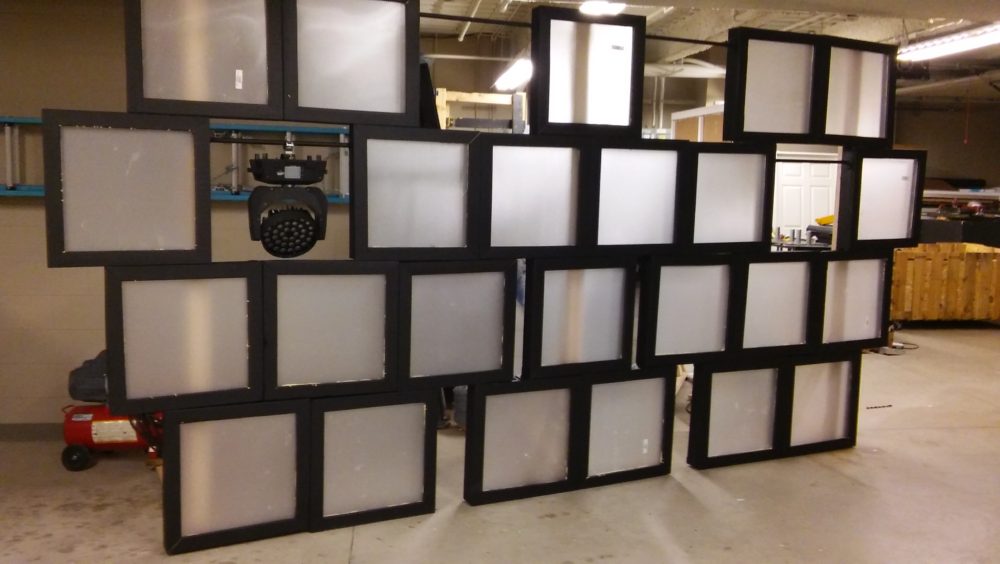
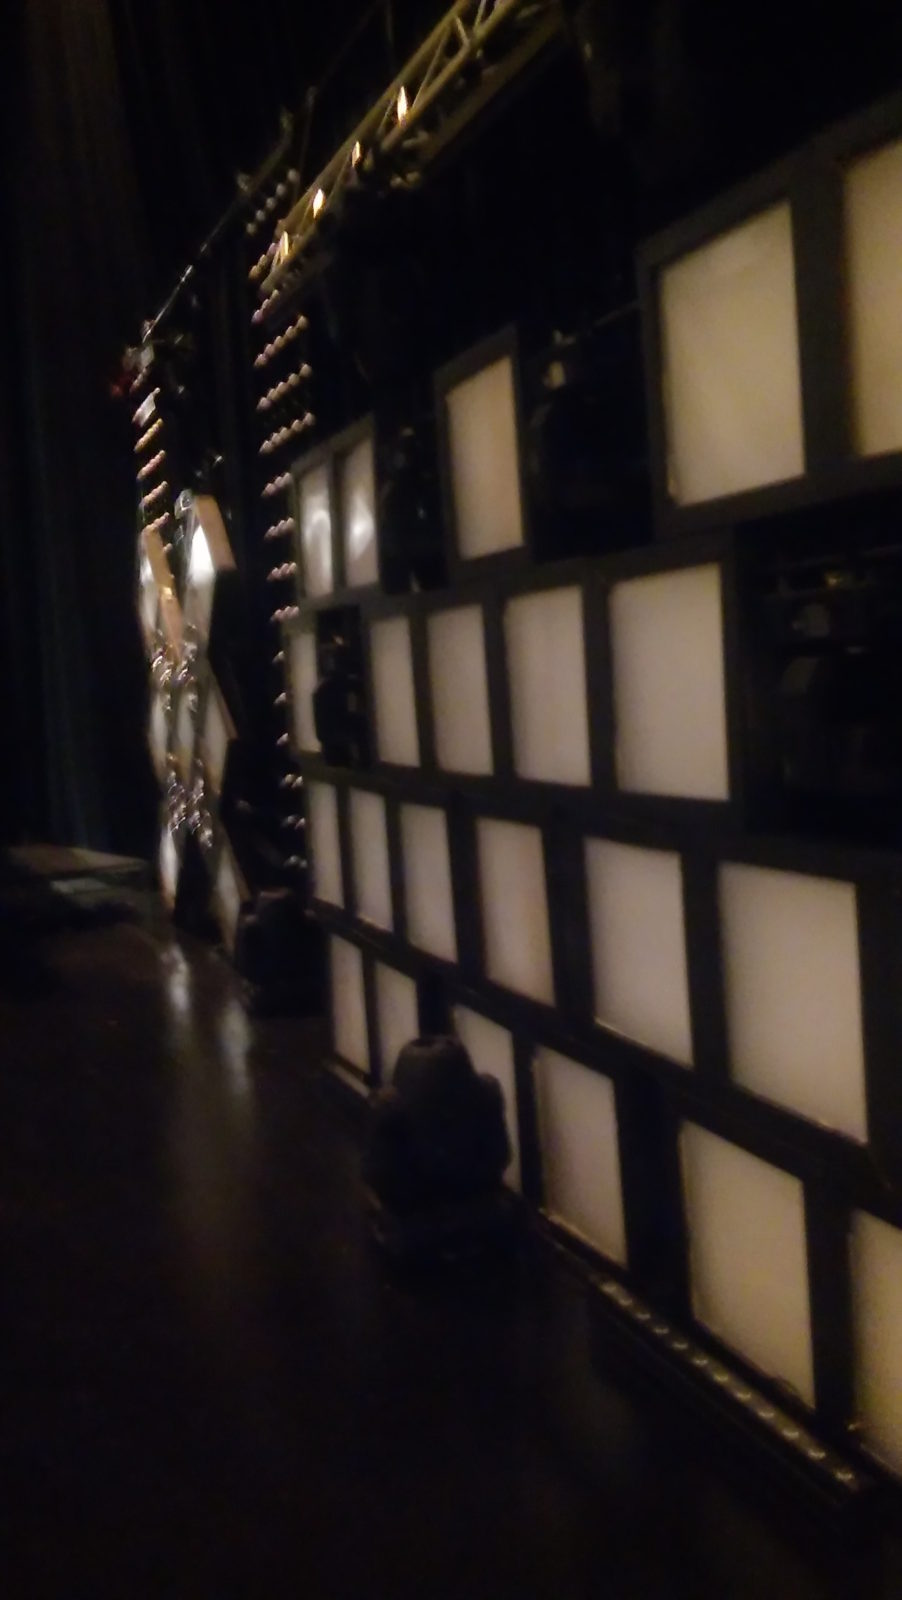
To make the boxes we used 2×4’s and cut them to 22″ and 24″ lengths and then used a framing nailer to create boxes. Next we cut 1×4’s at 24″s and cut the ends off at 45 degree angles and used a finish nailer to attach them as trim around the front of the boxes. the purpose of the 1×4’s were to mount the Acrylic Lens to as well as hide the led tape. once the boxes were created we laid out the shape we wanted them to be and used a combination of framing nailer and right angle brackets to join the boxes together.
Once all of the boxes were mounted together and laid on their back we used a paint sprayer and sprayed them all with 2 coats of flat black paint. once the paint had dried we flipped the assembled units over onto their face and using gorilla glue we glued the pre cut acrylic lenses into the boxes with the smooth side being pressed up against the 1×4’s for better surface contact. once the glue had dried we took our pre cut led tape and using superglue, glued it into the boxes.
We tried many options for cutting the acrylic light covers and fount it easiest to use a table saw with a very fine toothed blade installed.
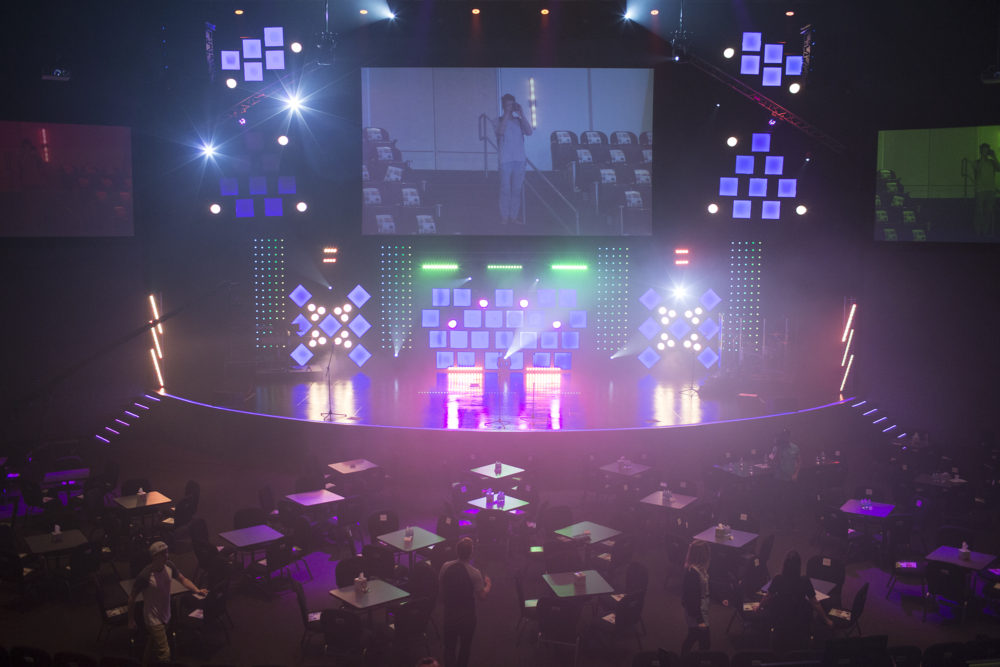
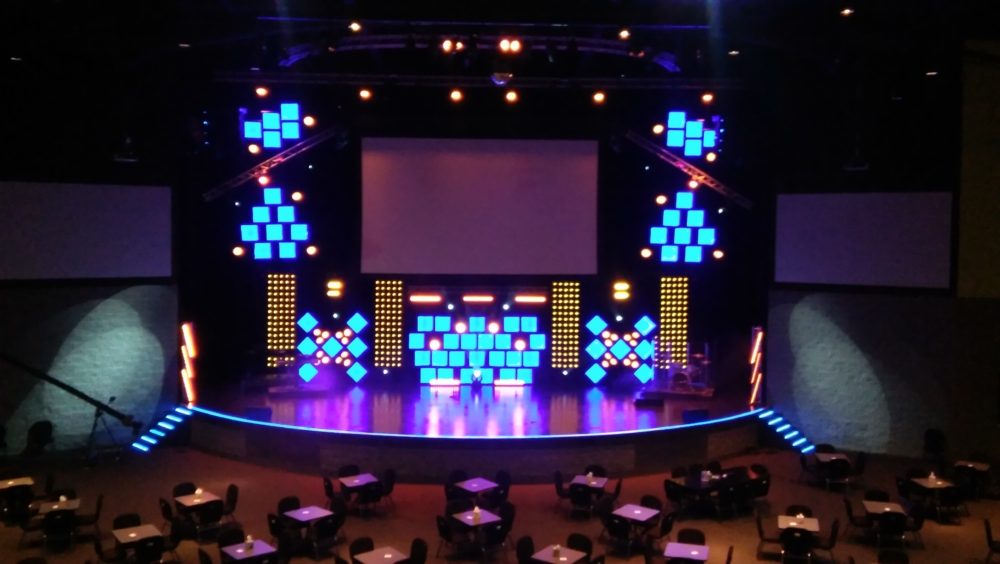
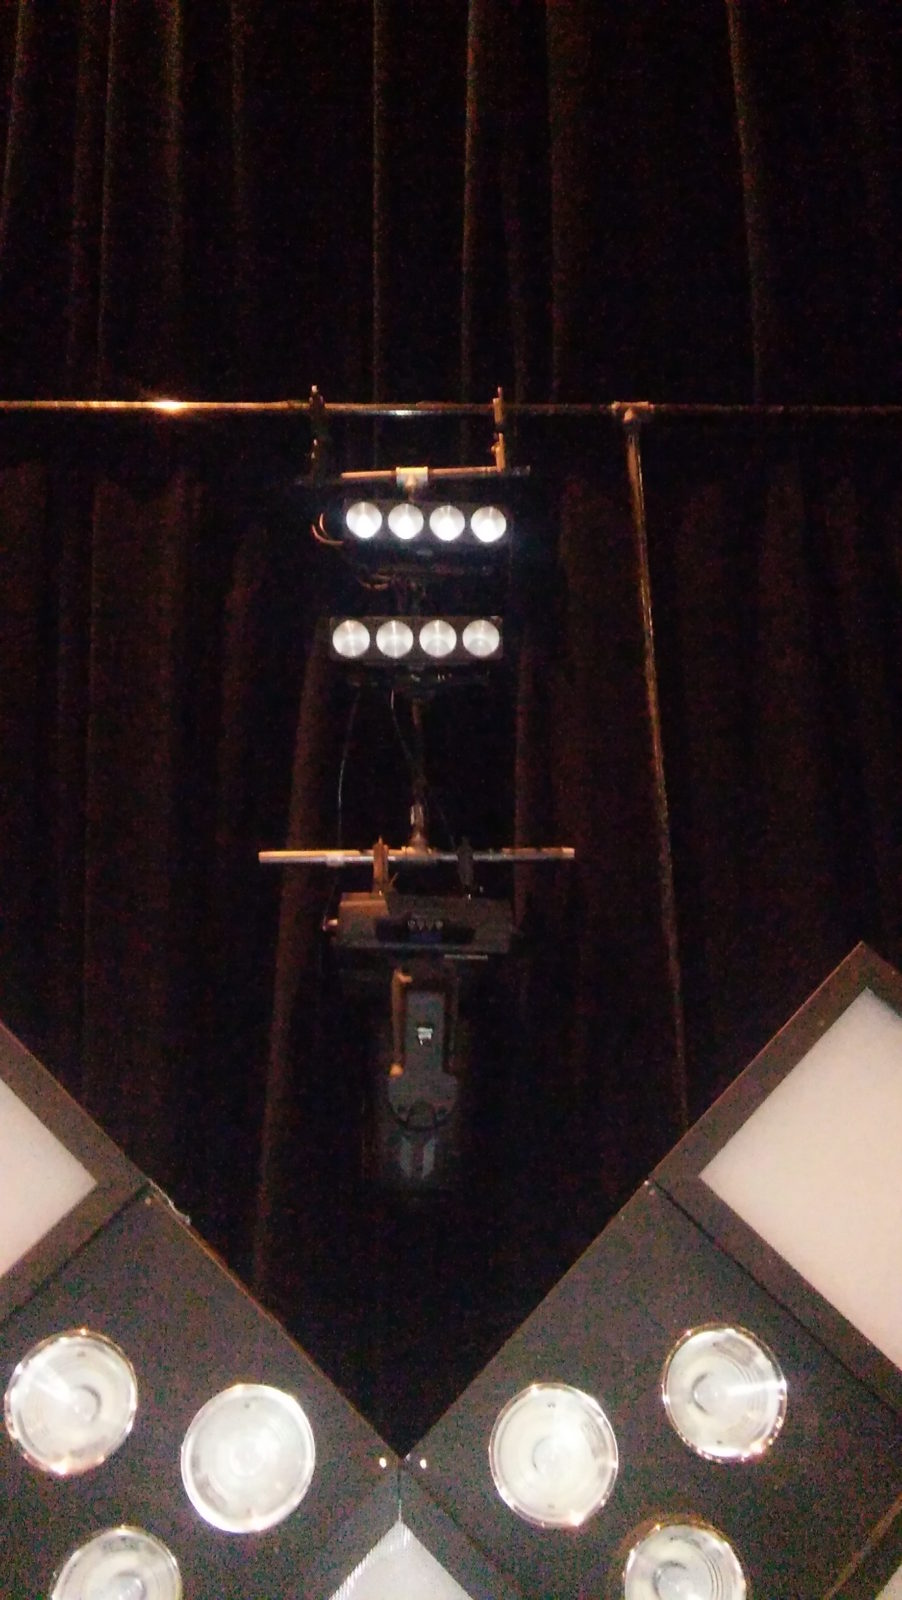
We used 1/2″ black Iron Pipe and floor flanges in place of 4 of the boxes to break it up and add some moving lights into the backdrop. We also used black iron pipe to create some lighting poles that we mounted some led fixtures to as well as moving lights.
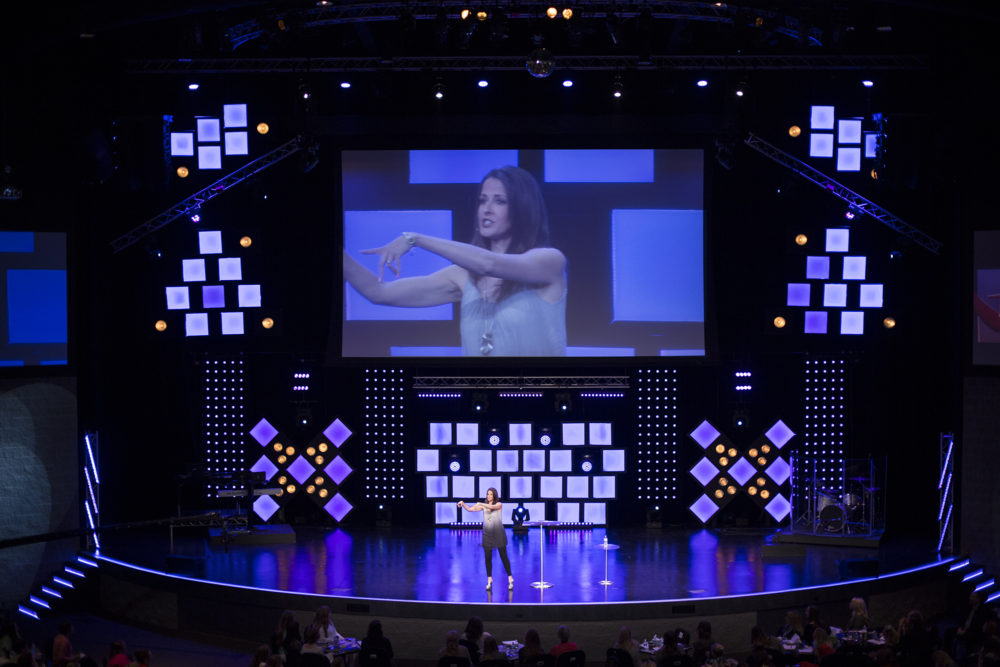
to make the “Blinder Boxes” we took 1/4″ sanded plywood and cut it into 2×2′ squares. once it was cut we traced a template of our bowl lights and used a drill and a jigsaw to cut just inside of our template so that the rim of the bowl light would sit on top of the plywood. using scrap 2×4″ blocks we screwed through the lights into the blocks to create a secure fit. to install these we simply mounted them to a box in the pre made structure.
Final Steps to this project included wiring all of the led tape, and stapling white paper to the back of the boxes to help reflect the light through the lenses. We also mounted legs to the back side of the structures and used sandbags to weigh them down. Note: be cautious where you mount the legs so that you are not screwing into any of your wiring.
The 4 Structures next to our screens were hung using I-Bolts, aircraft cable, and swags.
We owned all of the lumber, light bulbs, led decoders and power supplies before building this stage so total cost was just shy of $1,400.00


awesome setup, question,, How are your projectors connected to the computer? what kind of cables are you using to transmit the signal? thank you,
Unless they changed from when I did the initial install, projectors are ran with SDI cable and are being fed from a SDI matrix DA. Video mixing is done through a ForA switcher.
Yes John is Correct.