


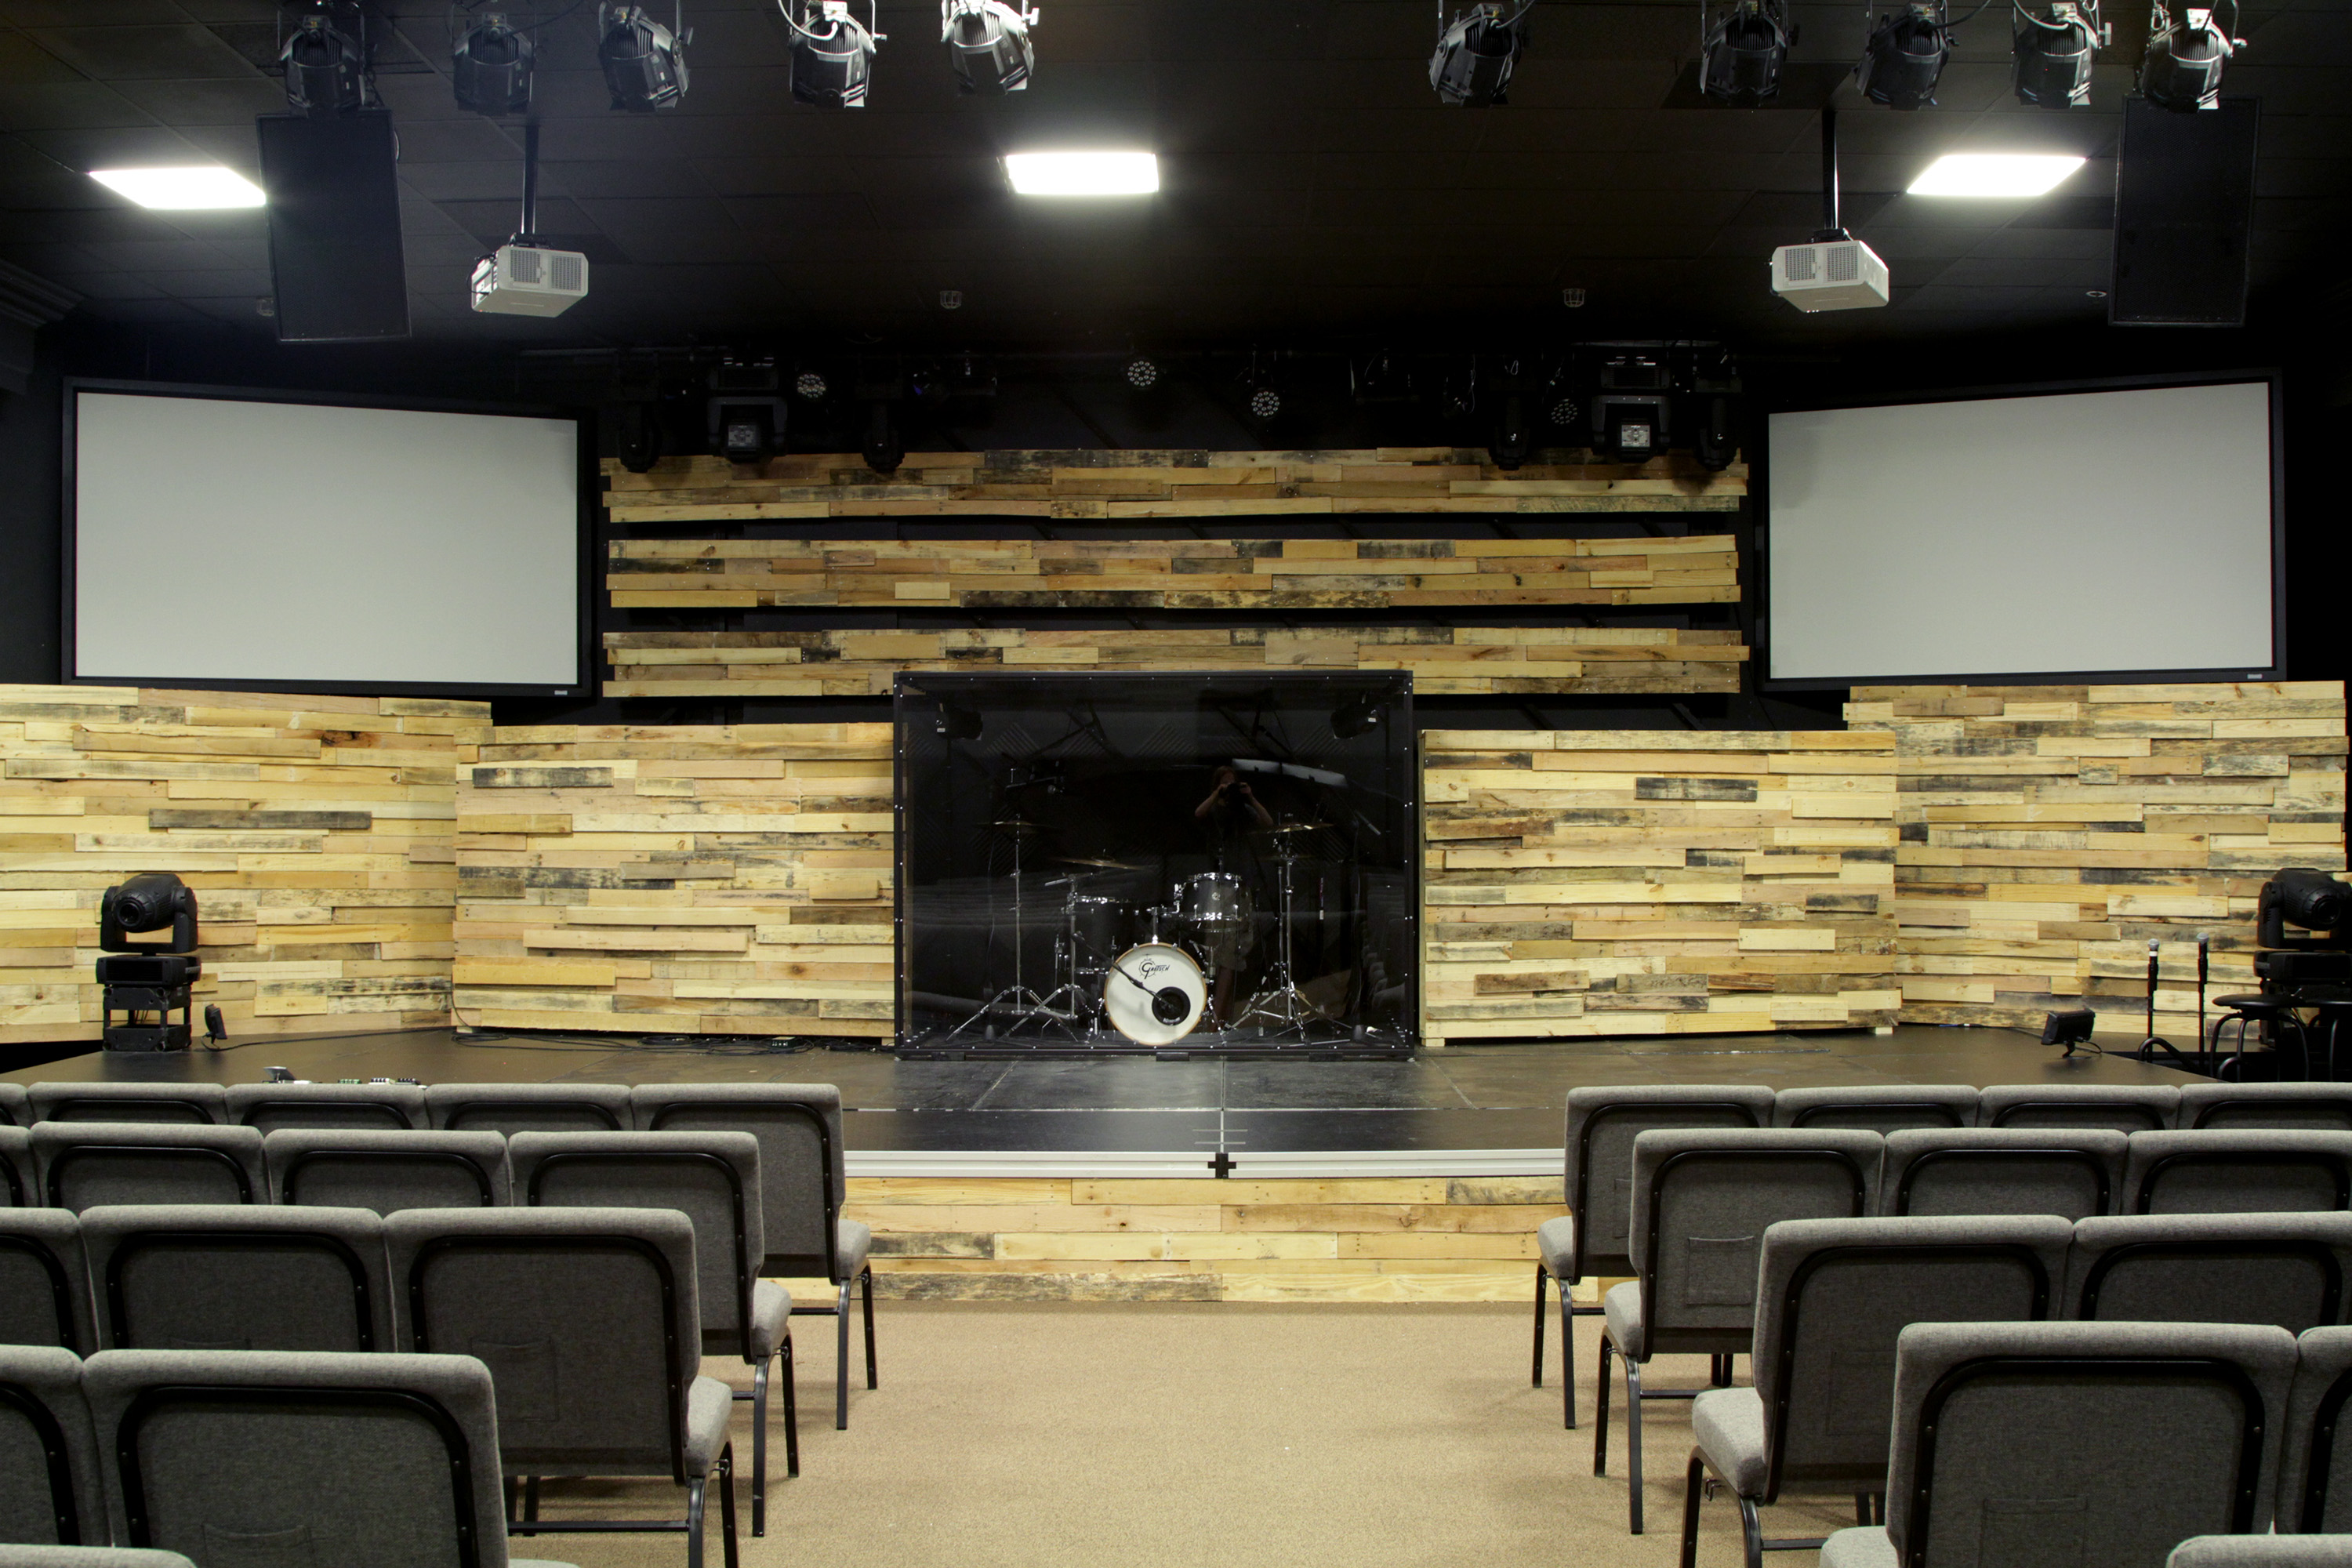
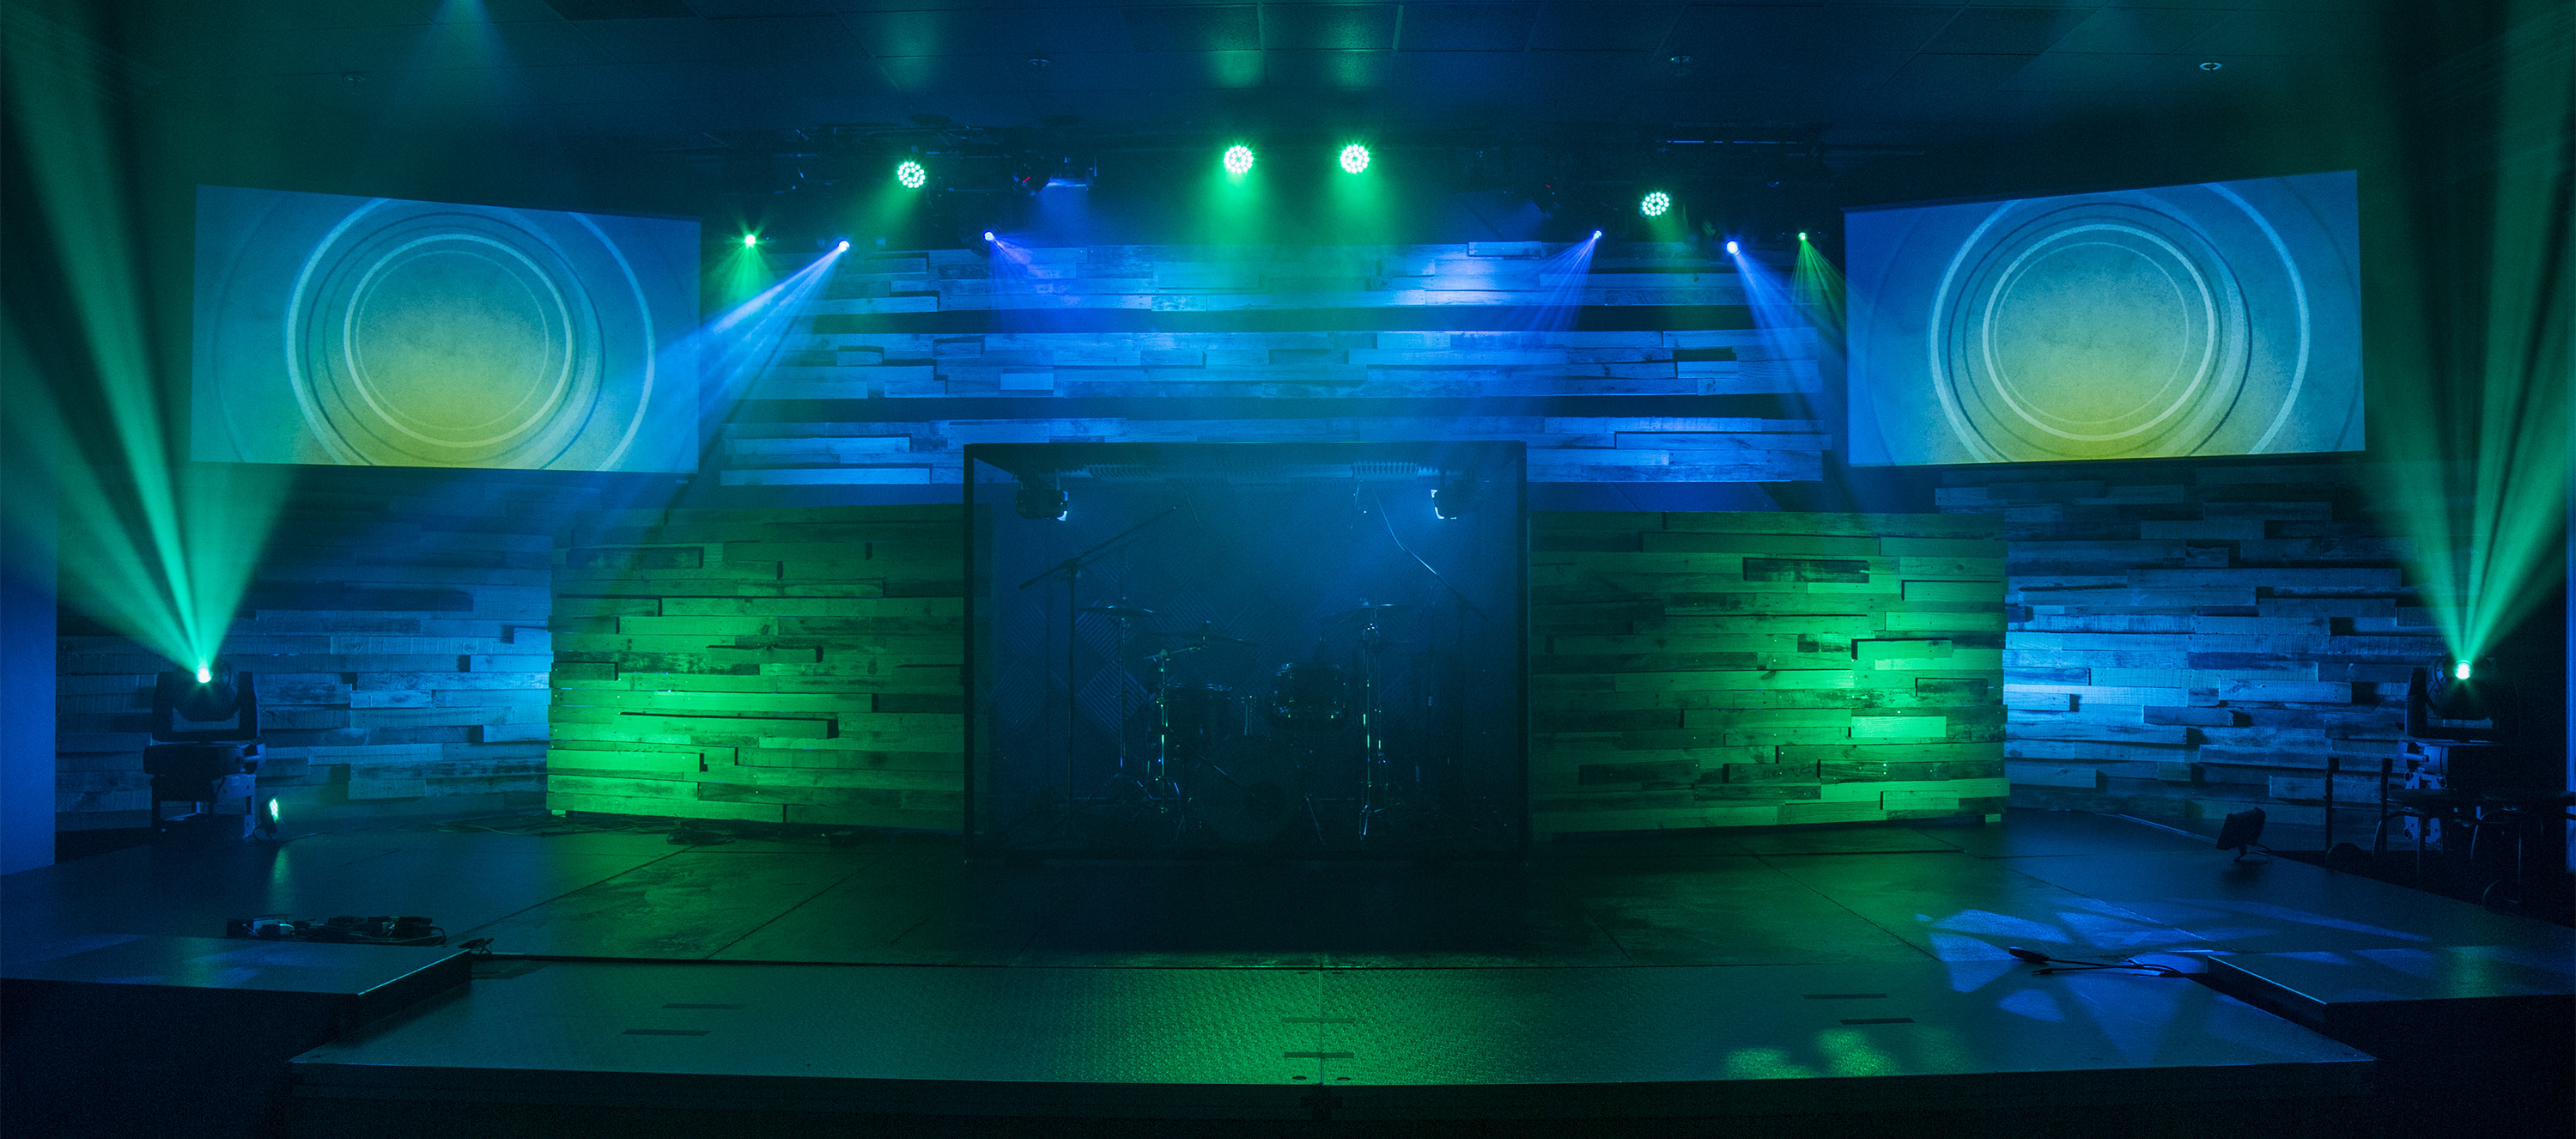
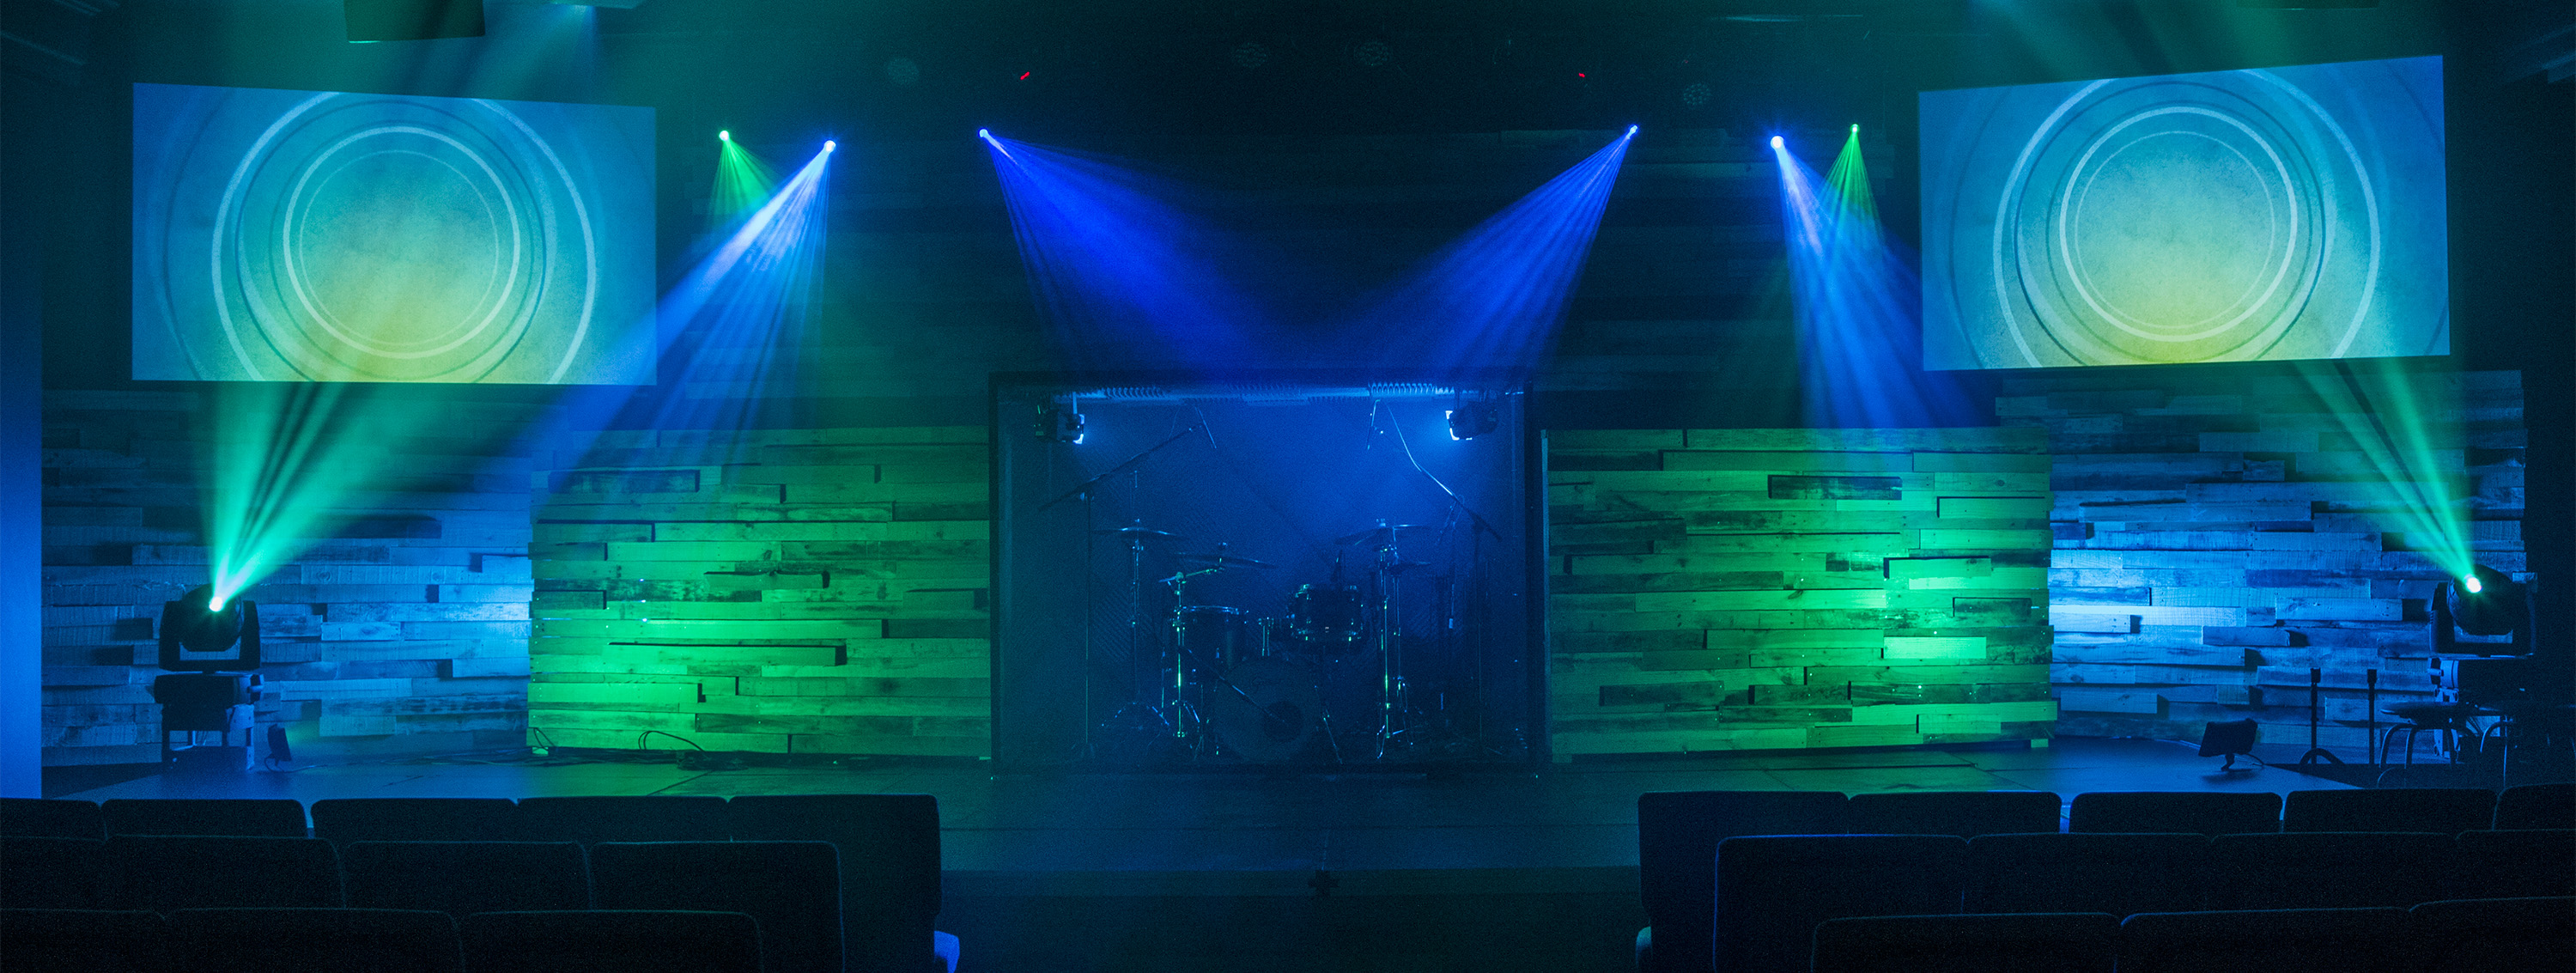
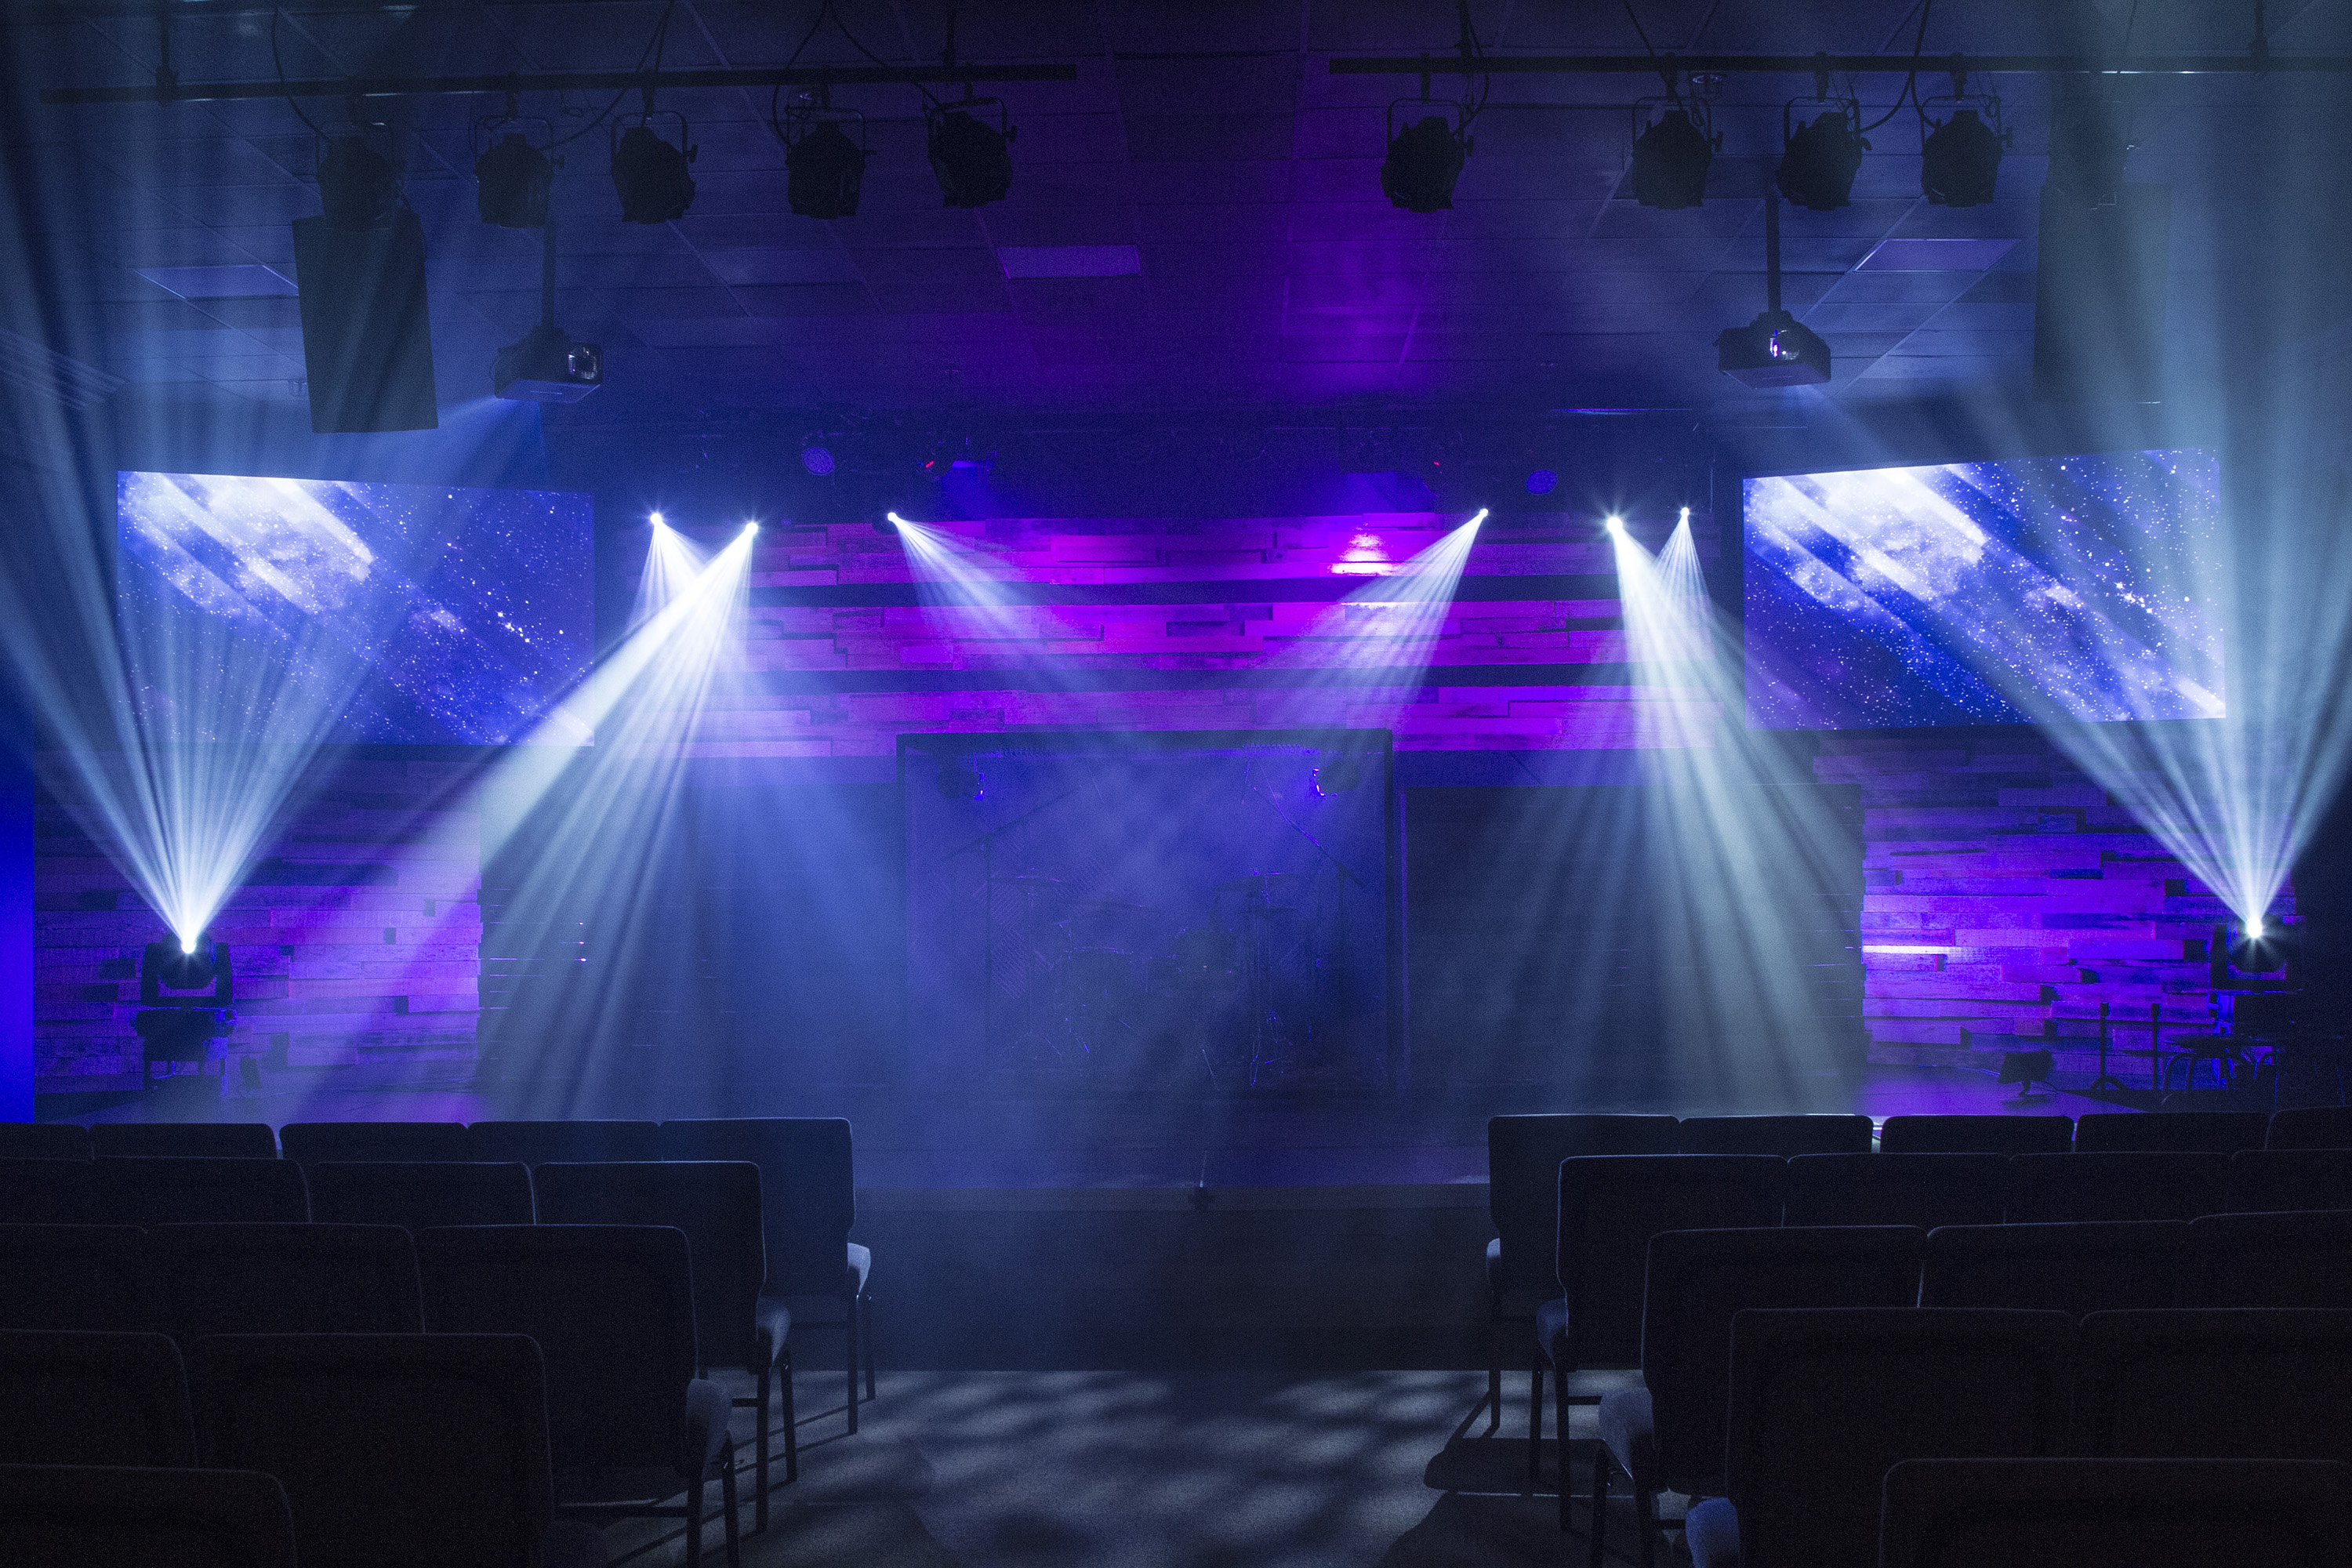
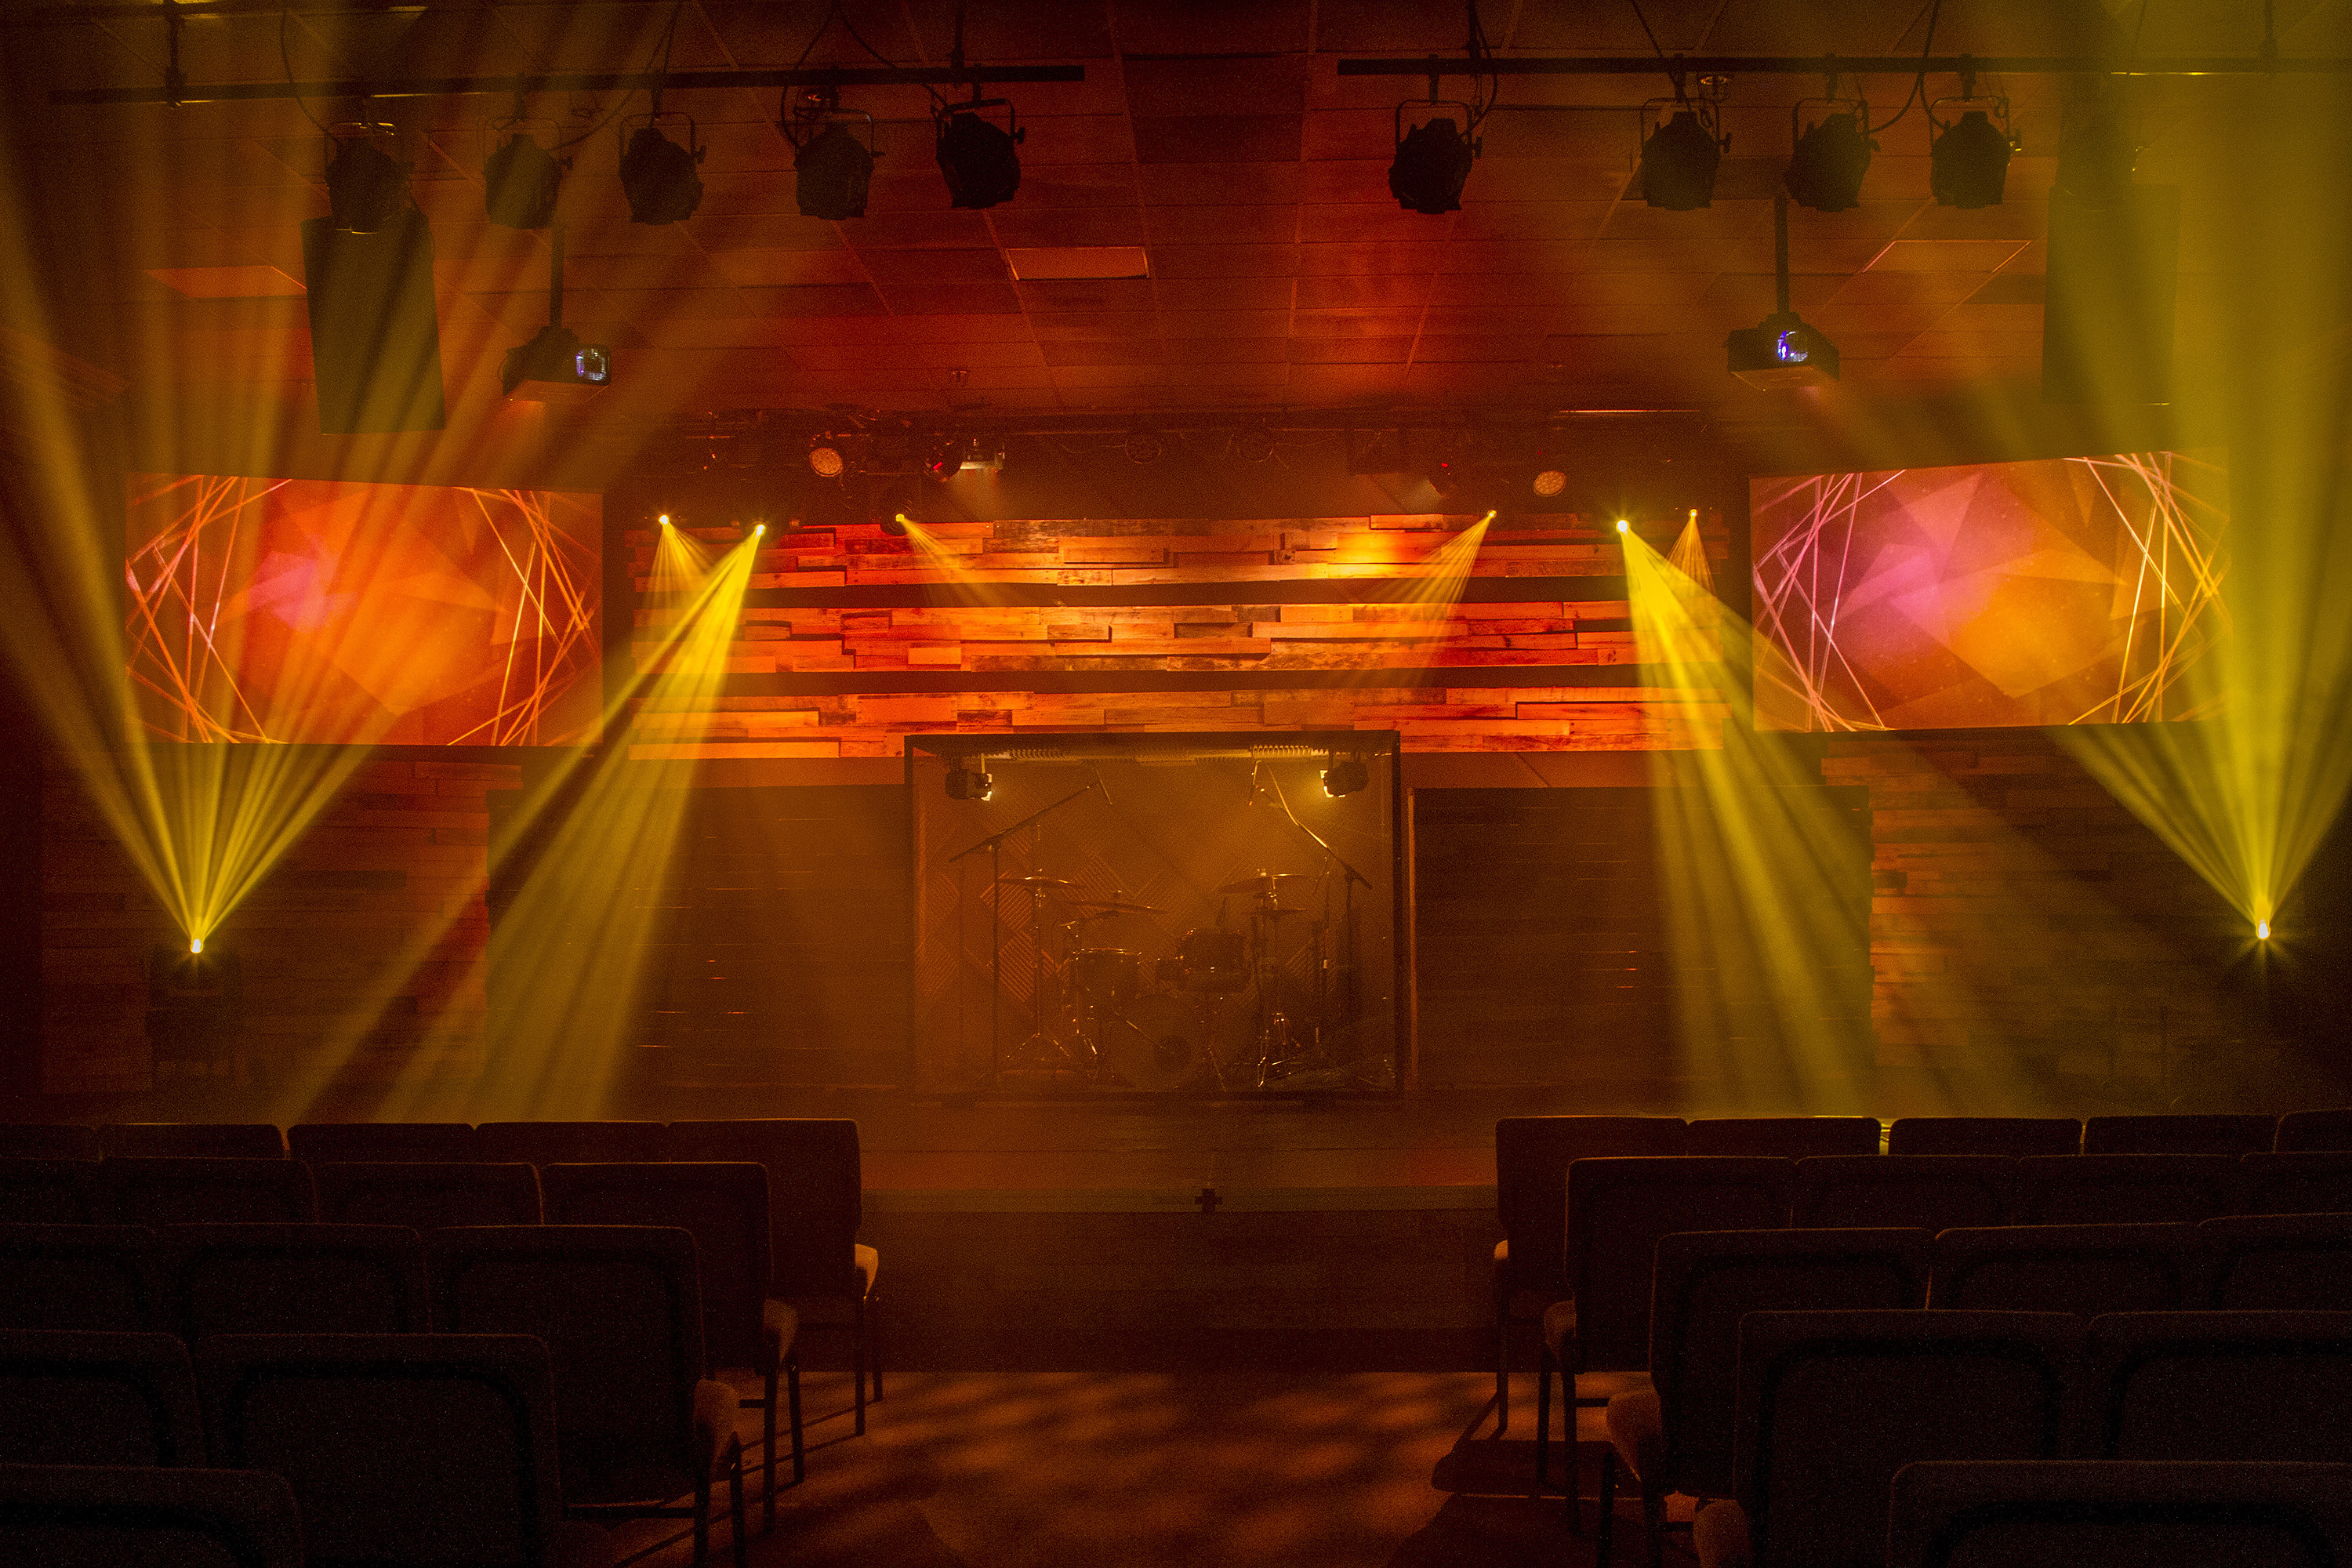
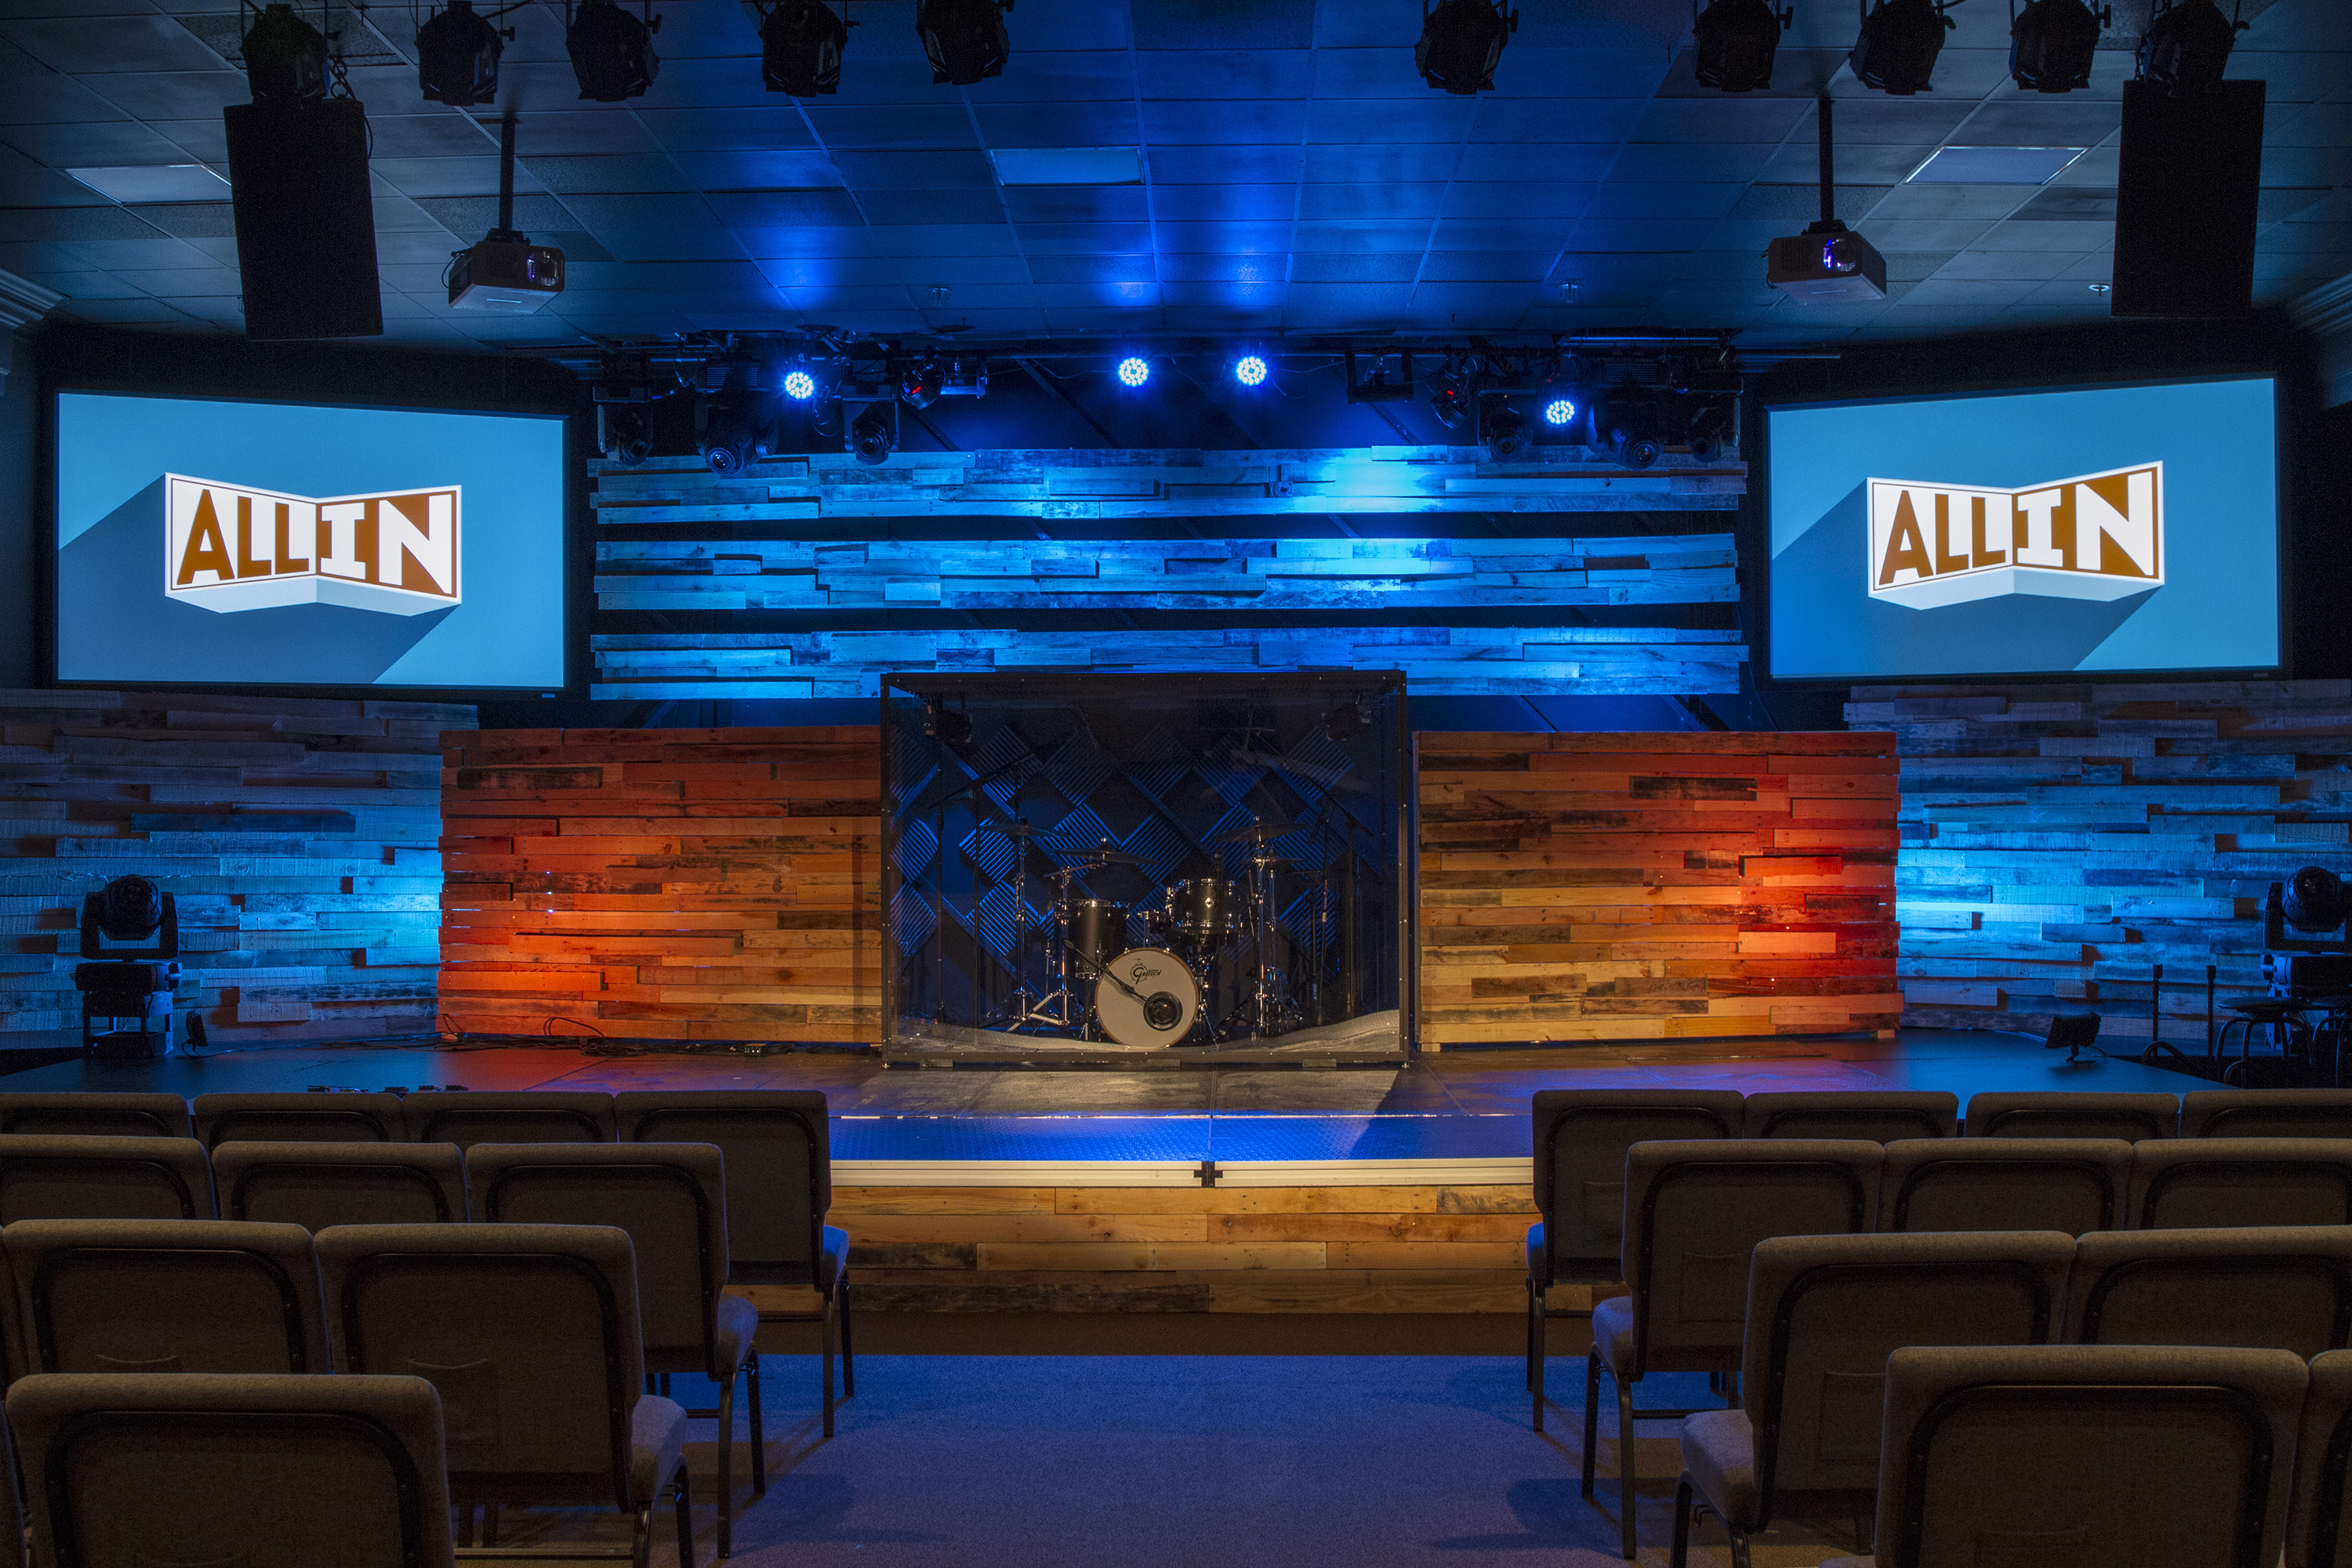
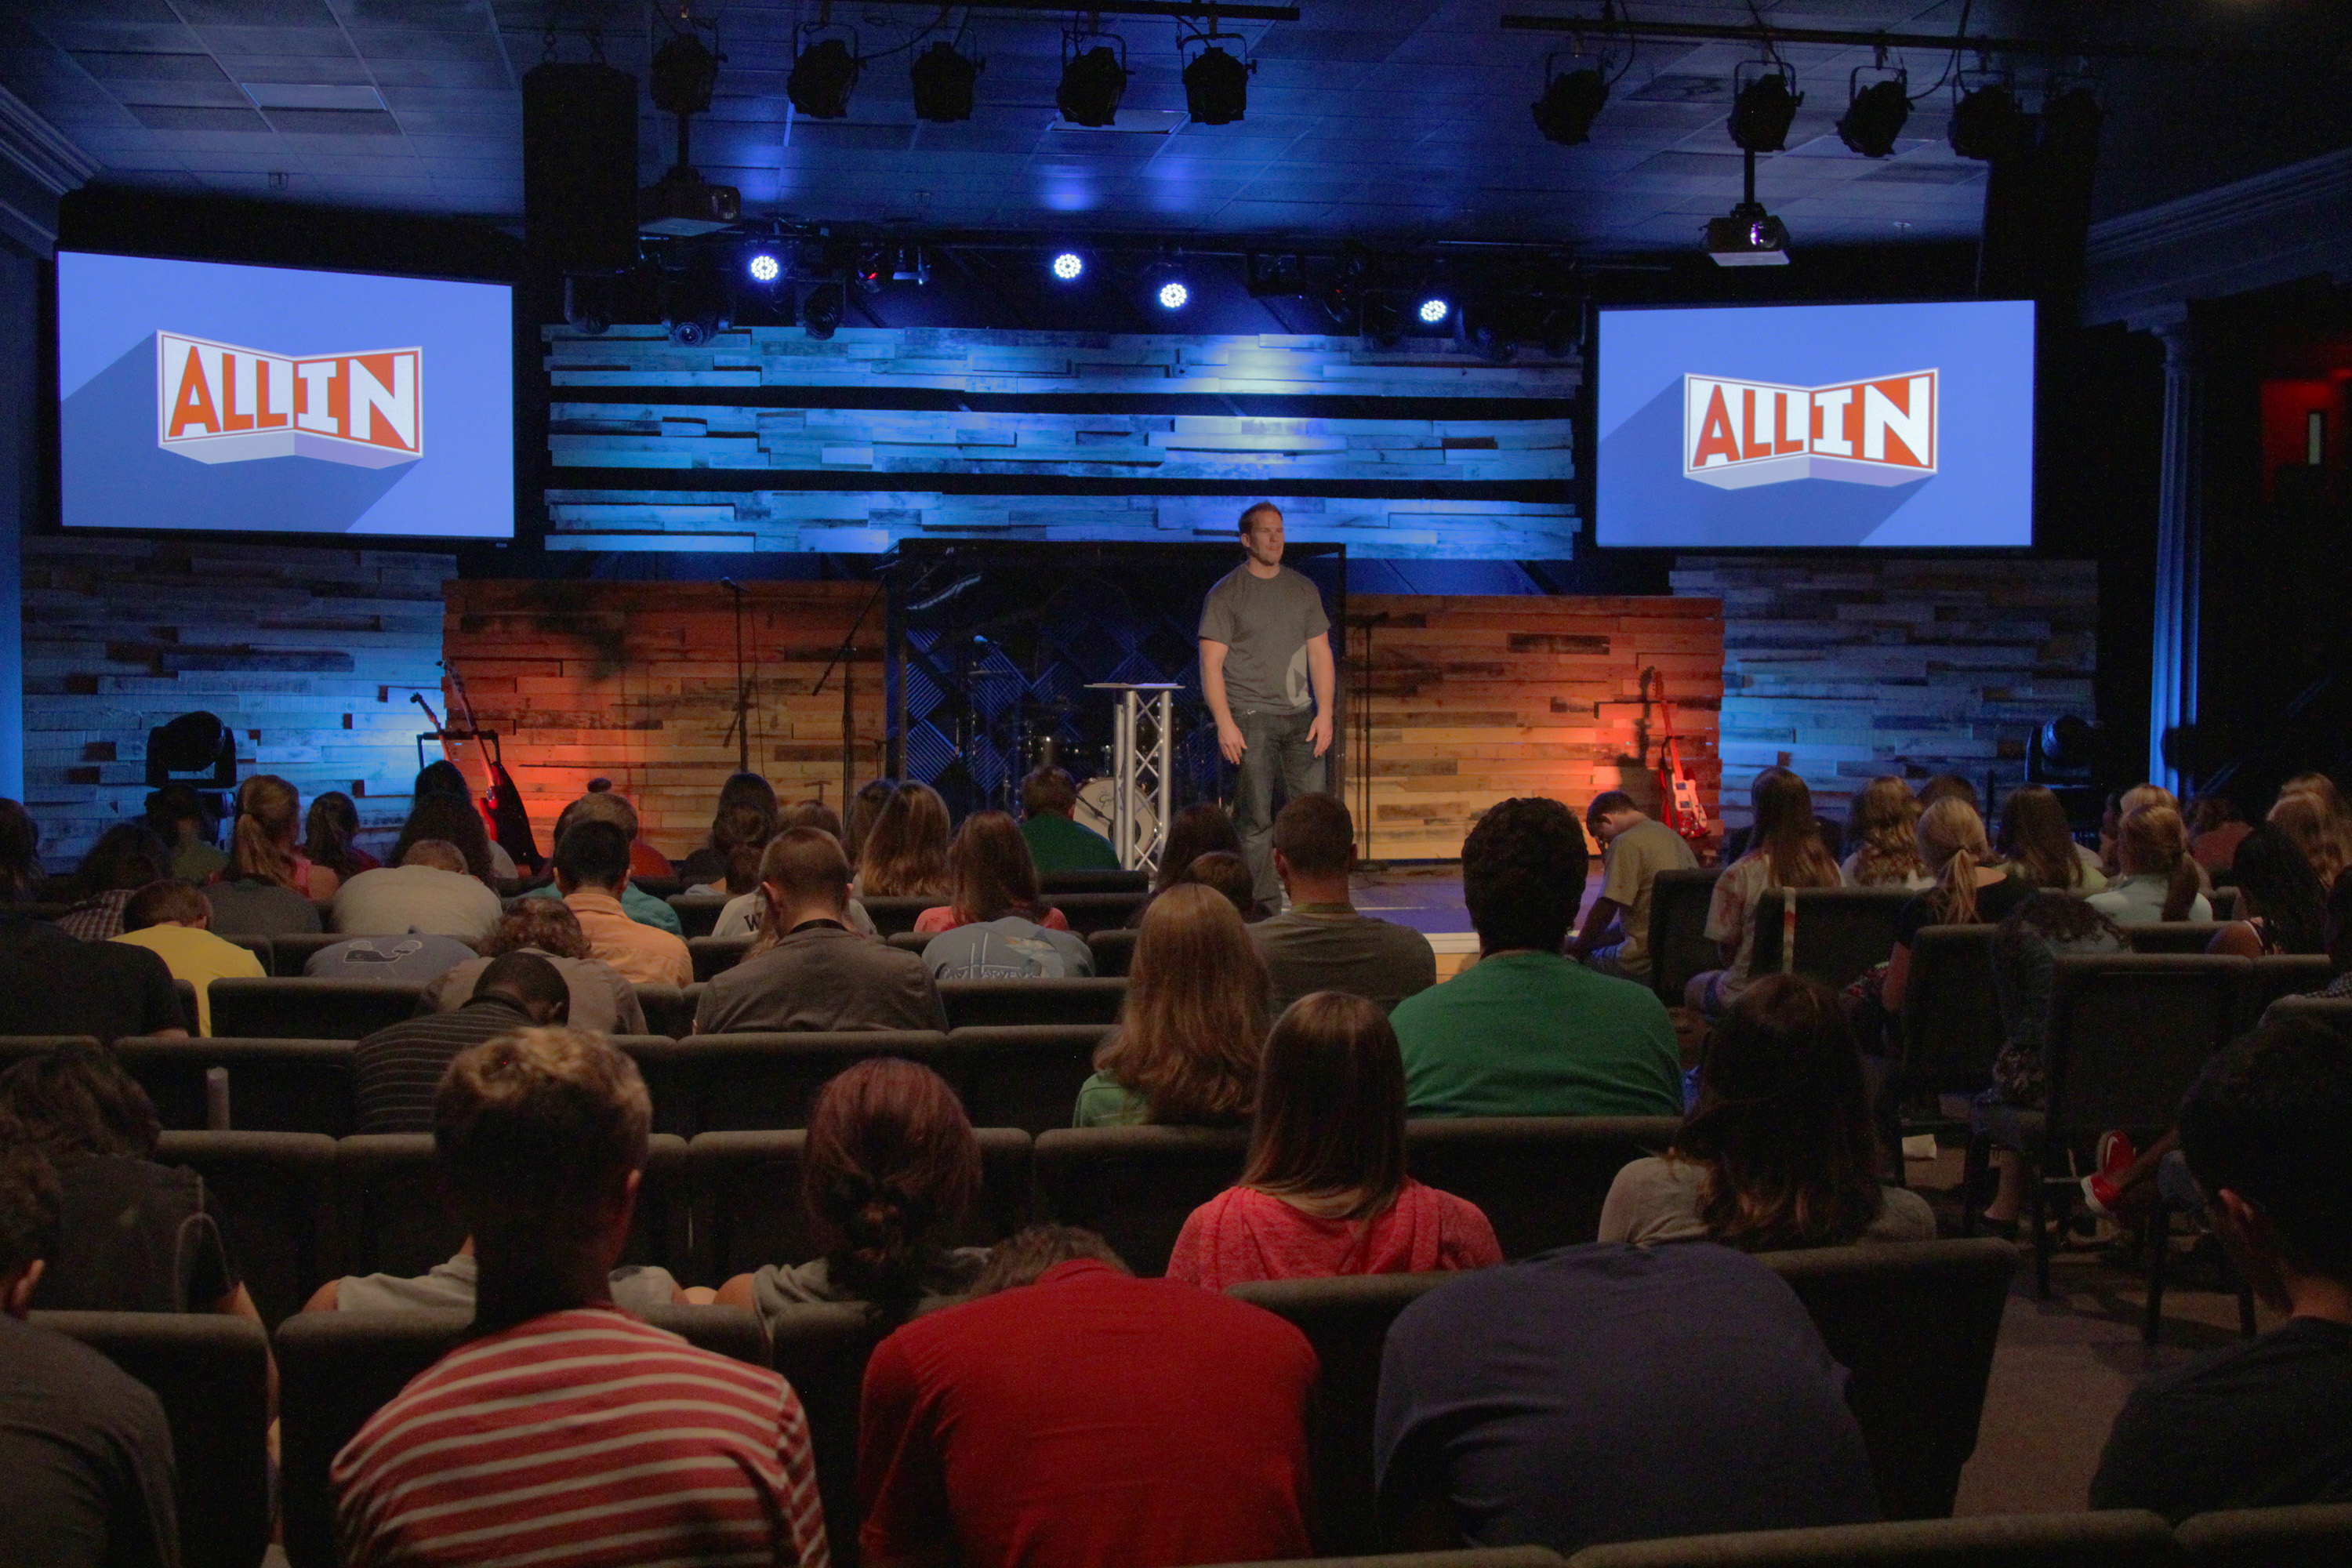
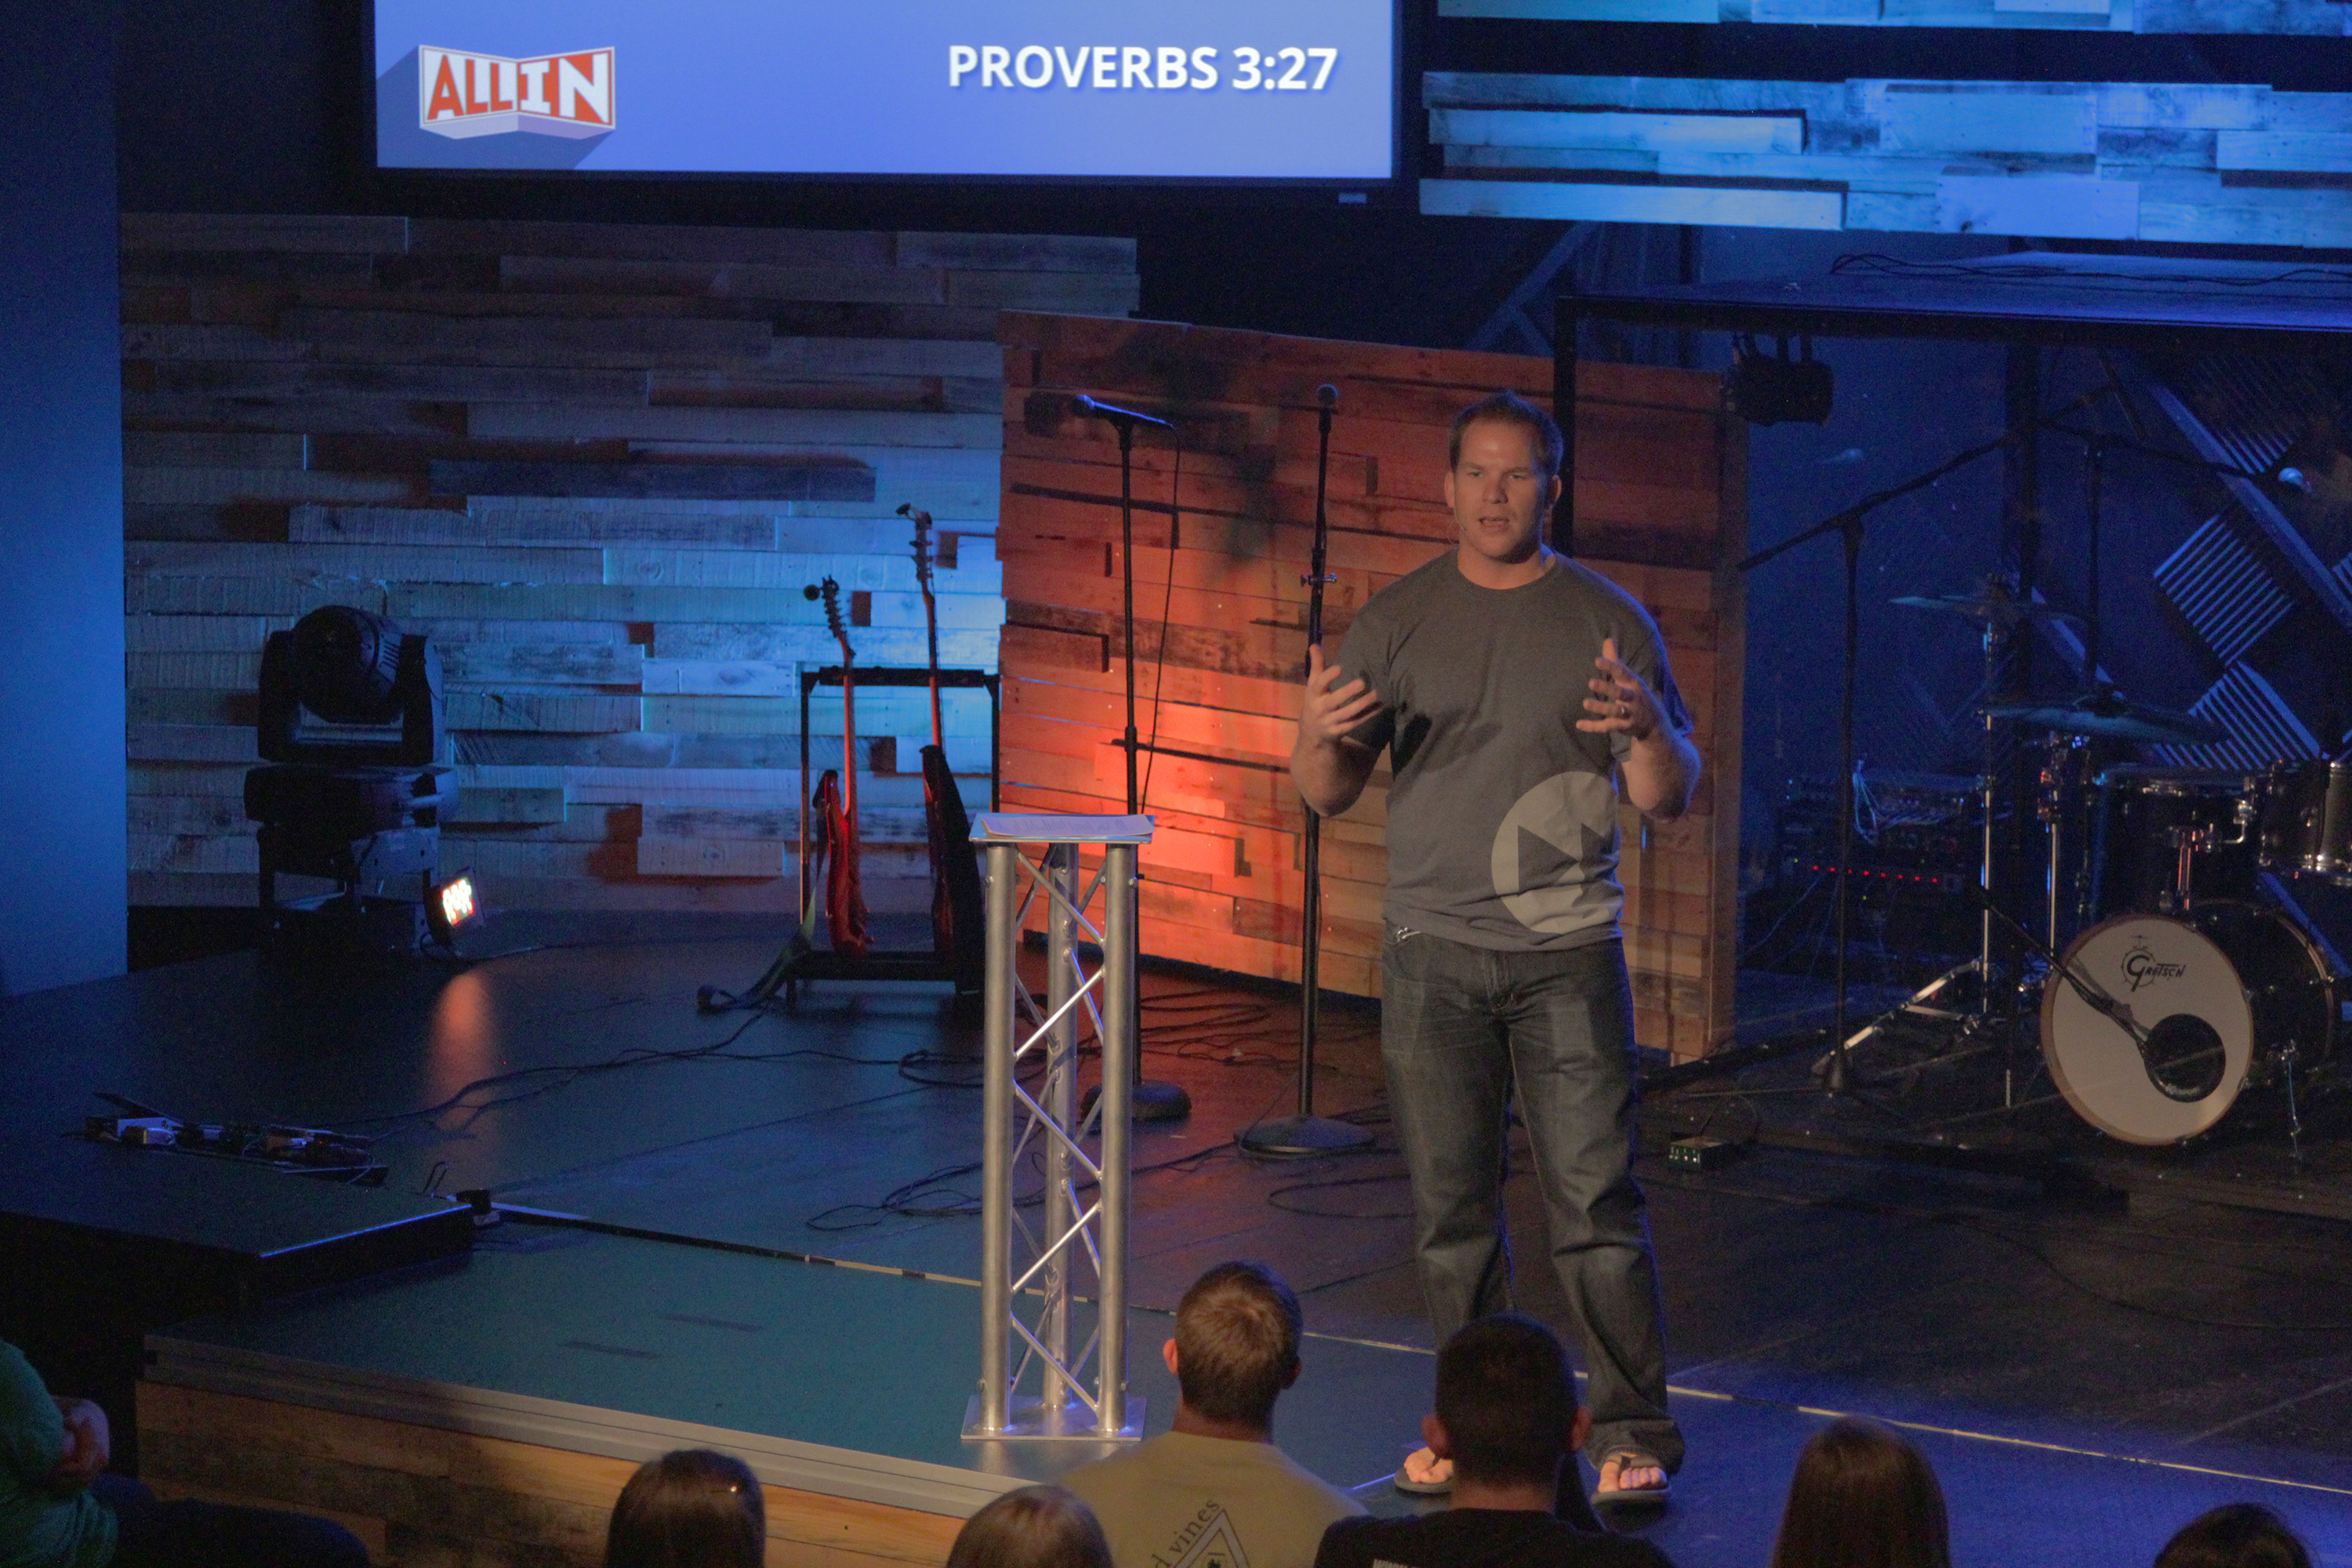
Chess Hoyle from Advance Student Ministry at Forest Hill Church in Charlotte, NC brings us this reclaimed wood set with different zones of lighting.
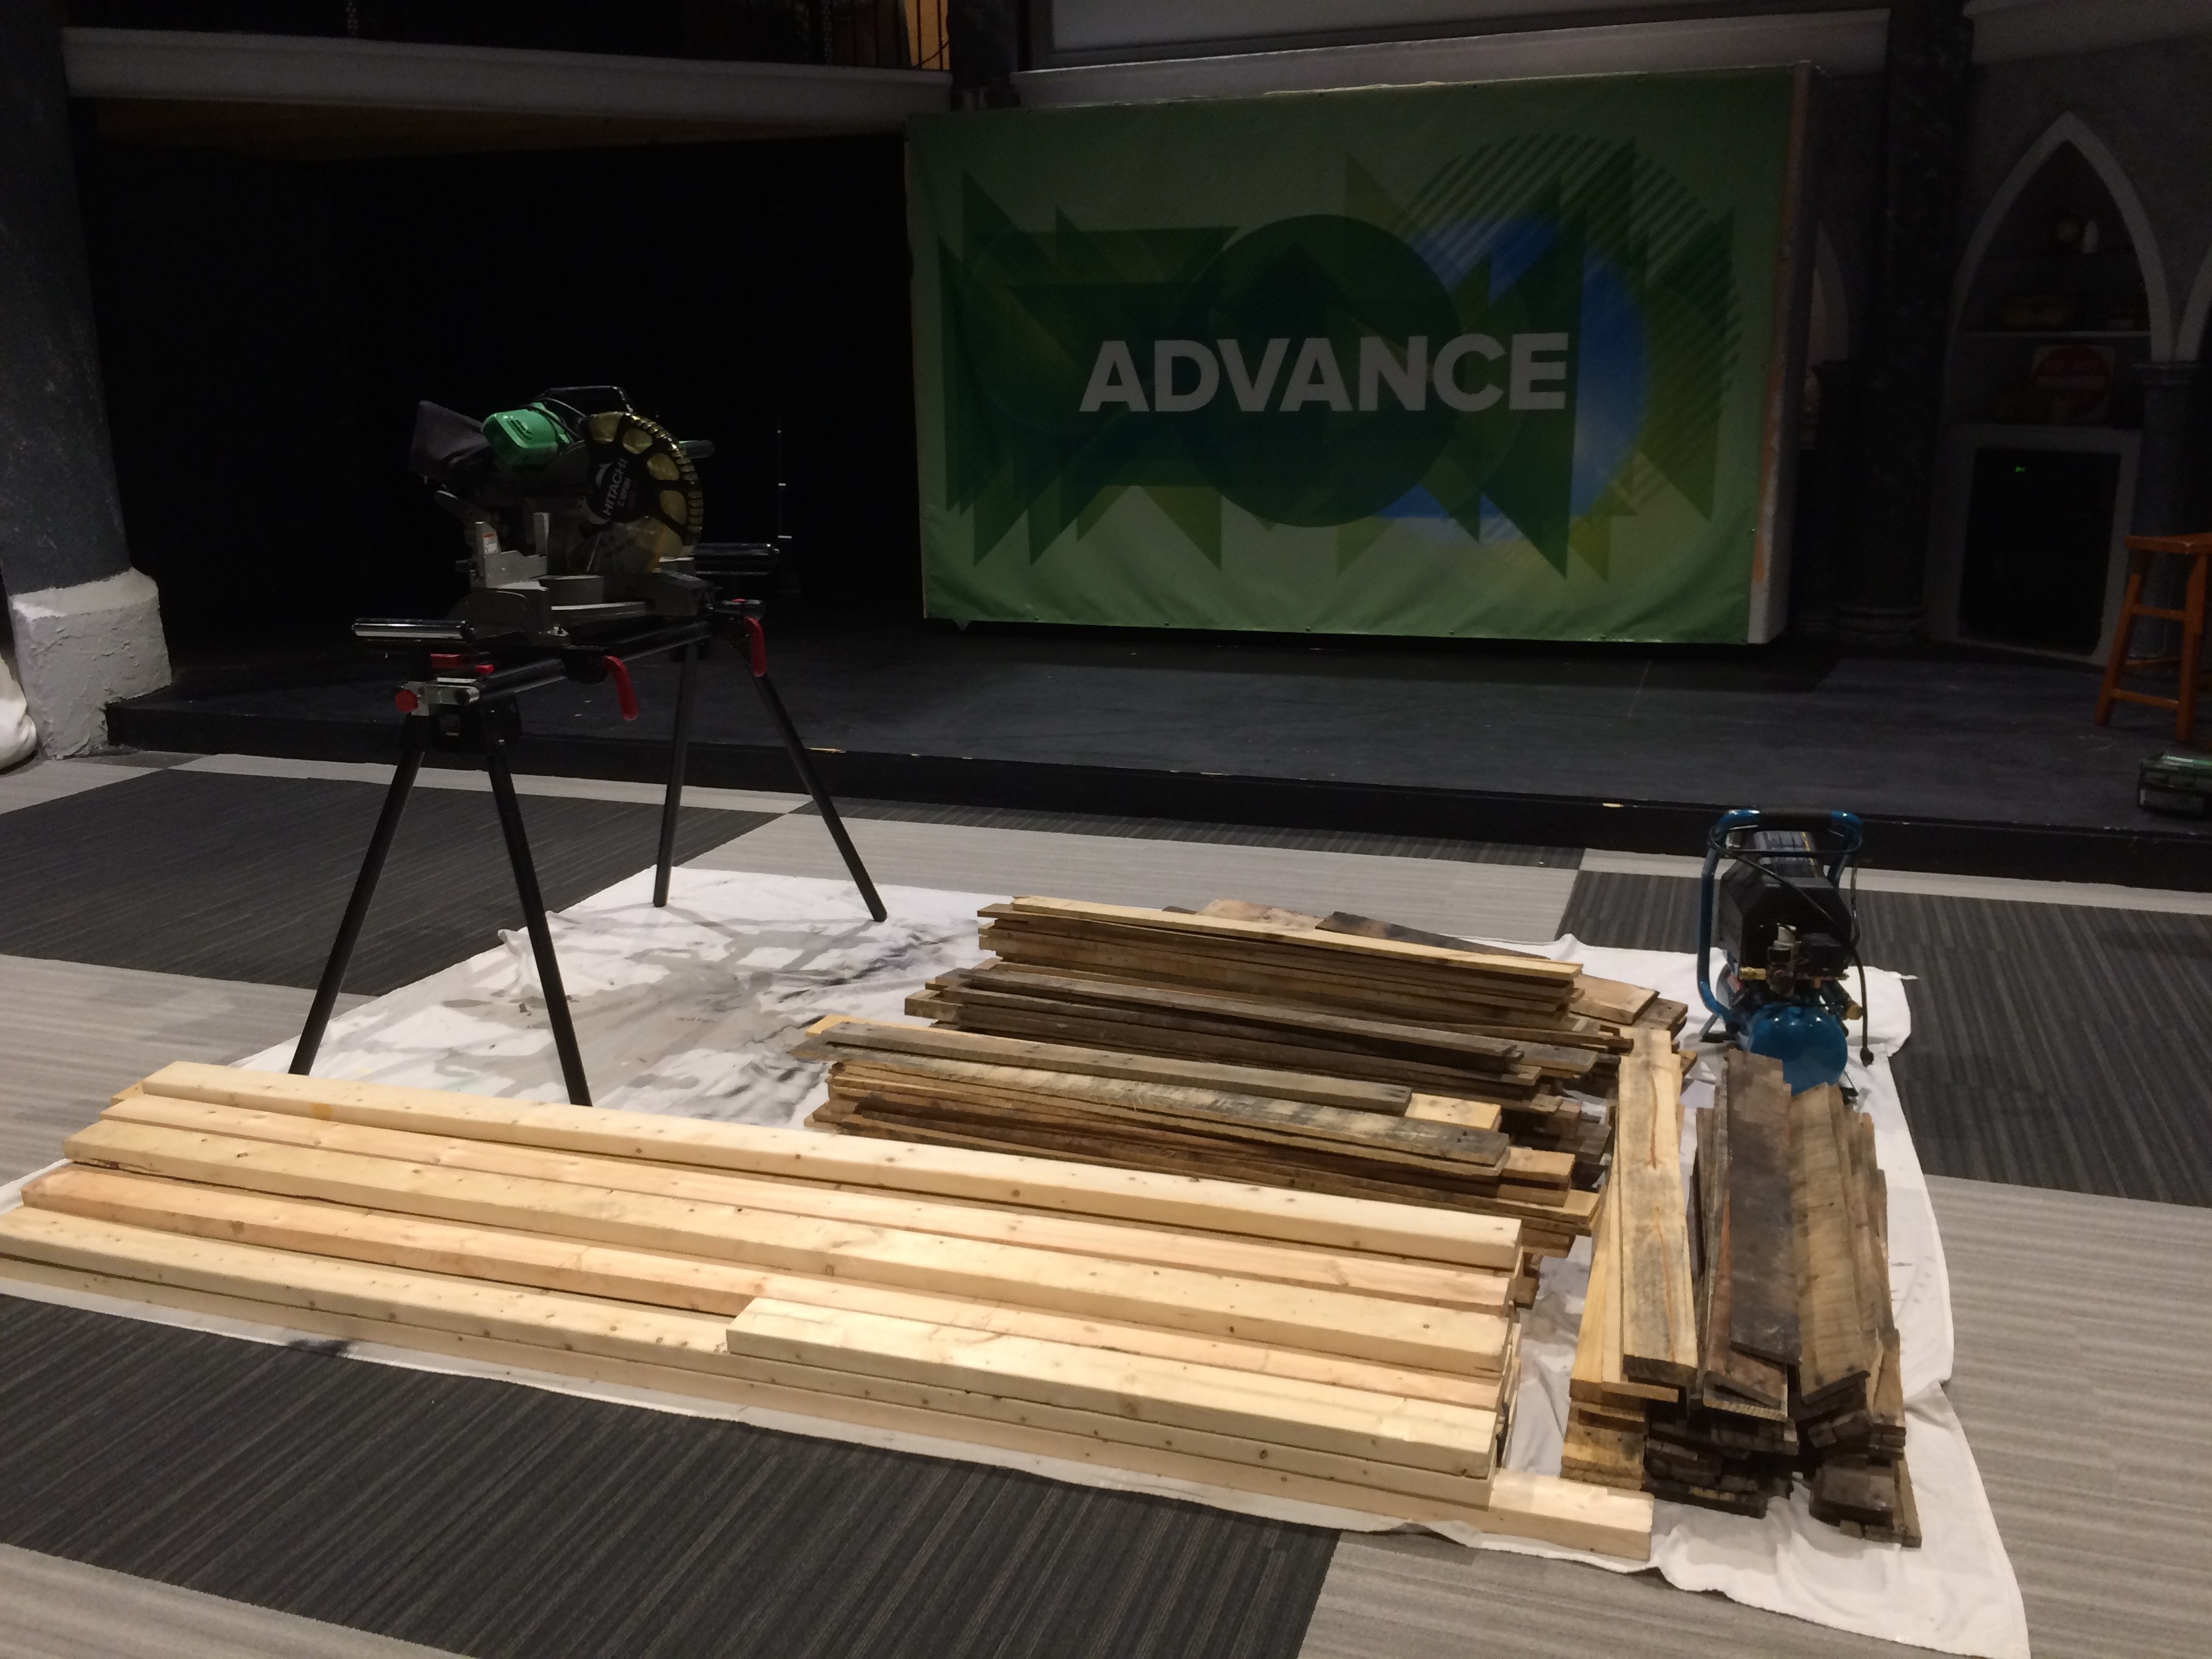
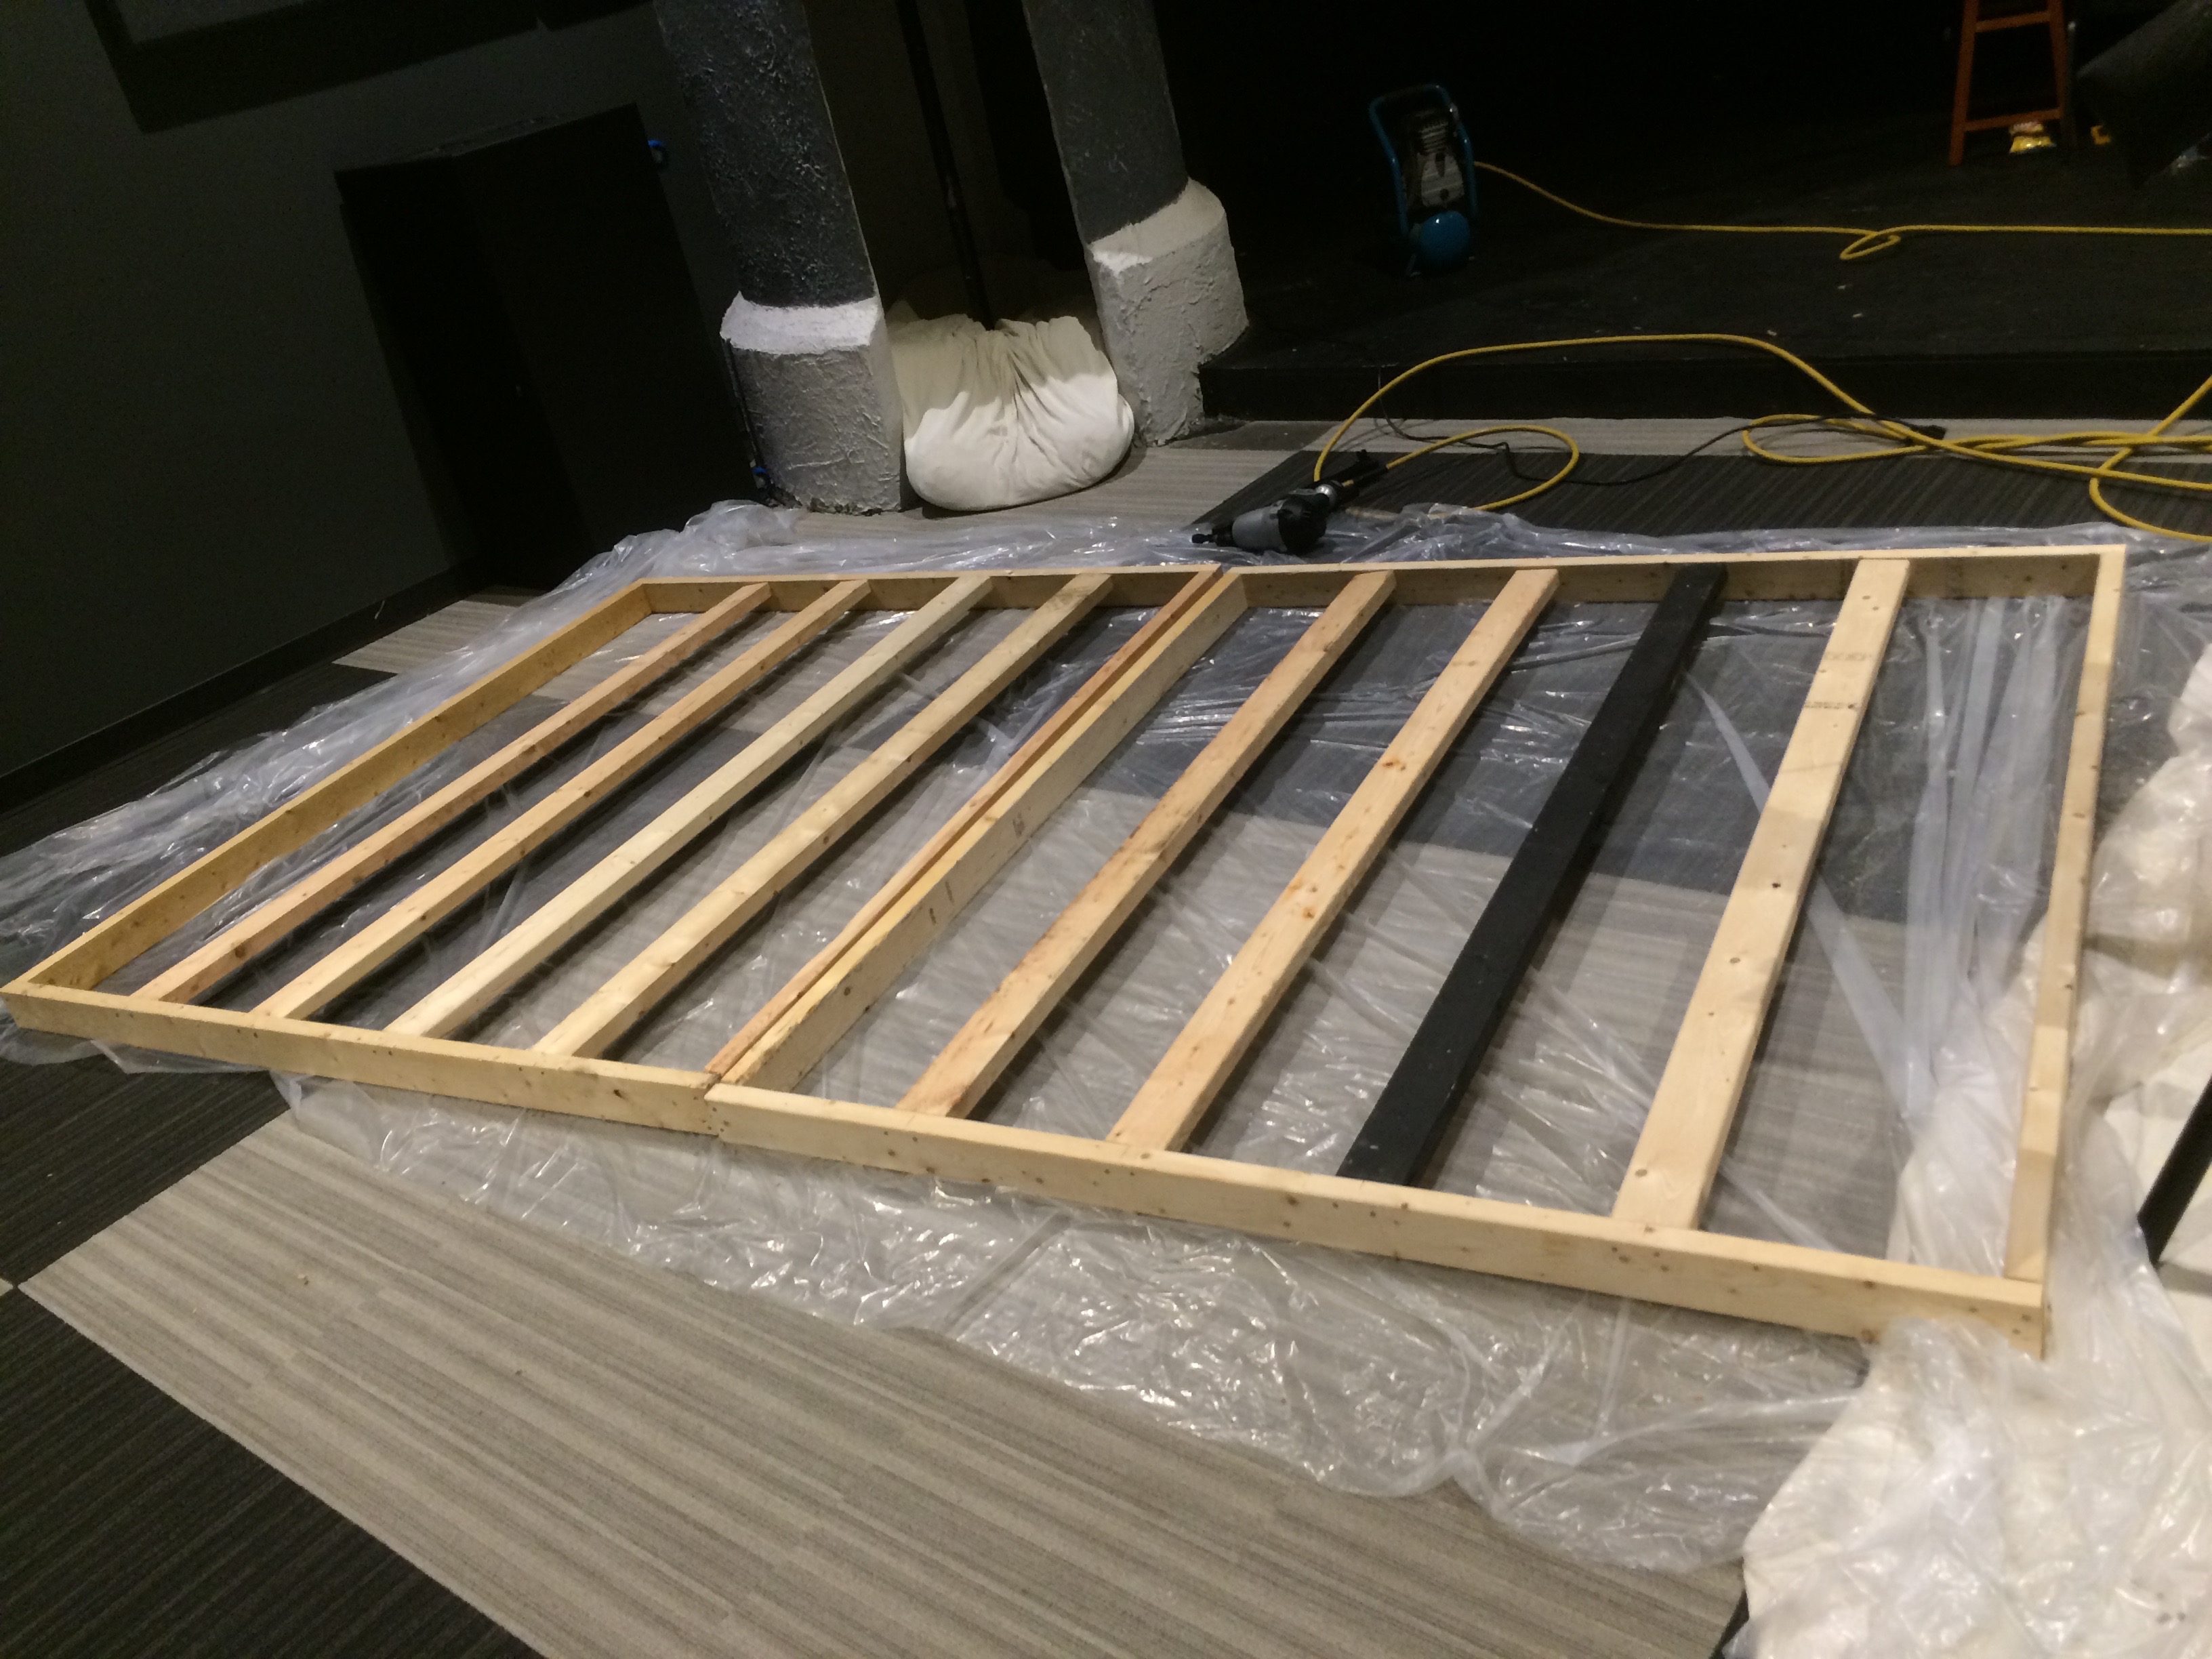
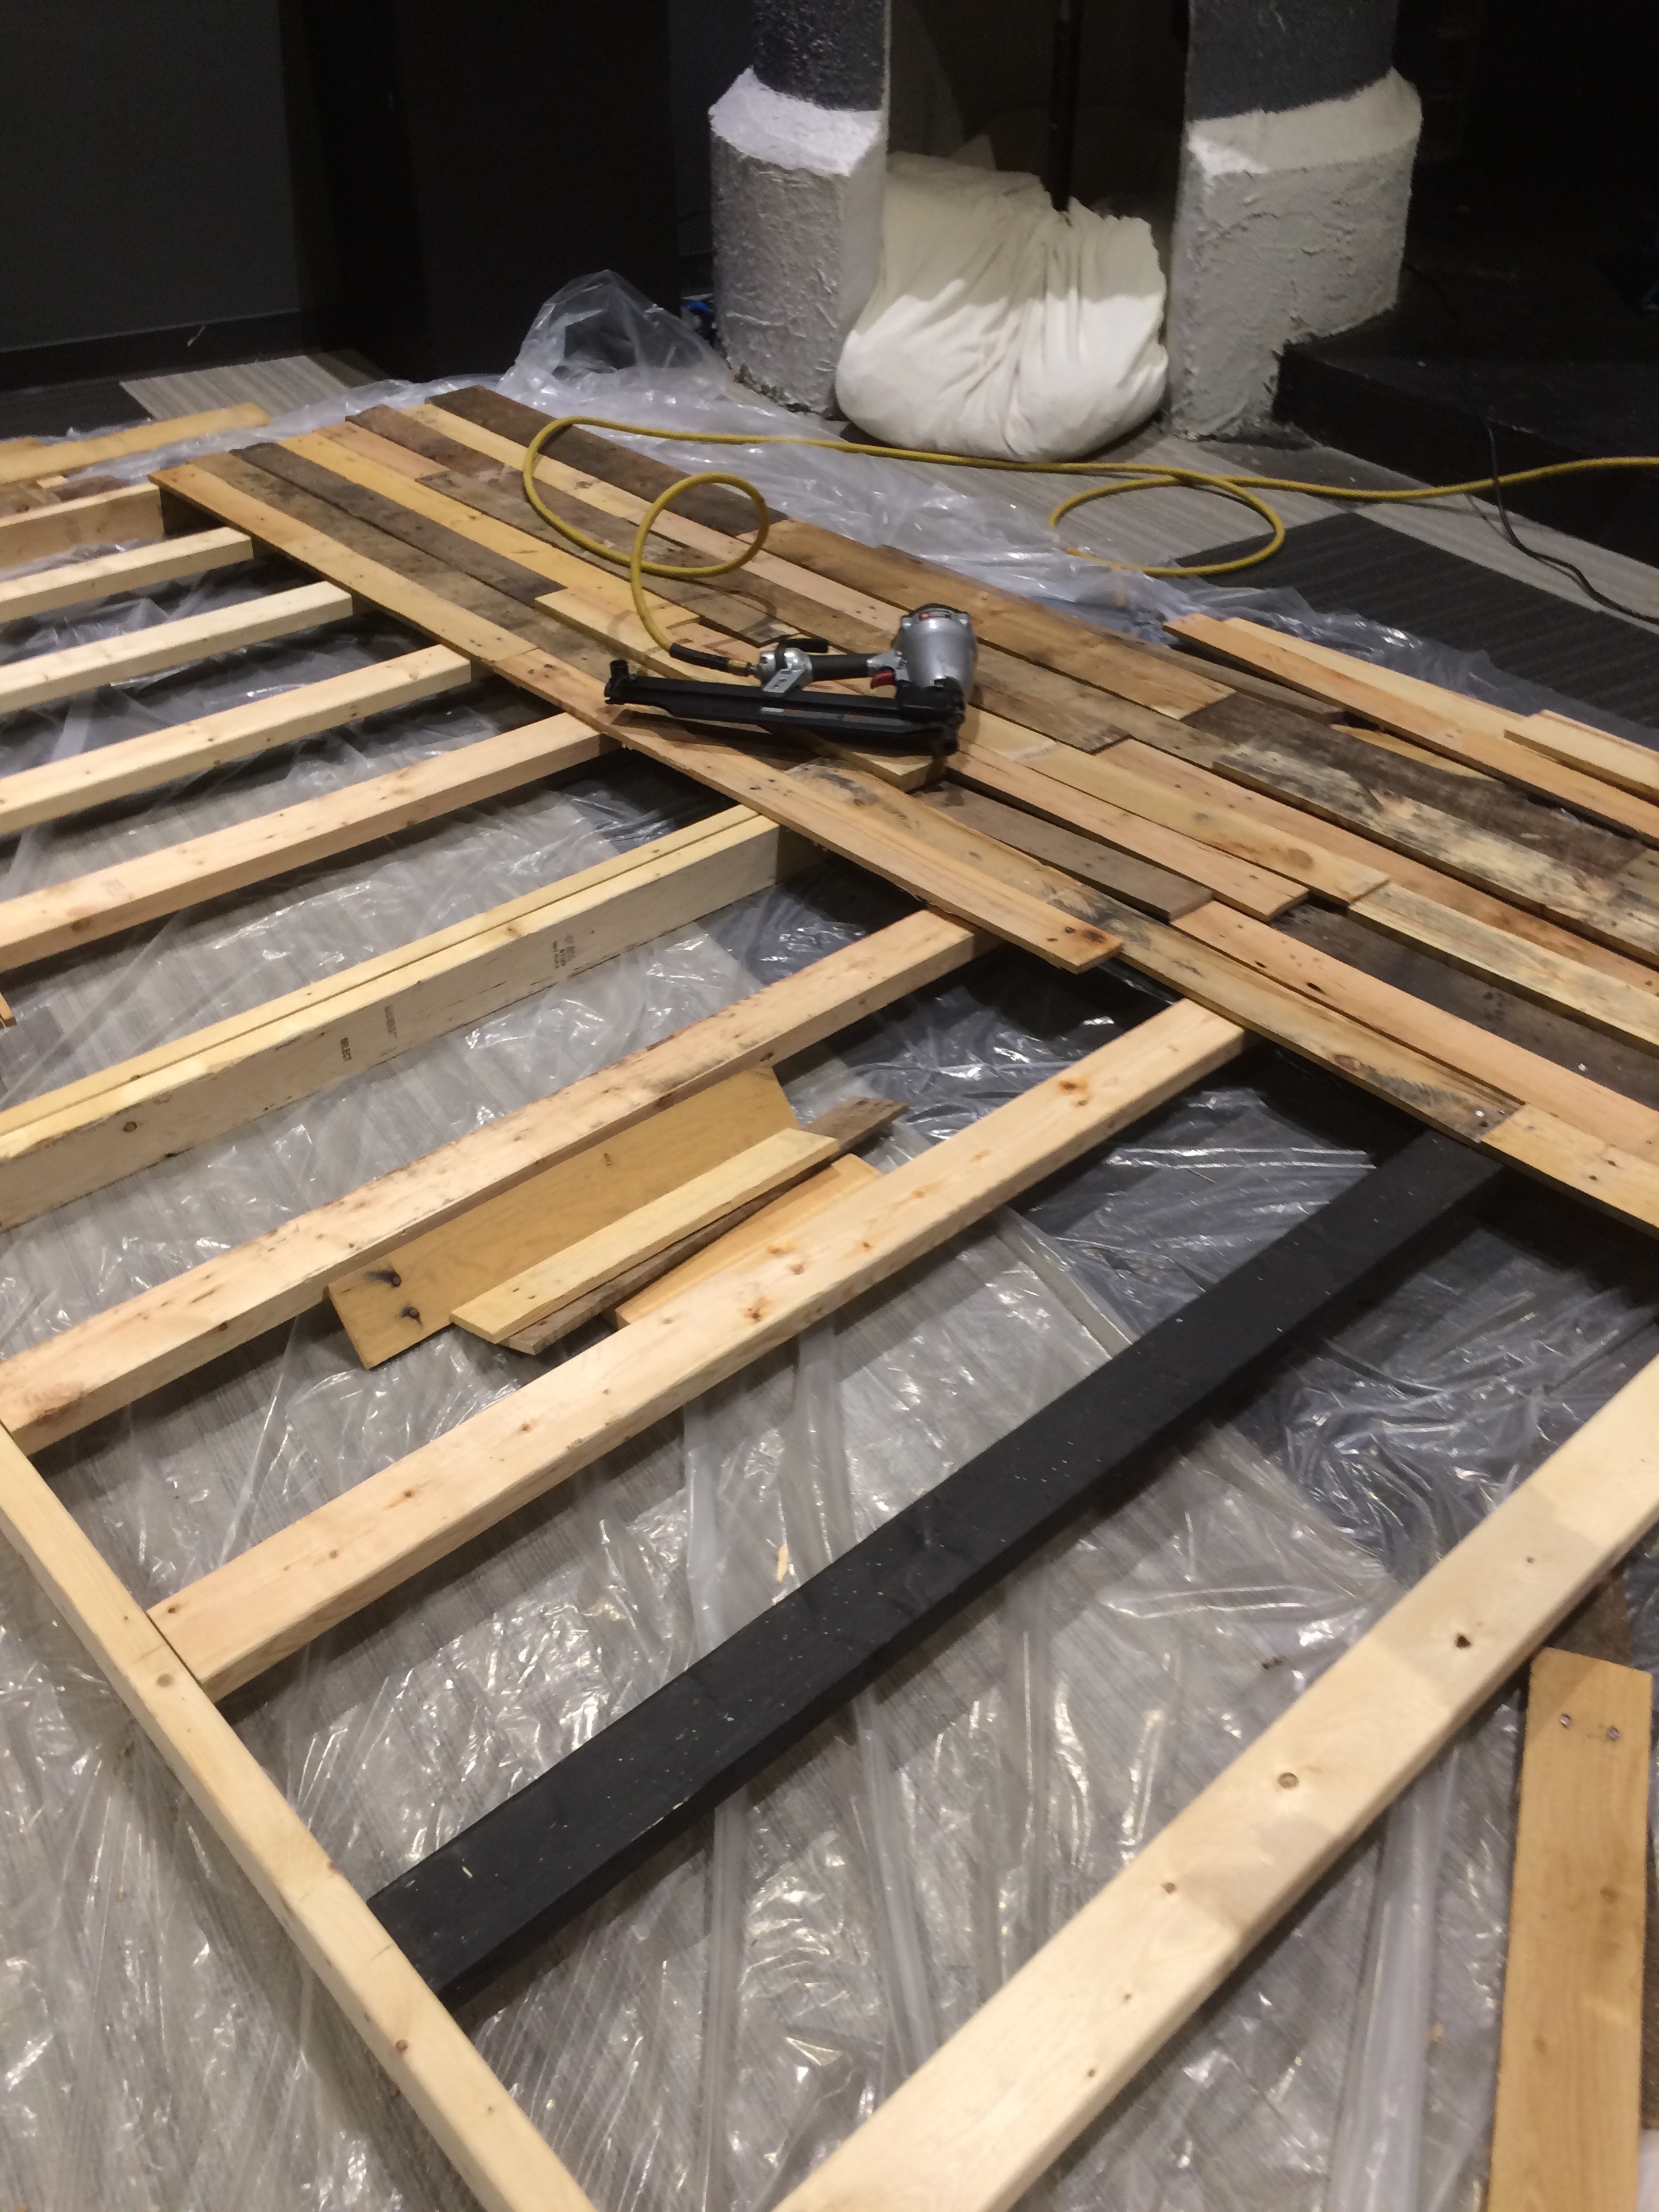
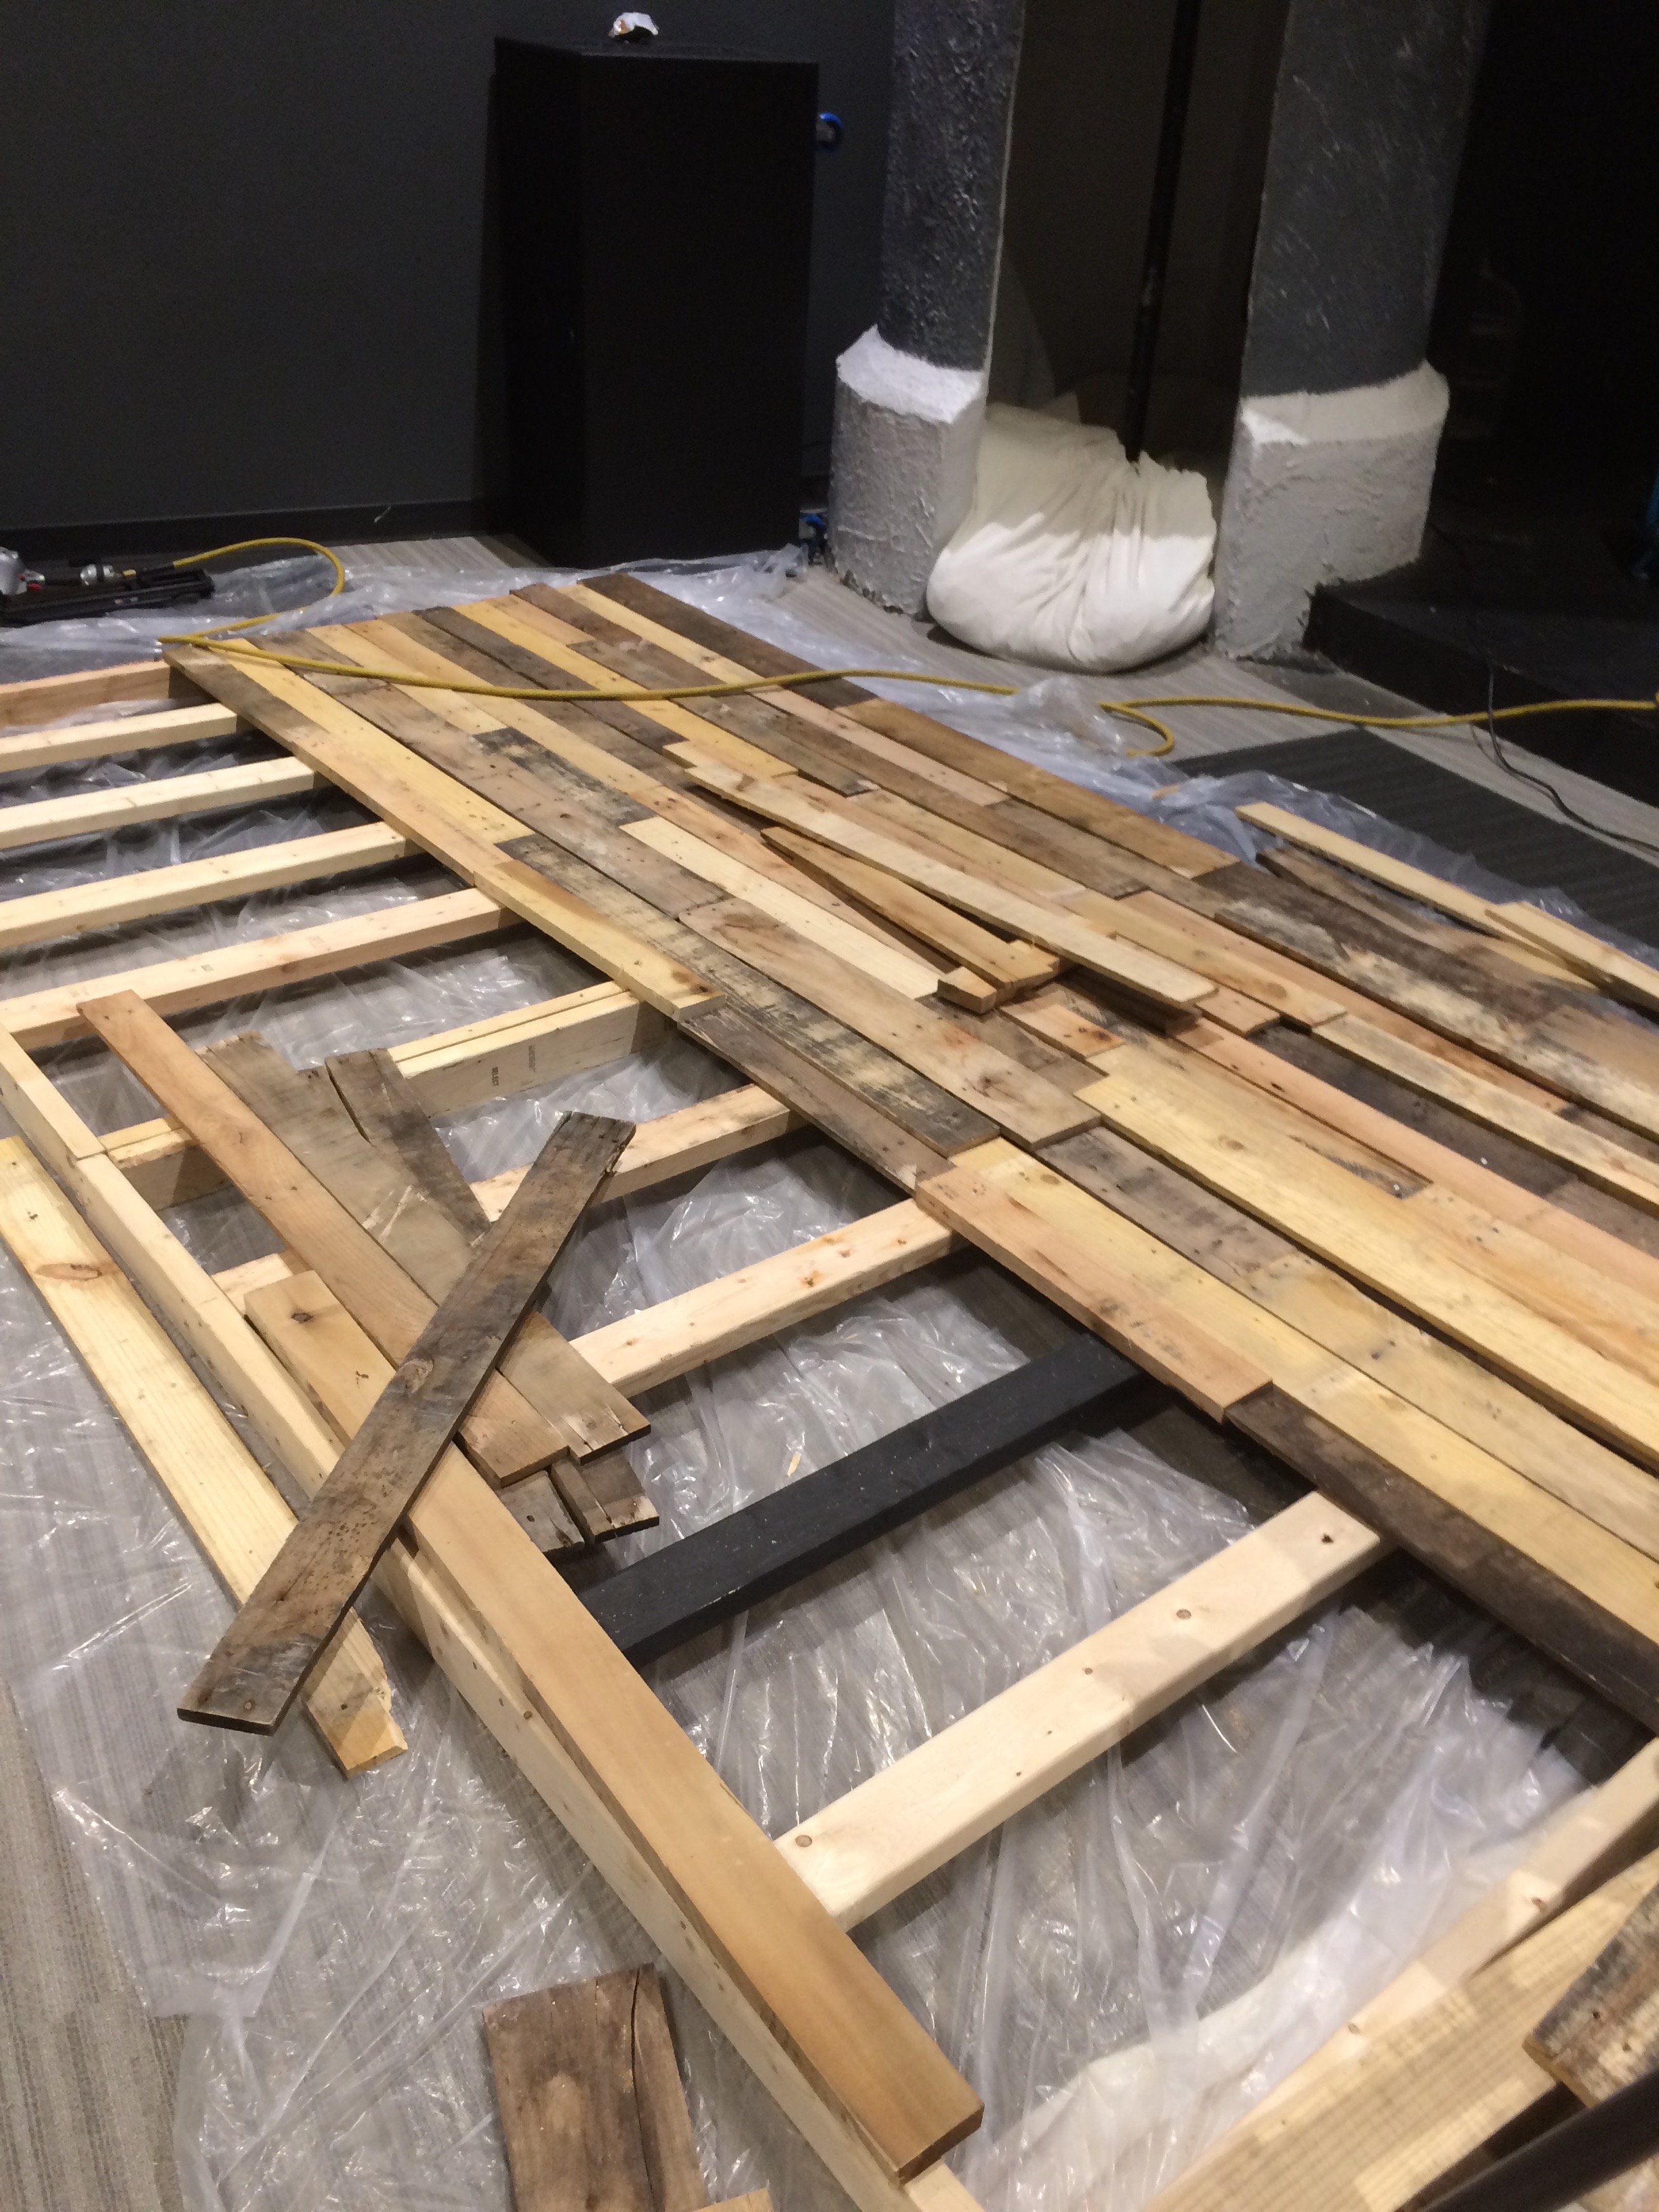
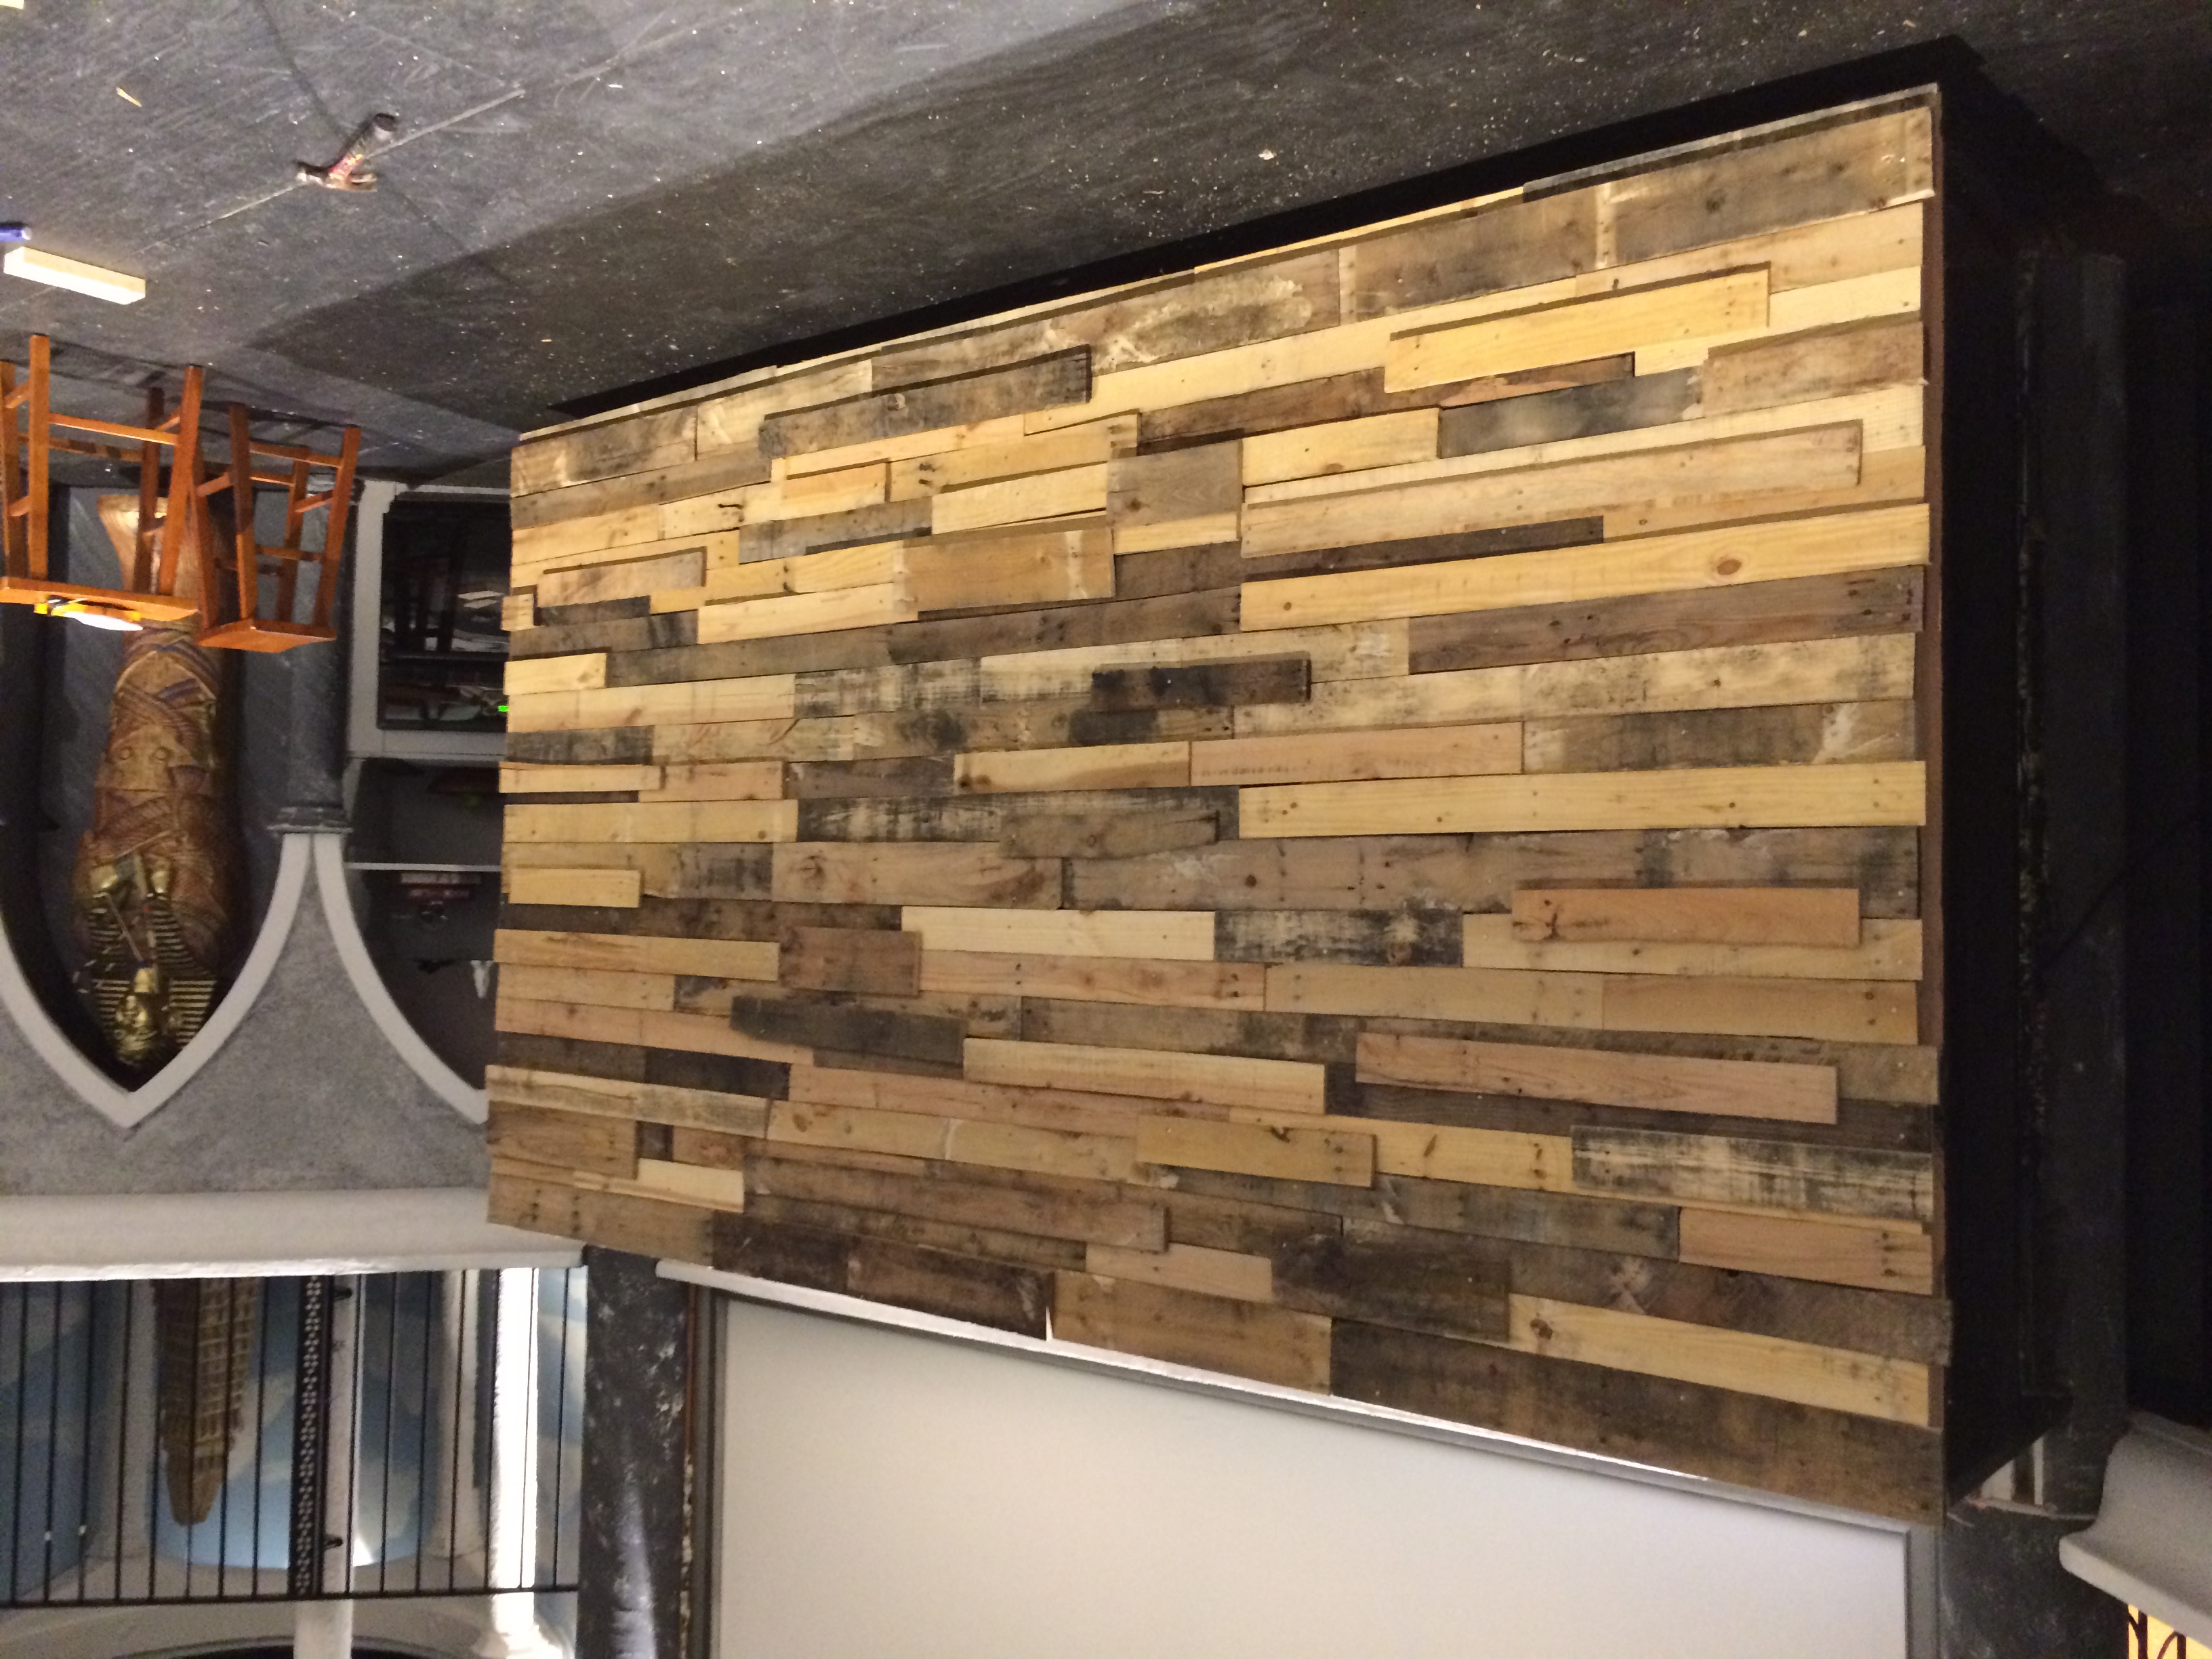
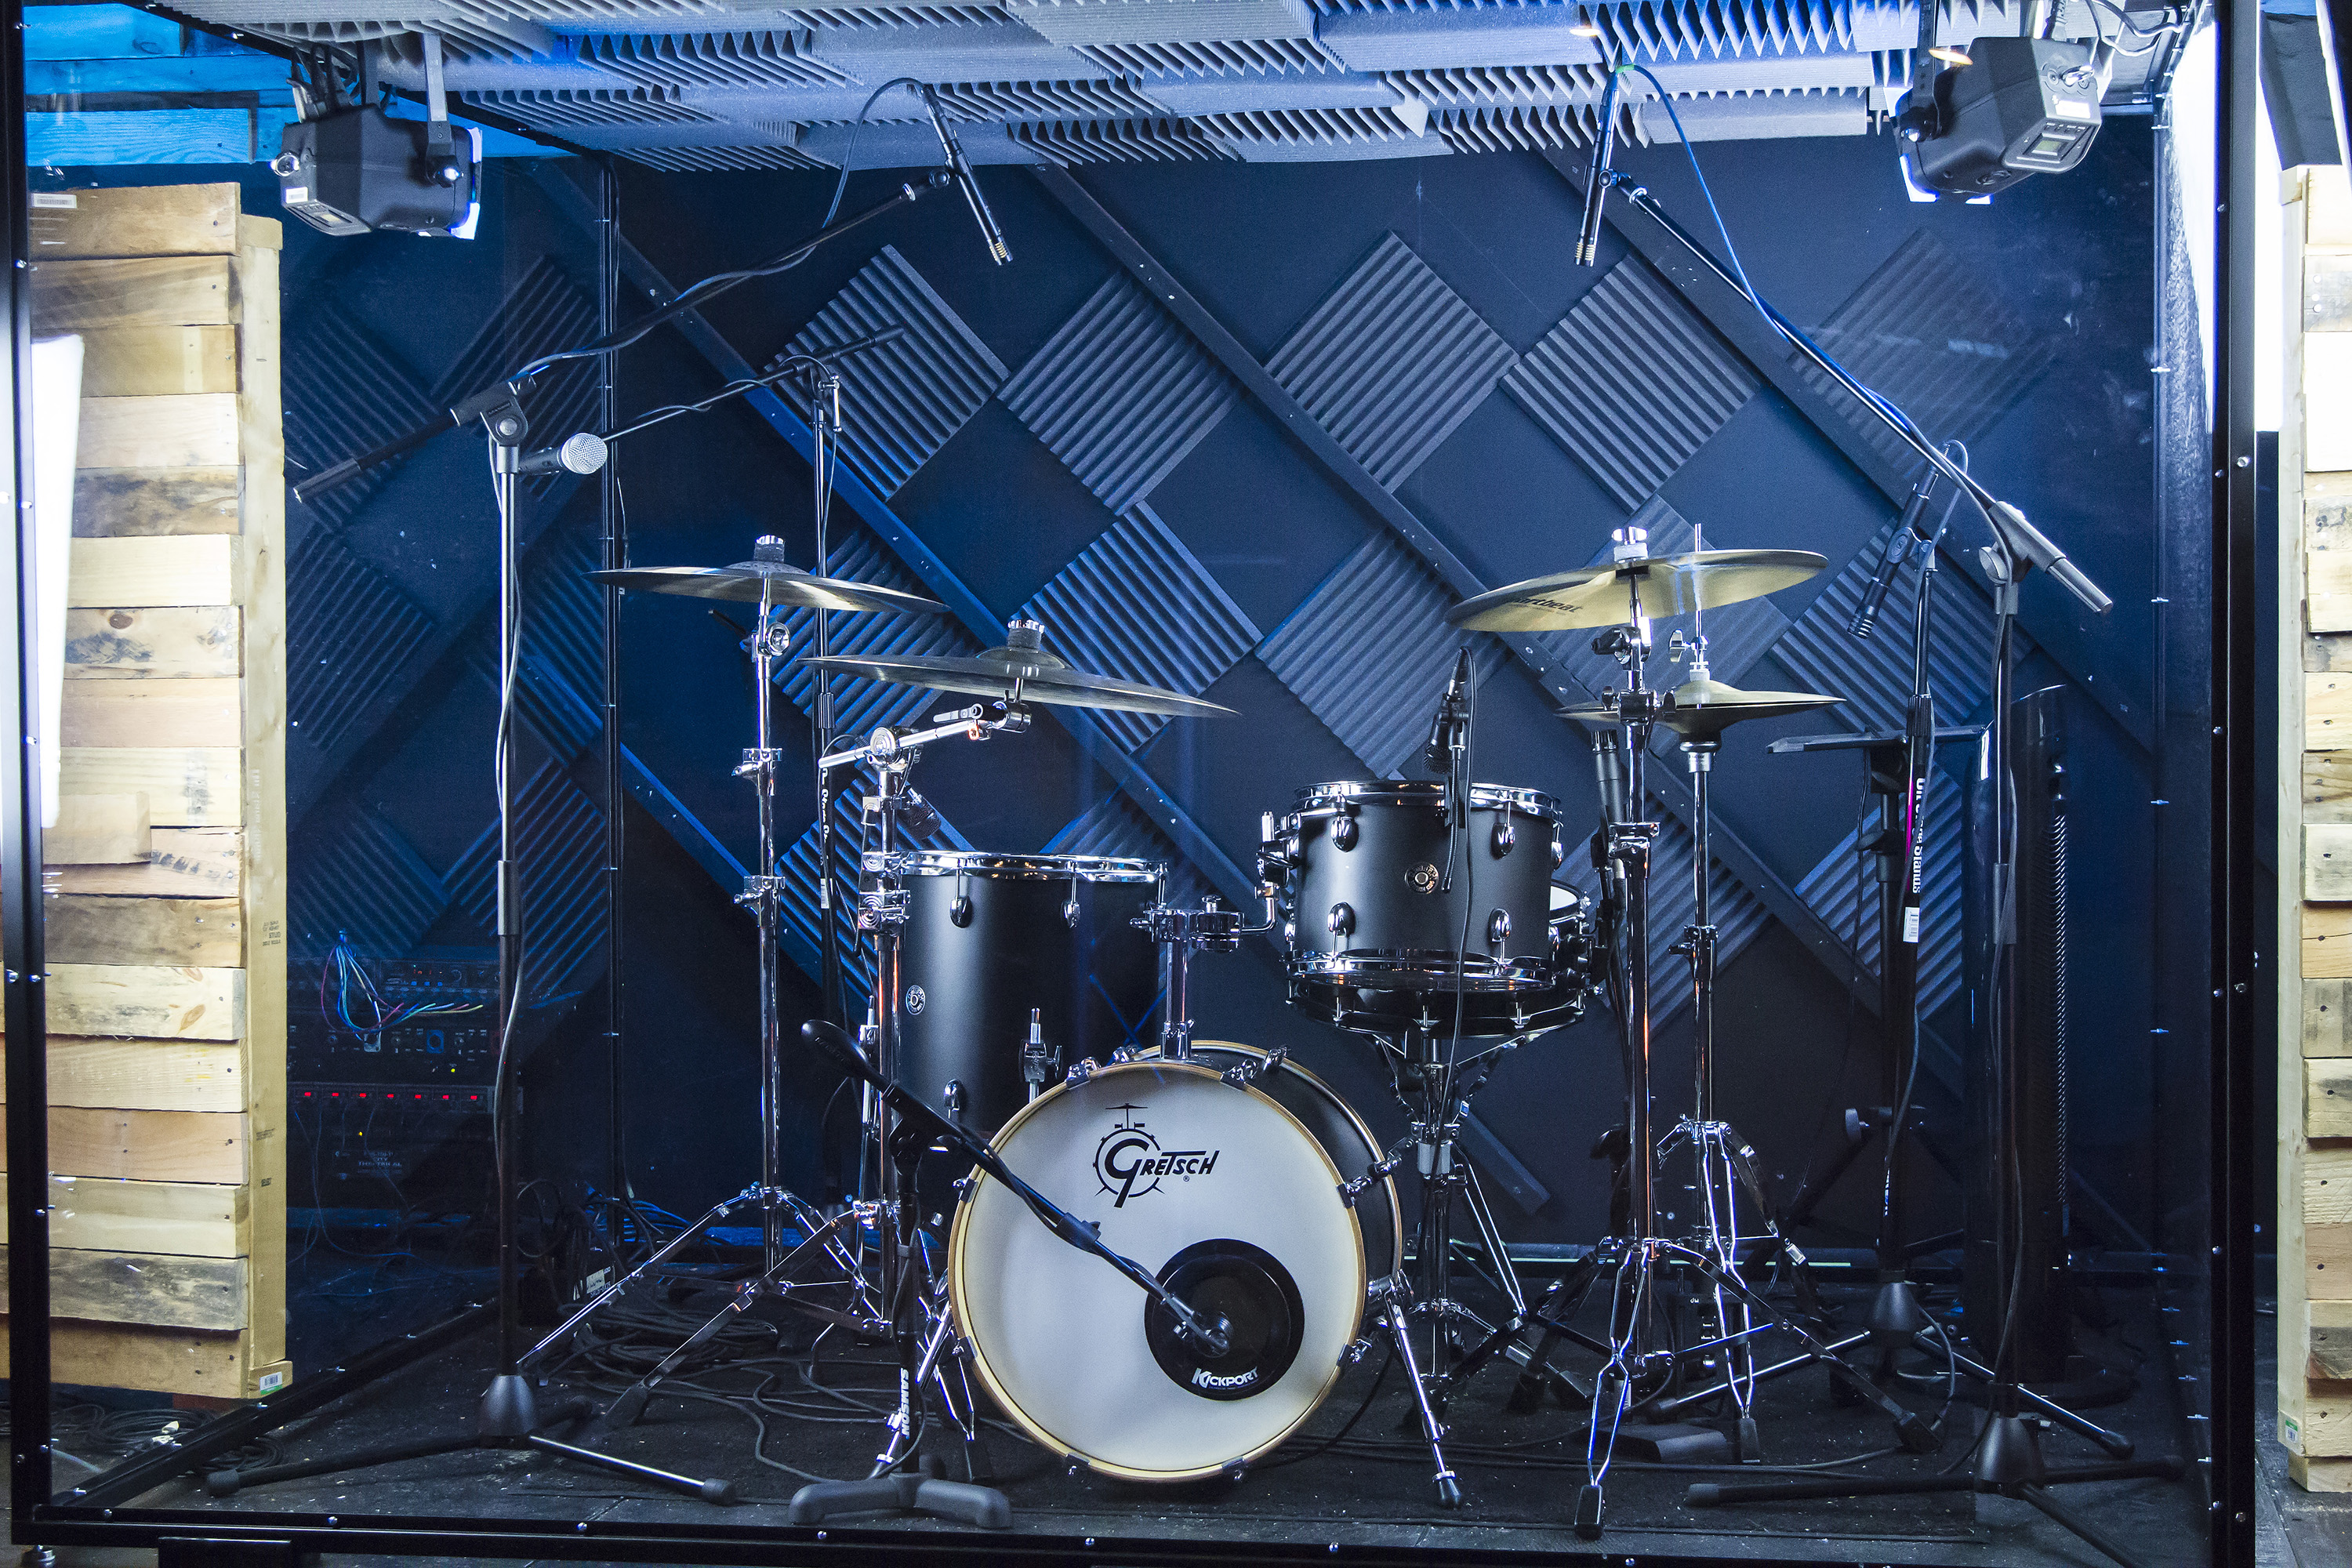
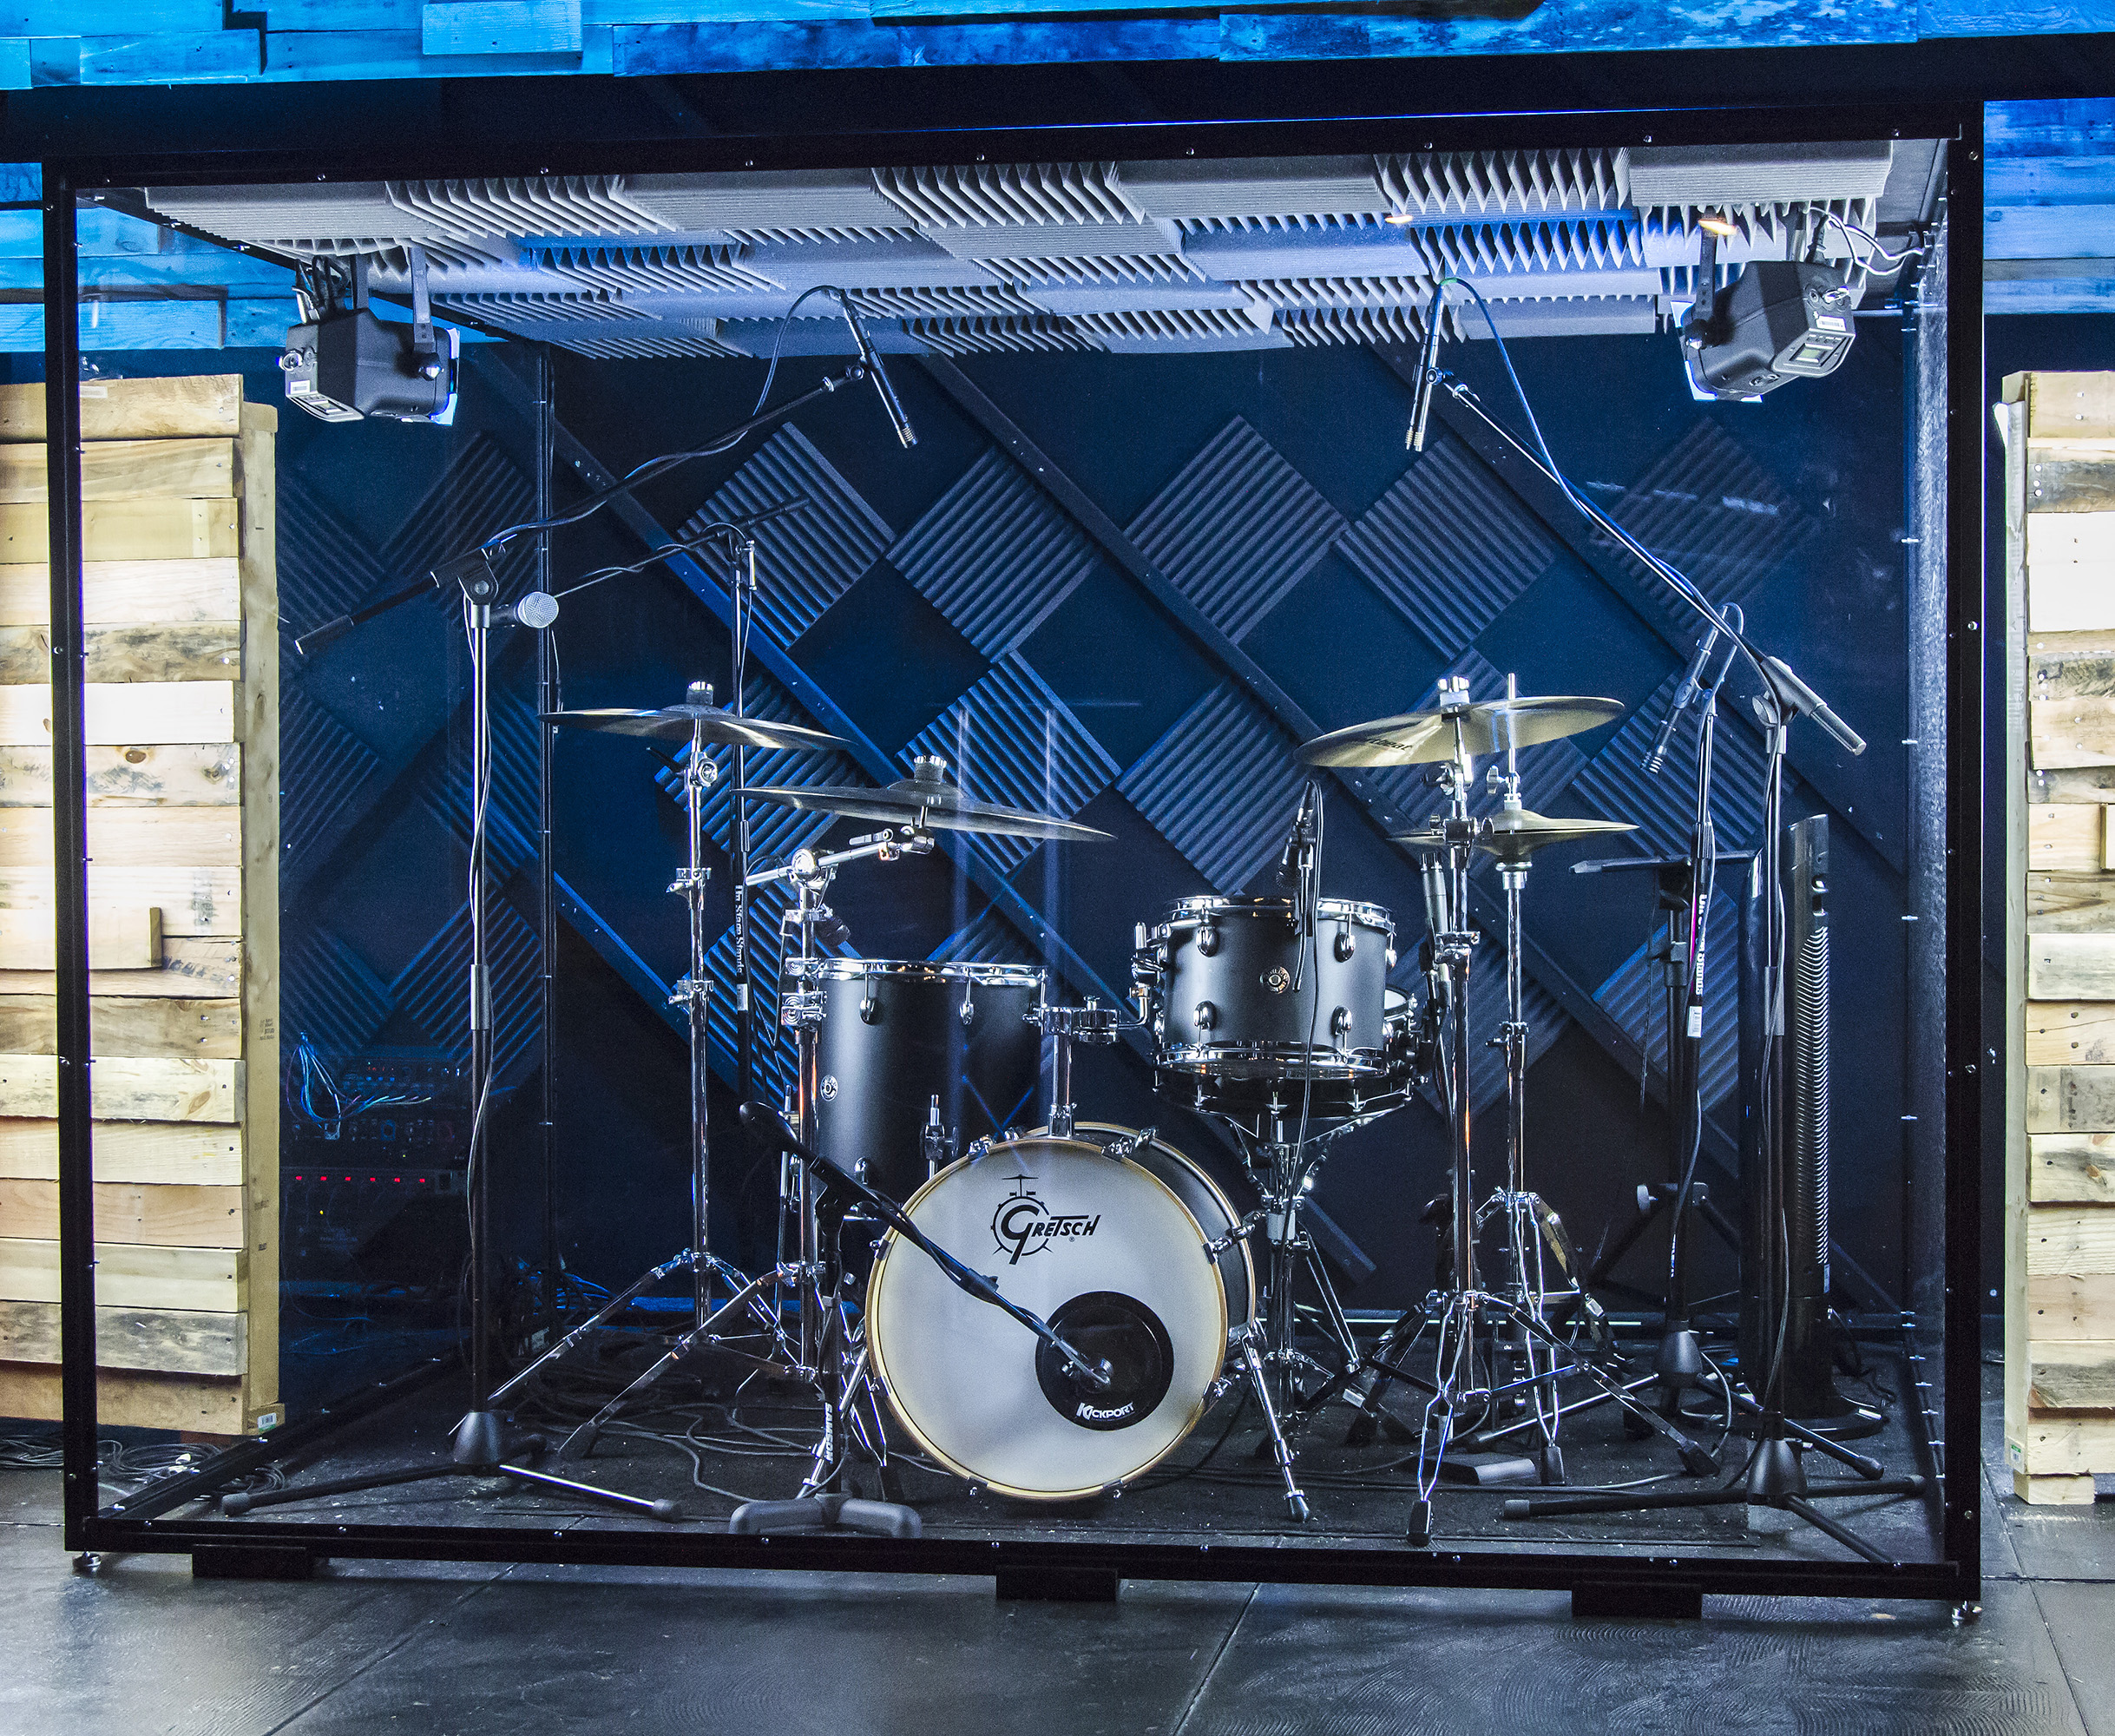
They recently built a custom drum enclosure for their student ministry space and needed a set that ensured that the enclosure wasn’t the focal point of our stage. Their past four sets had been based on white cardboard/Coroplast, so with reclaimed wood sets being “all the rage,” they decided to built a reclaimed wood set of their own. Chess was actually a little nervous about this set build in terms of time and labor, but it came together significantly faster and easier than he expected. Day 1 was spent harvesting the wood (3-4 hours), day 2 was spent building the stage pieces (4-6 hours), and day 3 was spent building the top wall pieces (3-4 hours). A grand total of ~14 hours and a cost of $0, as they already had plenty of 2x4s laying around for framing.
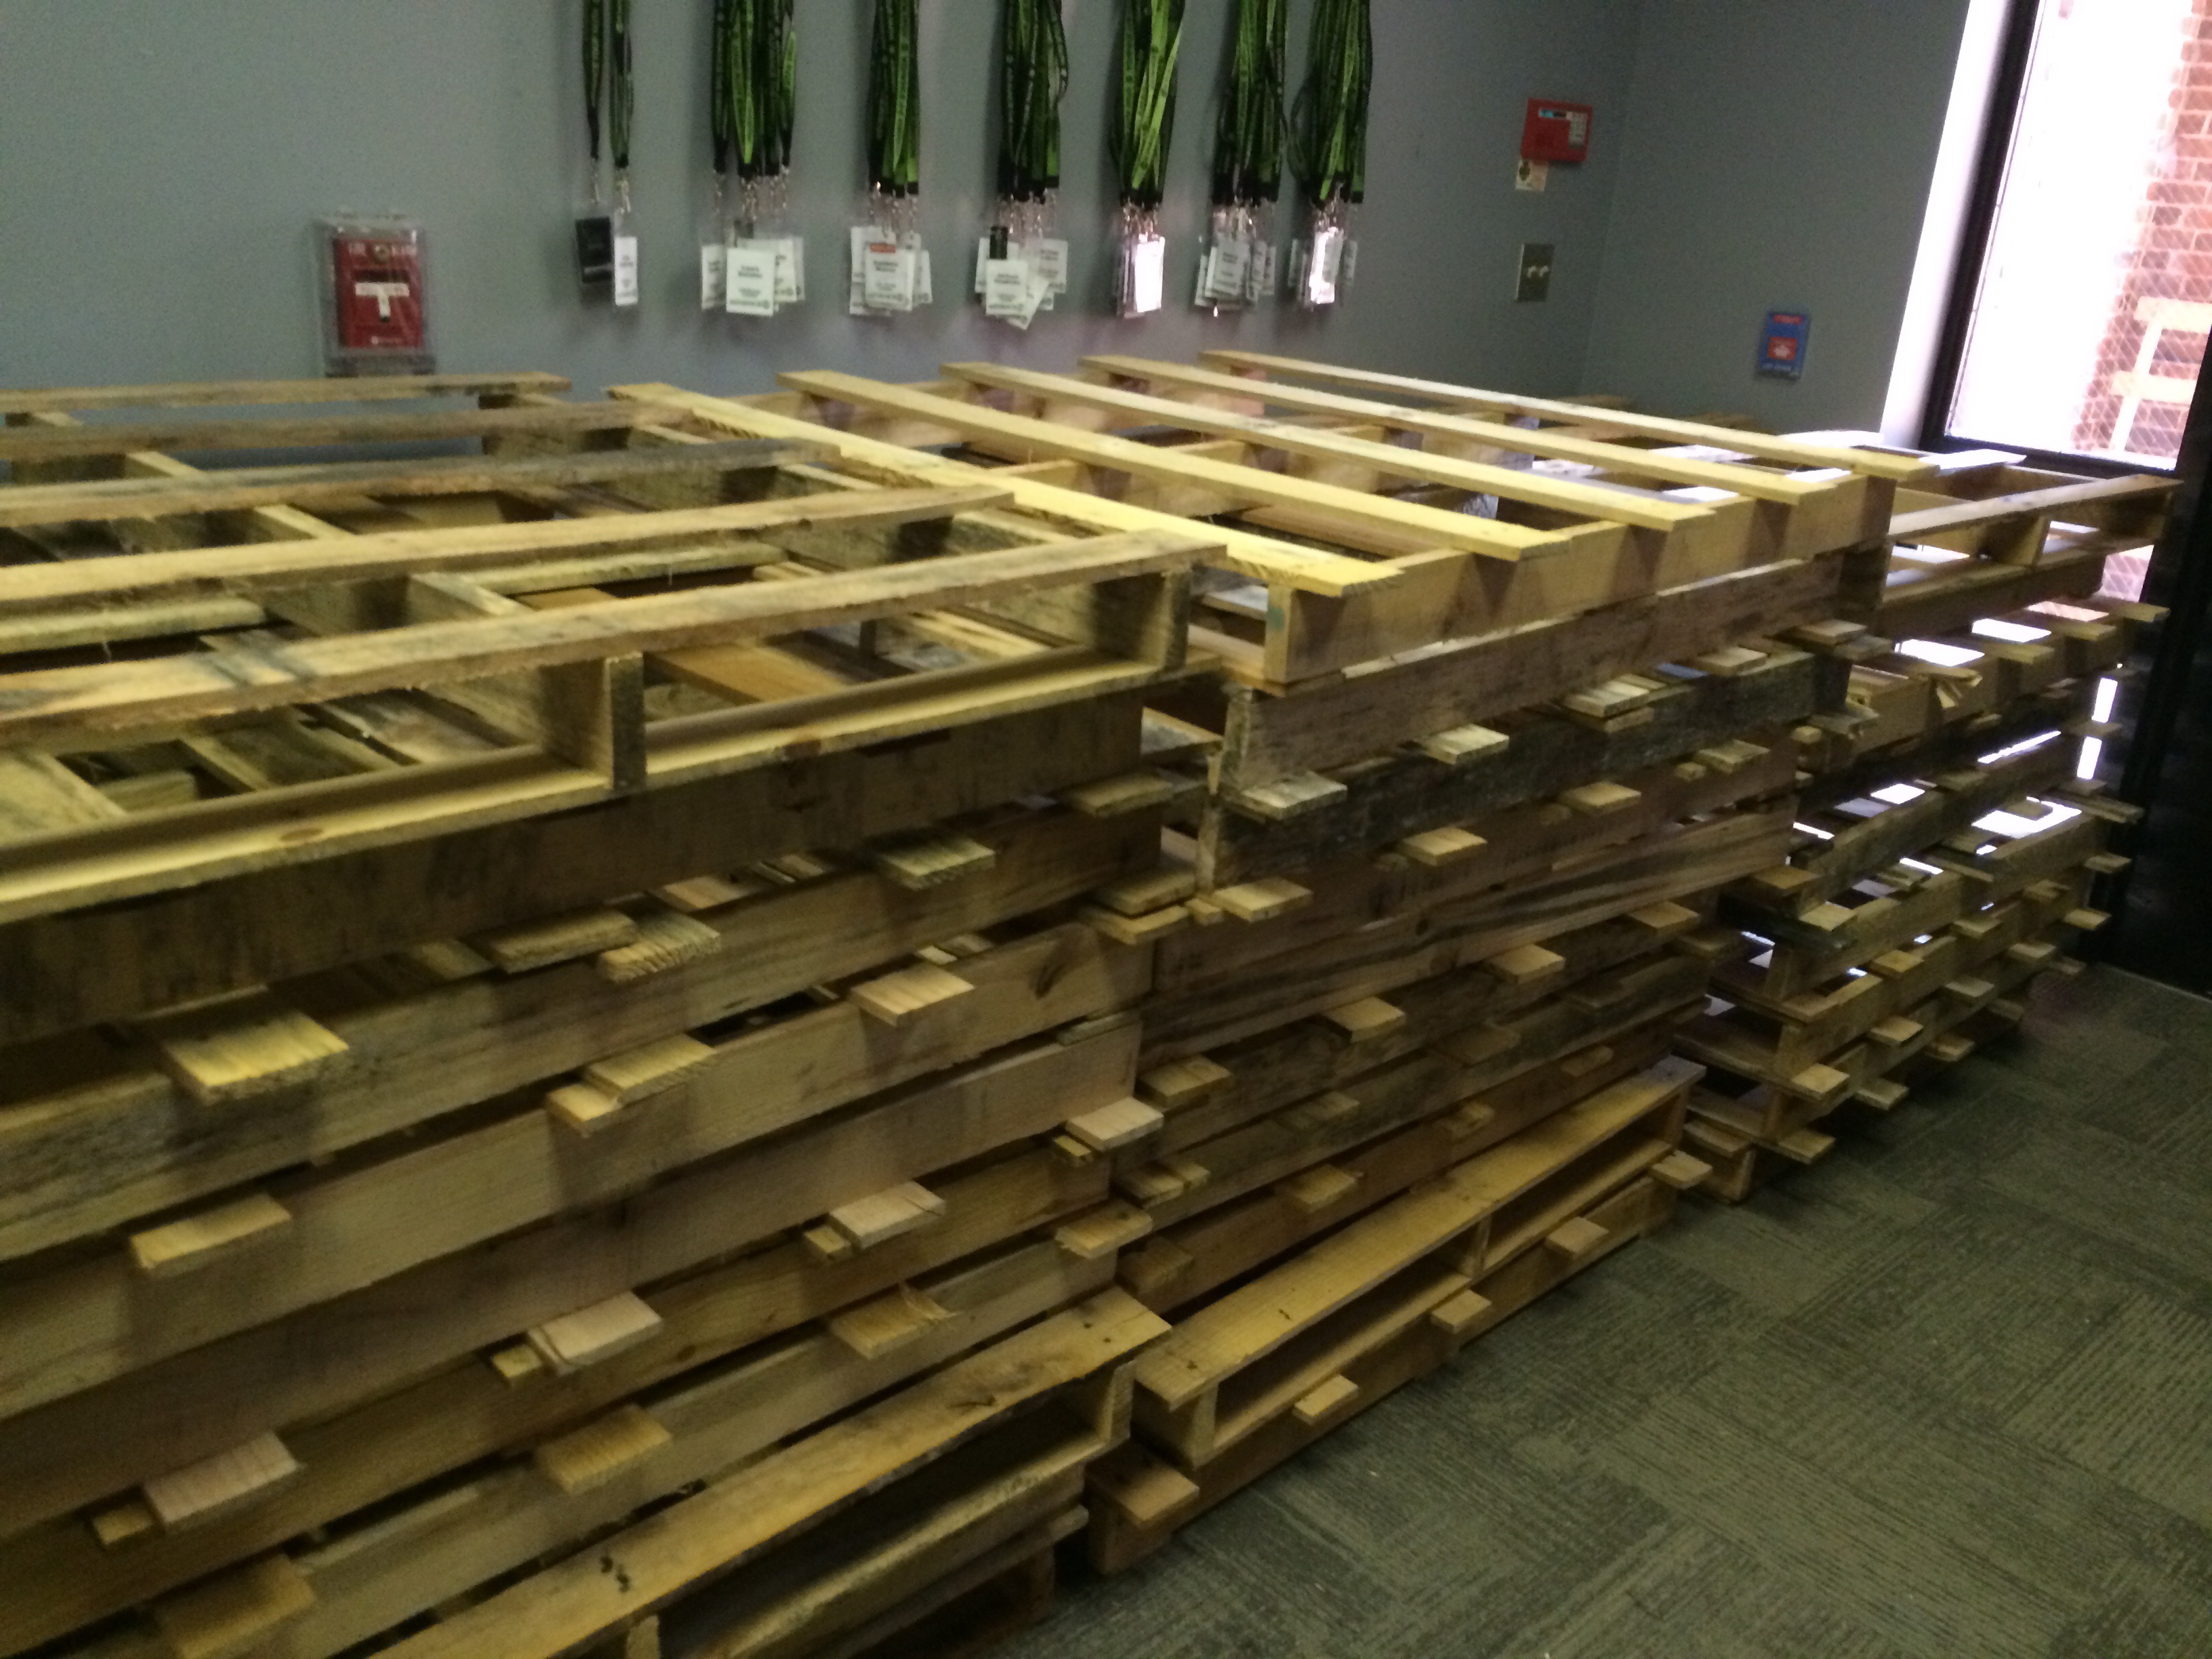
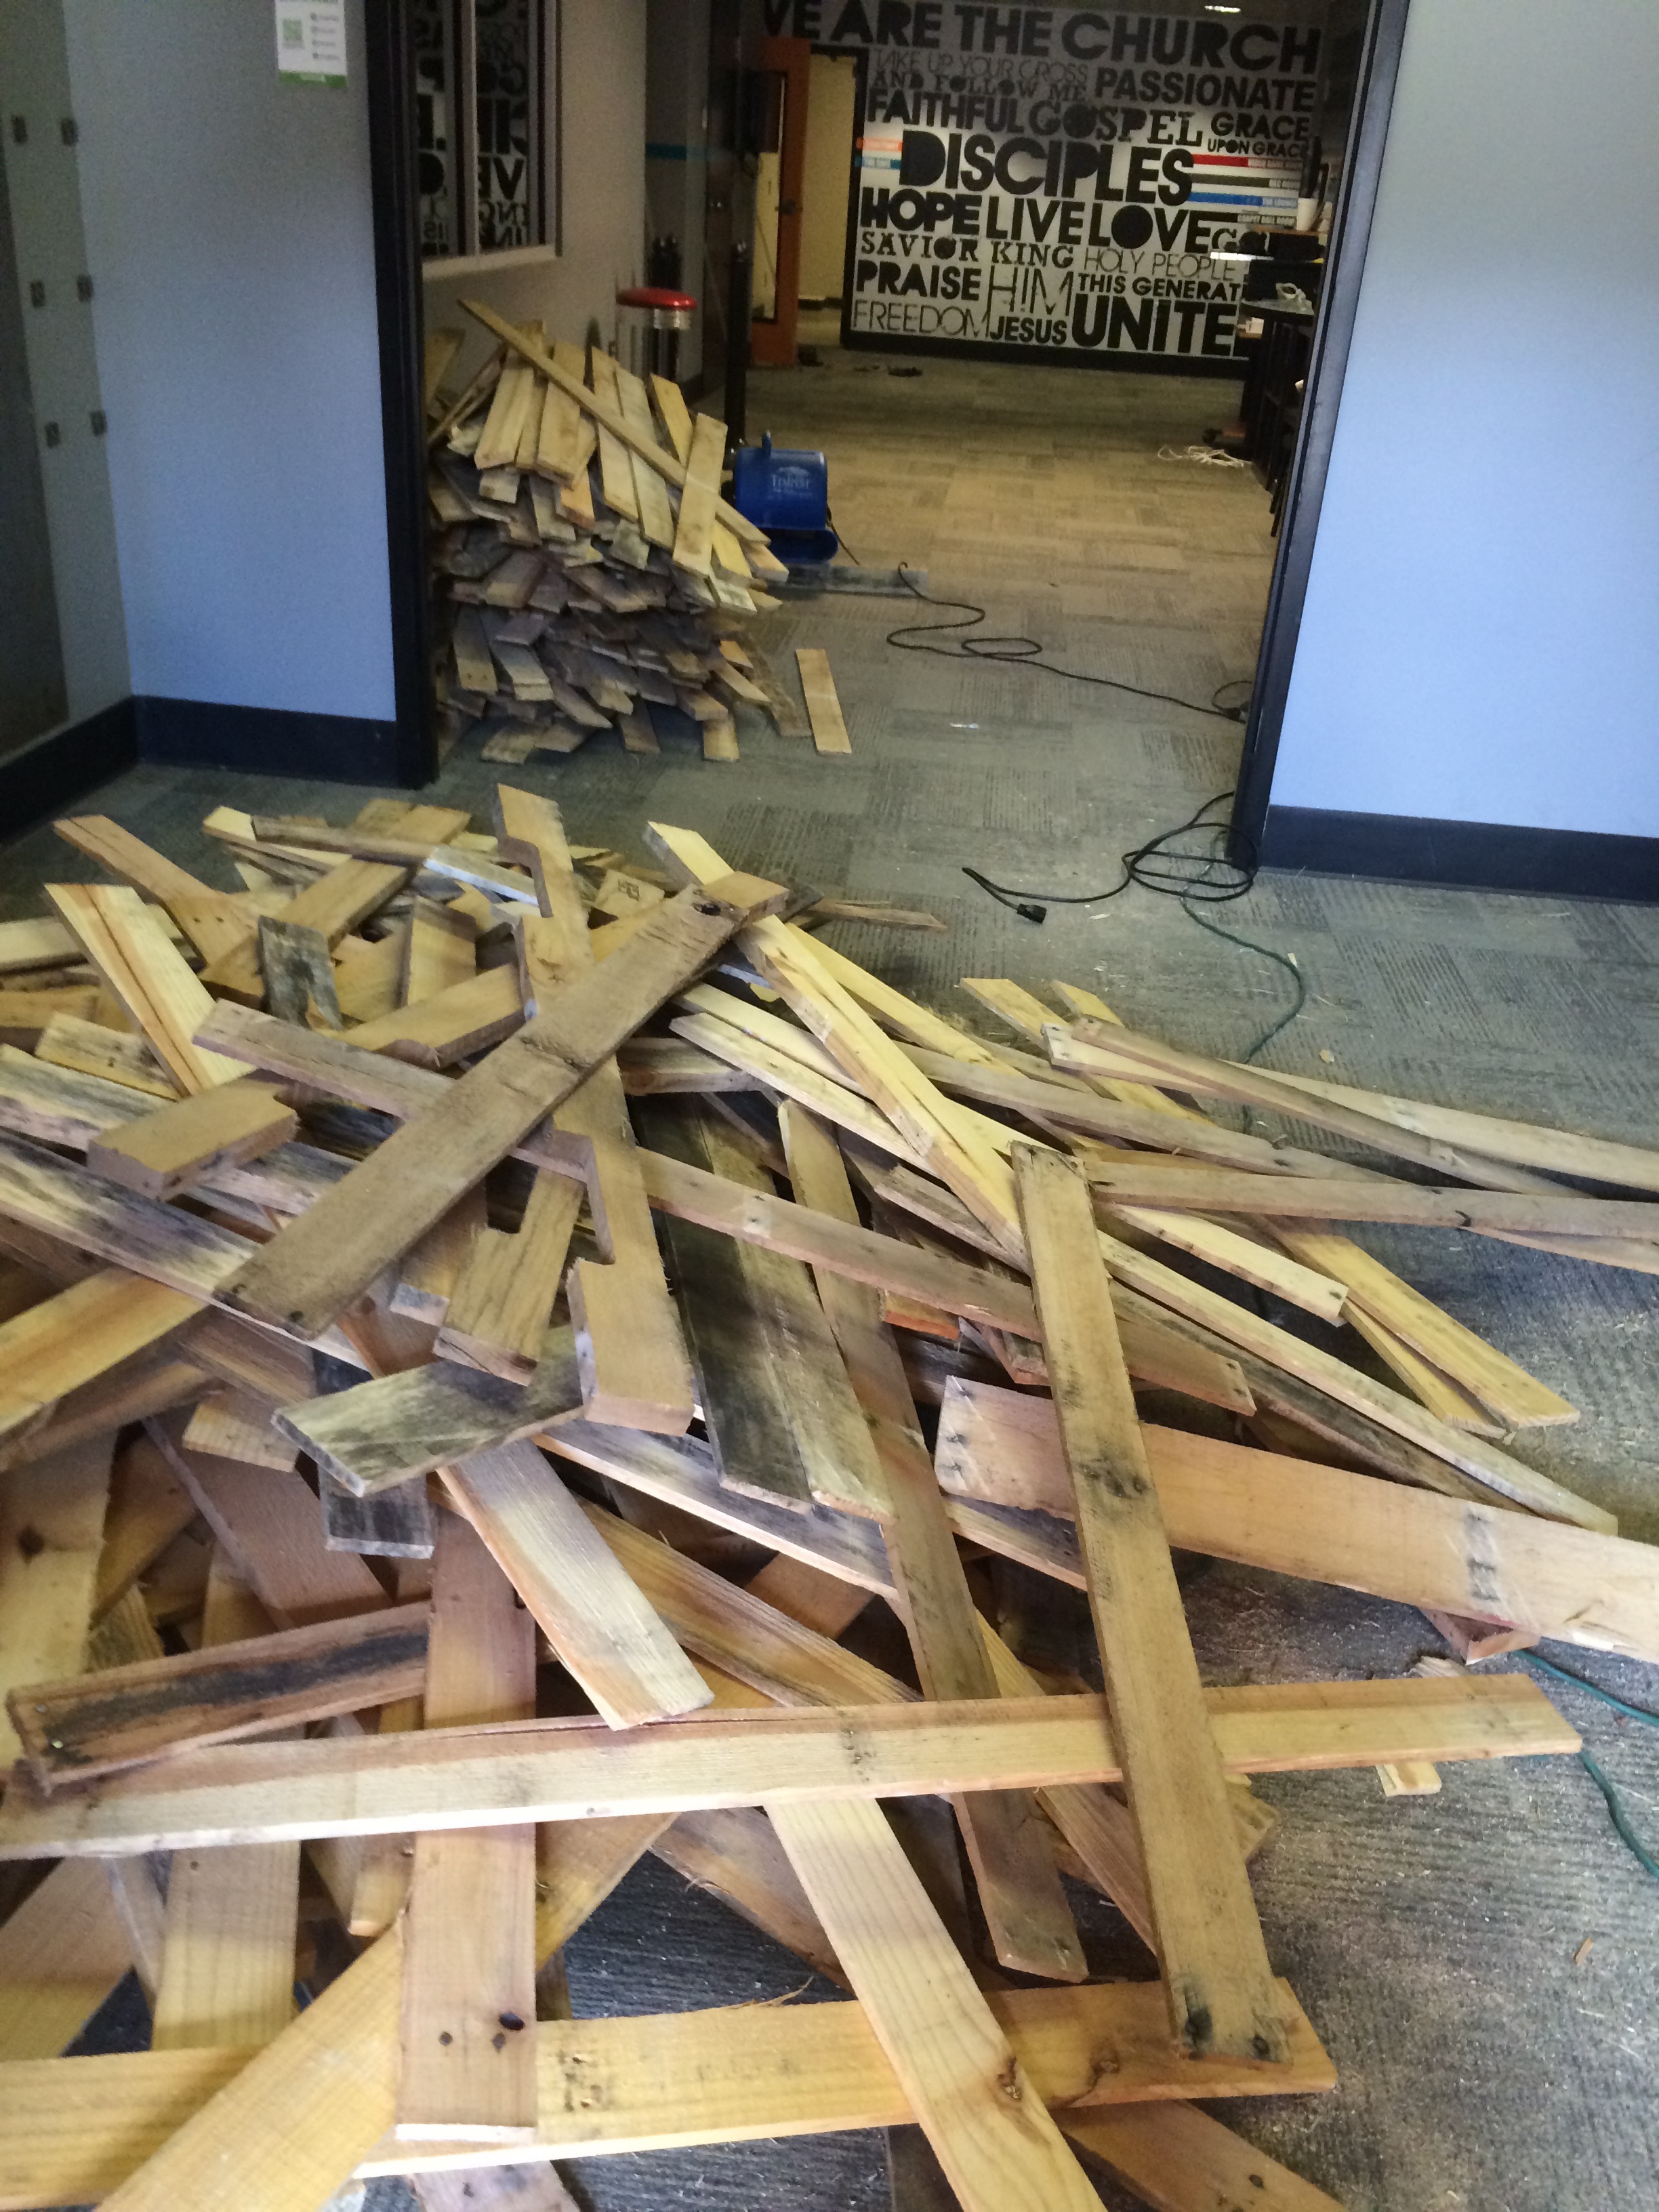
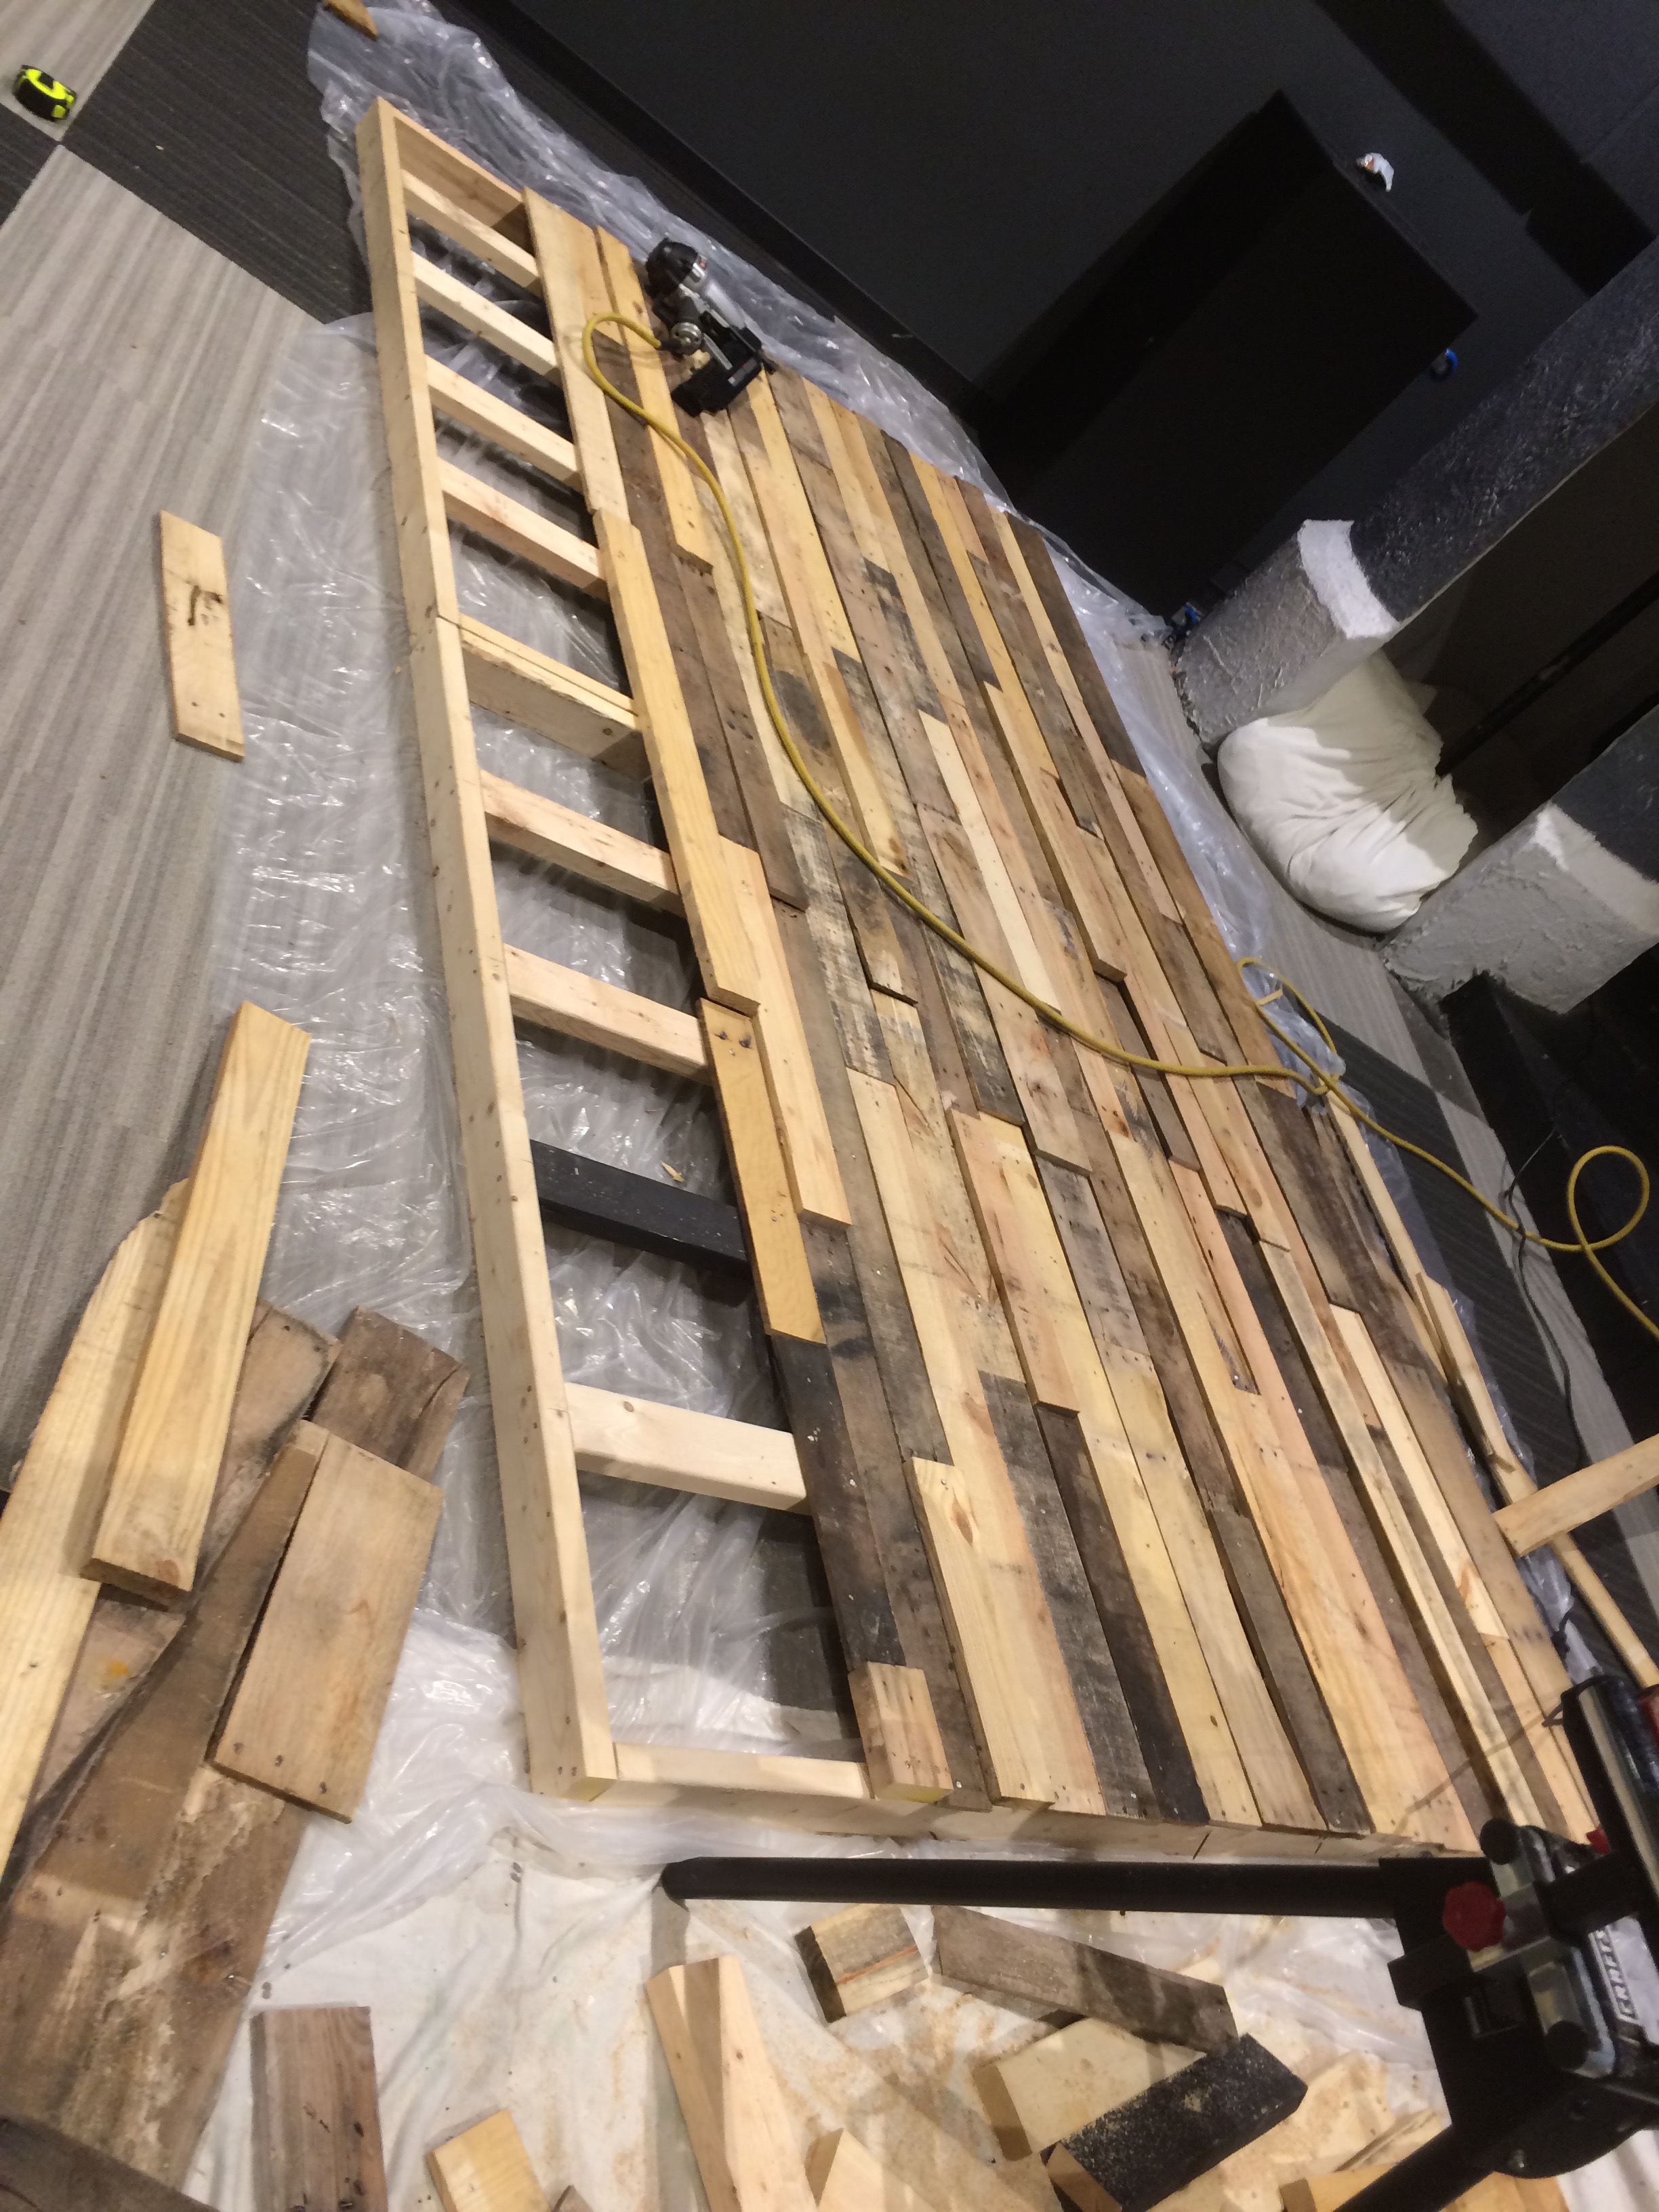
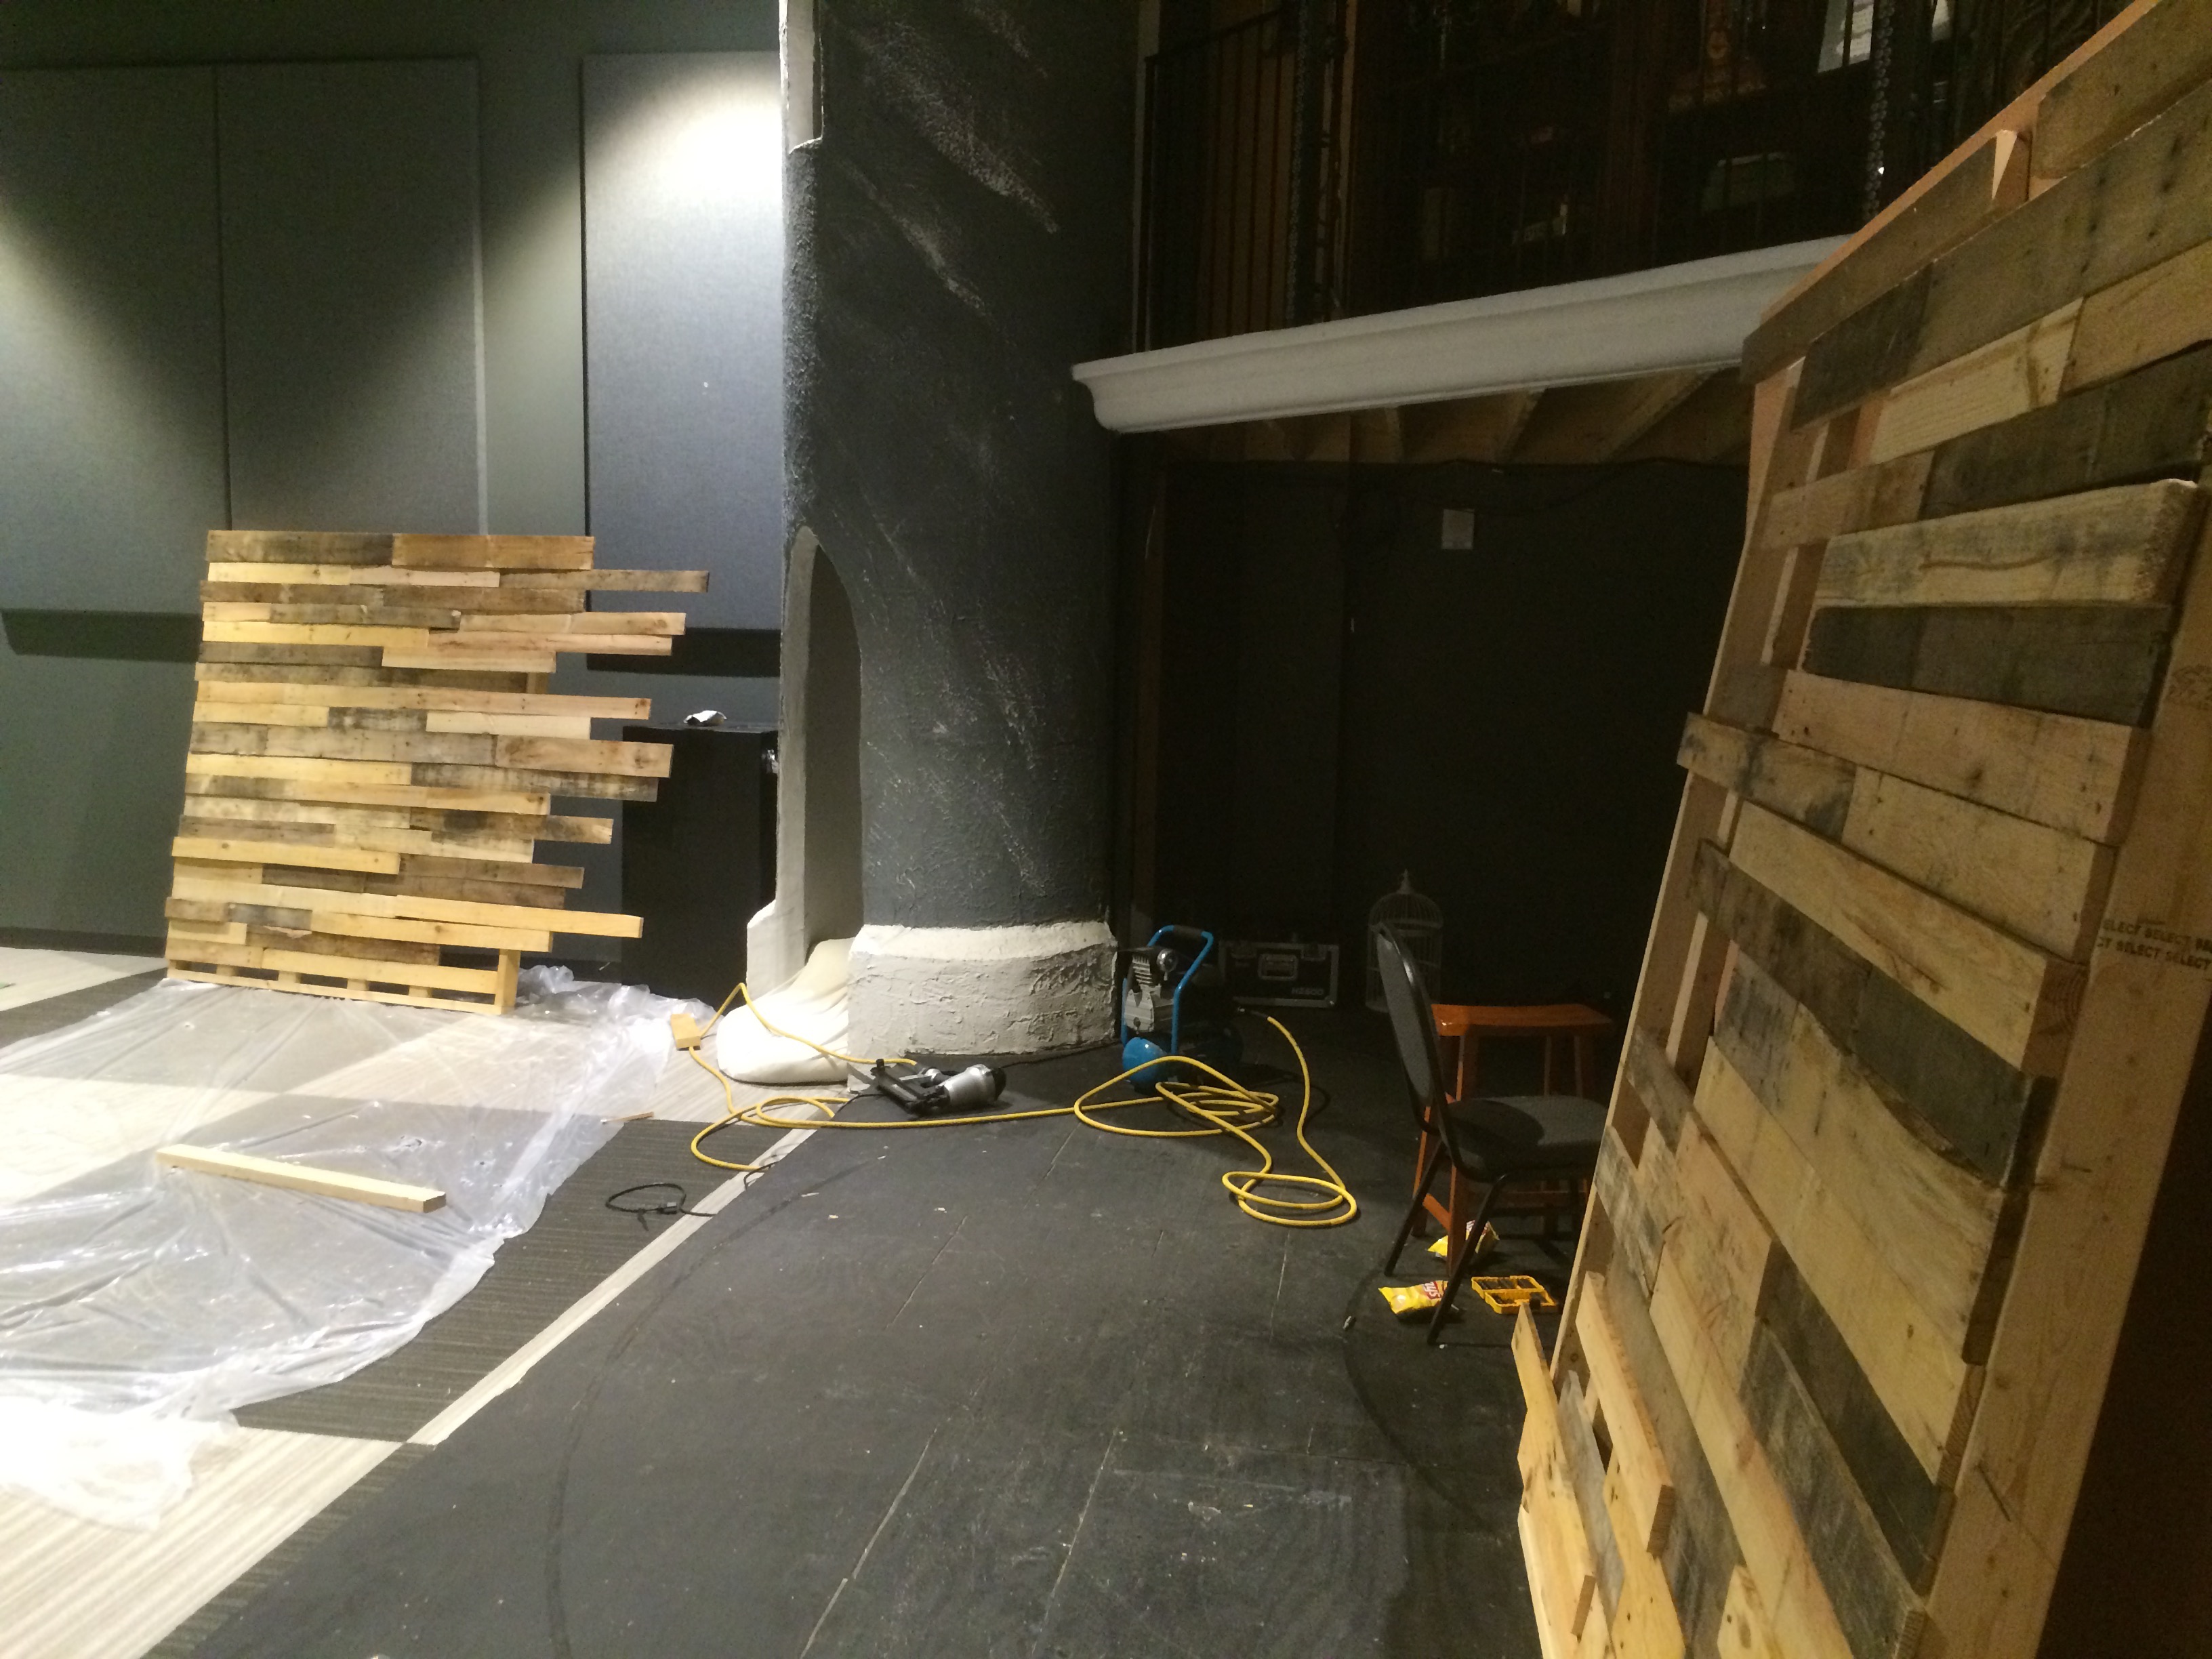
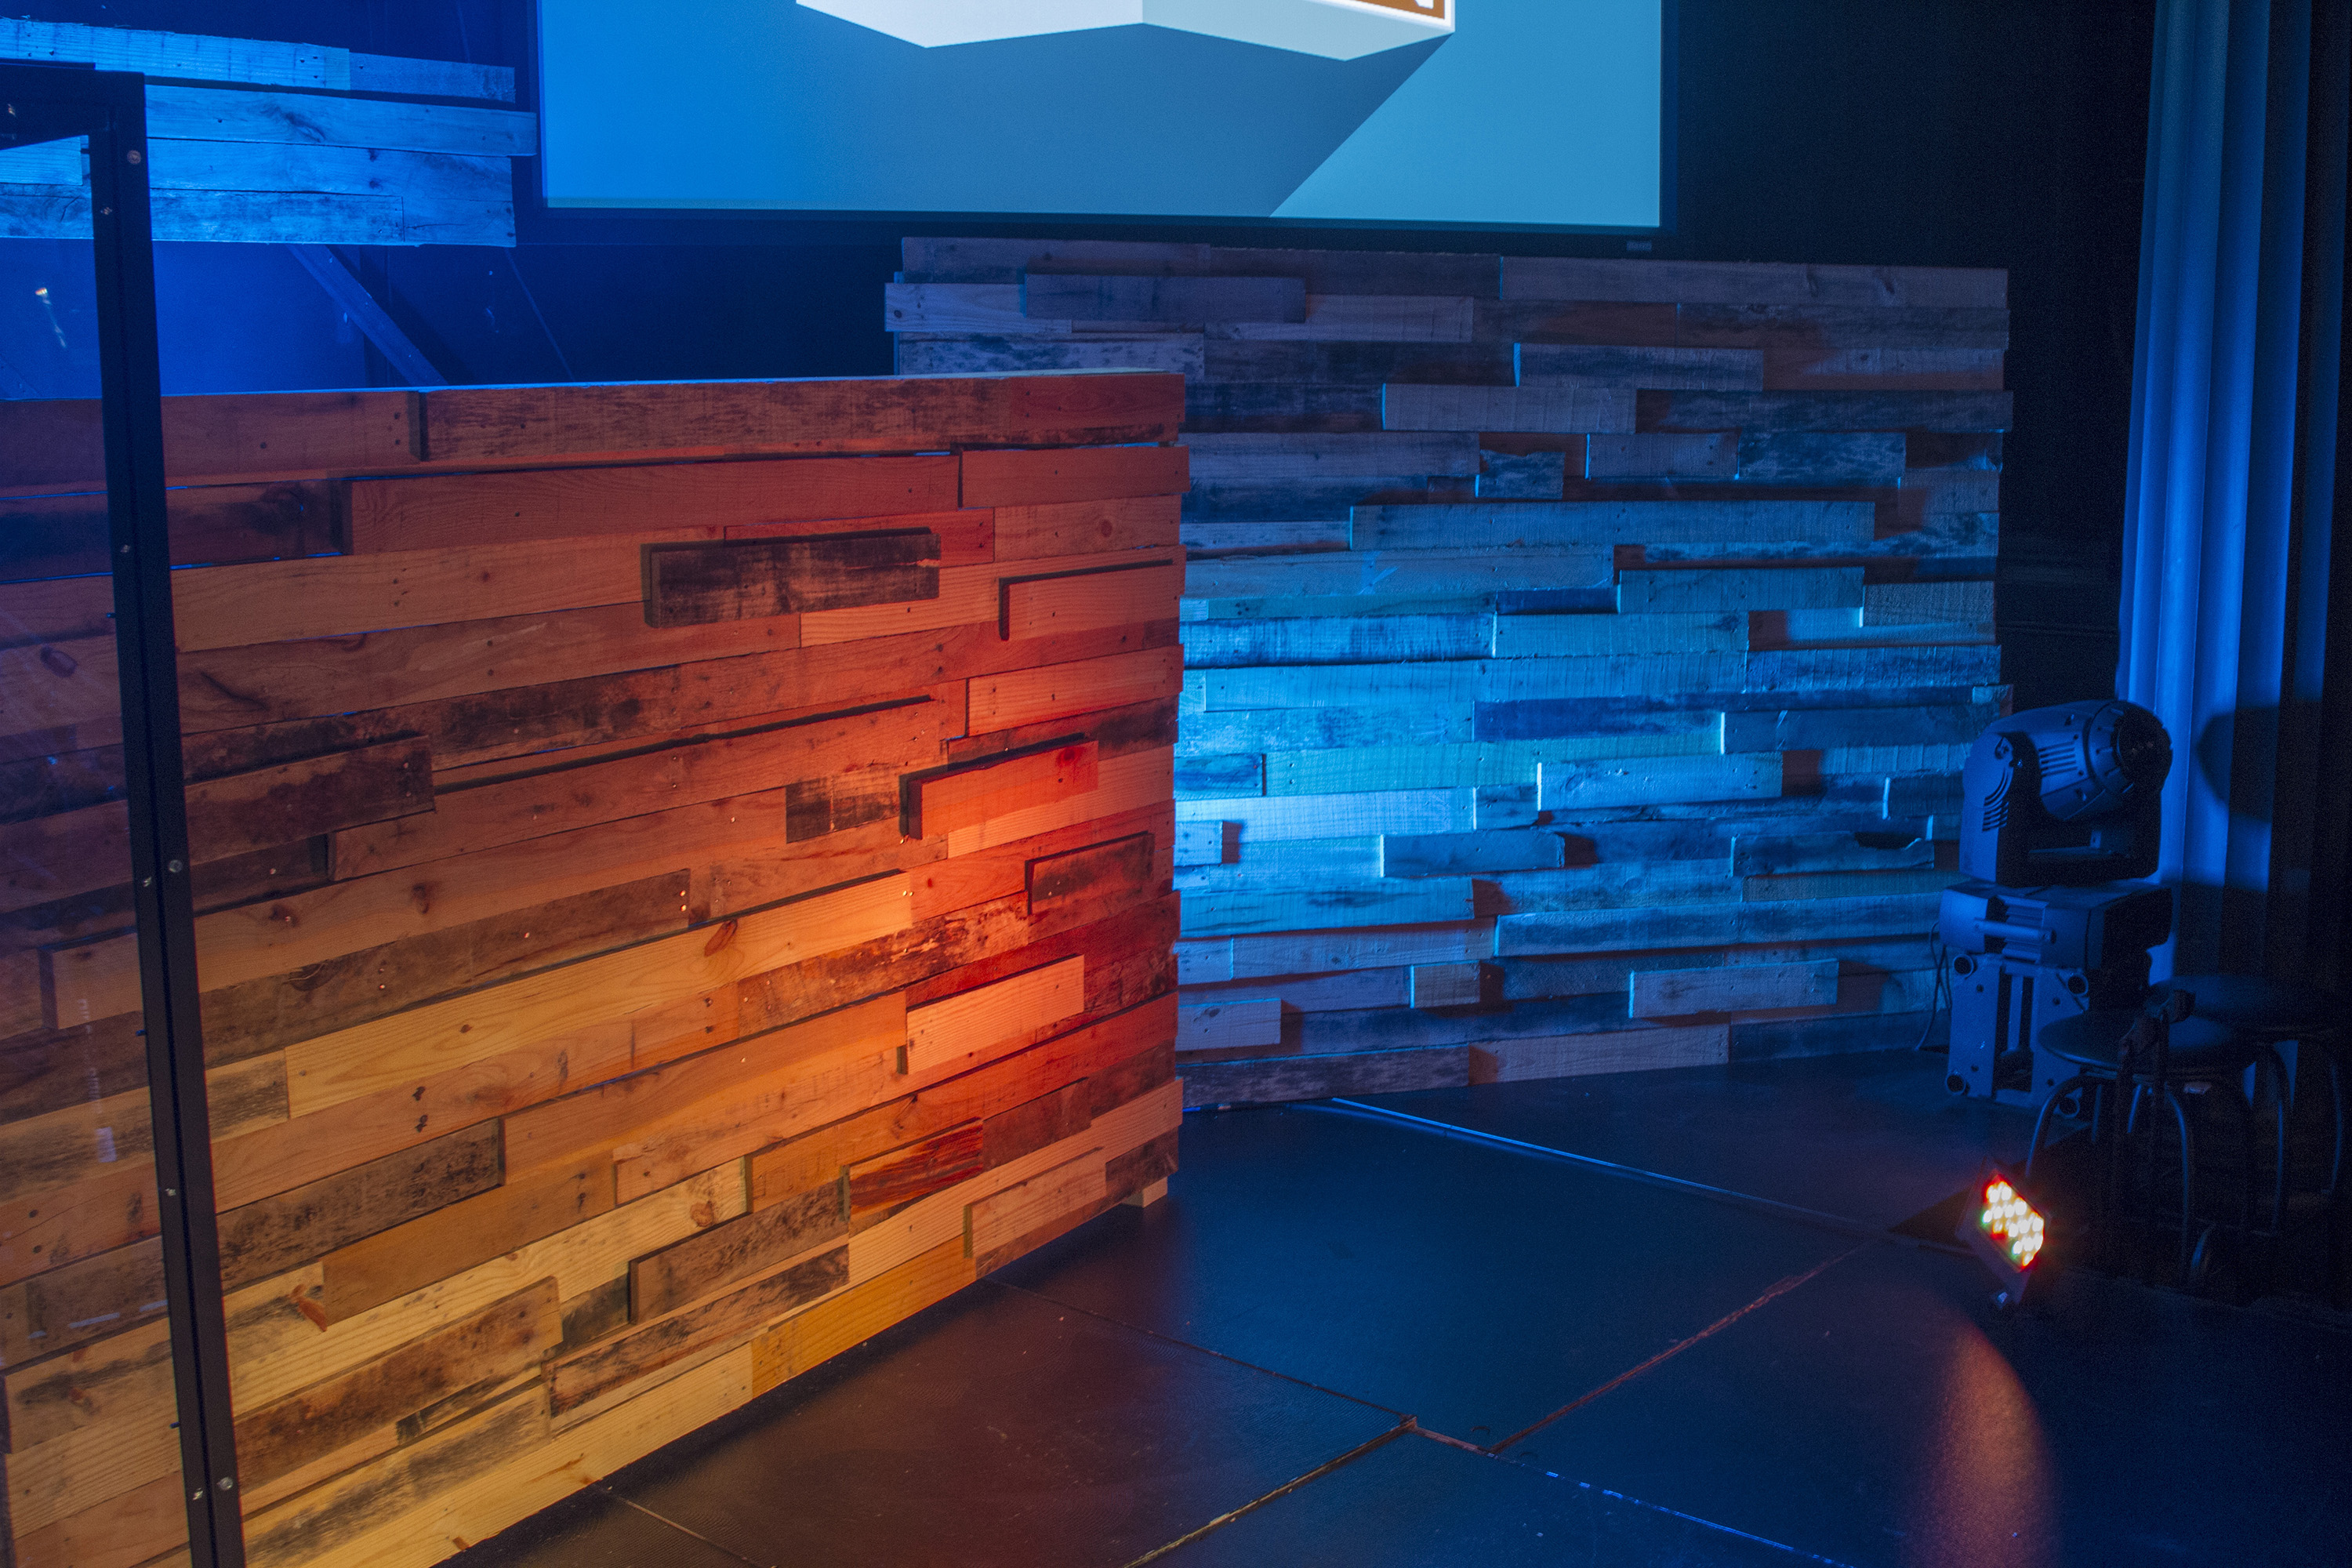
They started by finding free pallets from a local warehouse on Craigslist. With two sawmills, they were able to cut apart 30 pallets in about 3-4 hours (they weren’t worried about pulling all the nails out). Then they assembled frames with plenty of 2×4 studs and just started securing the pallet wood to their frames using a framing nailer. Once the four stage pieces were built, they assembled the large wall pieces. Since these were 20 feet wide and their space doesn’t allow the use of a lift, they built the pieces in halves that fit like puzzle pieces. This way, they were able to hang one half at a time and not deal with the weight of a set piece that was 20 feet wide.
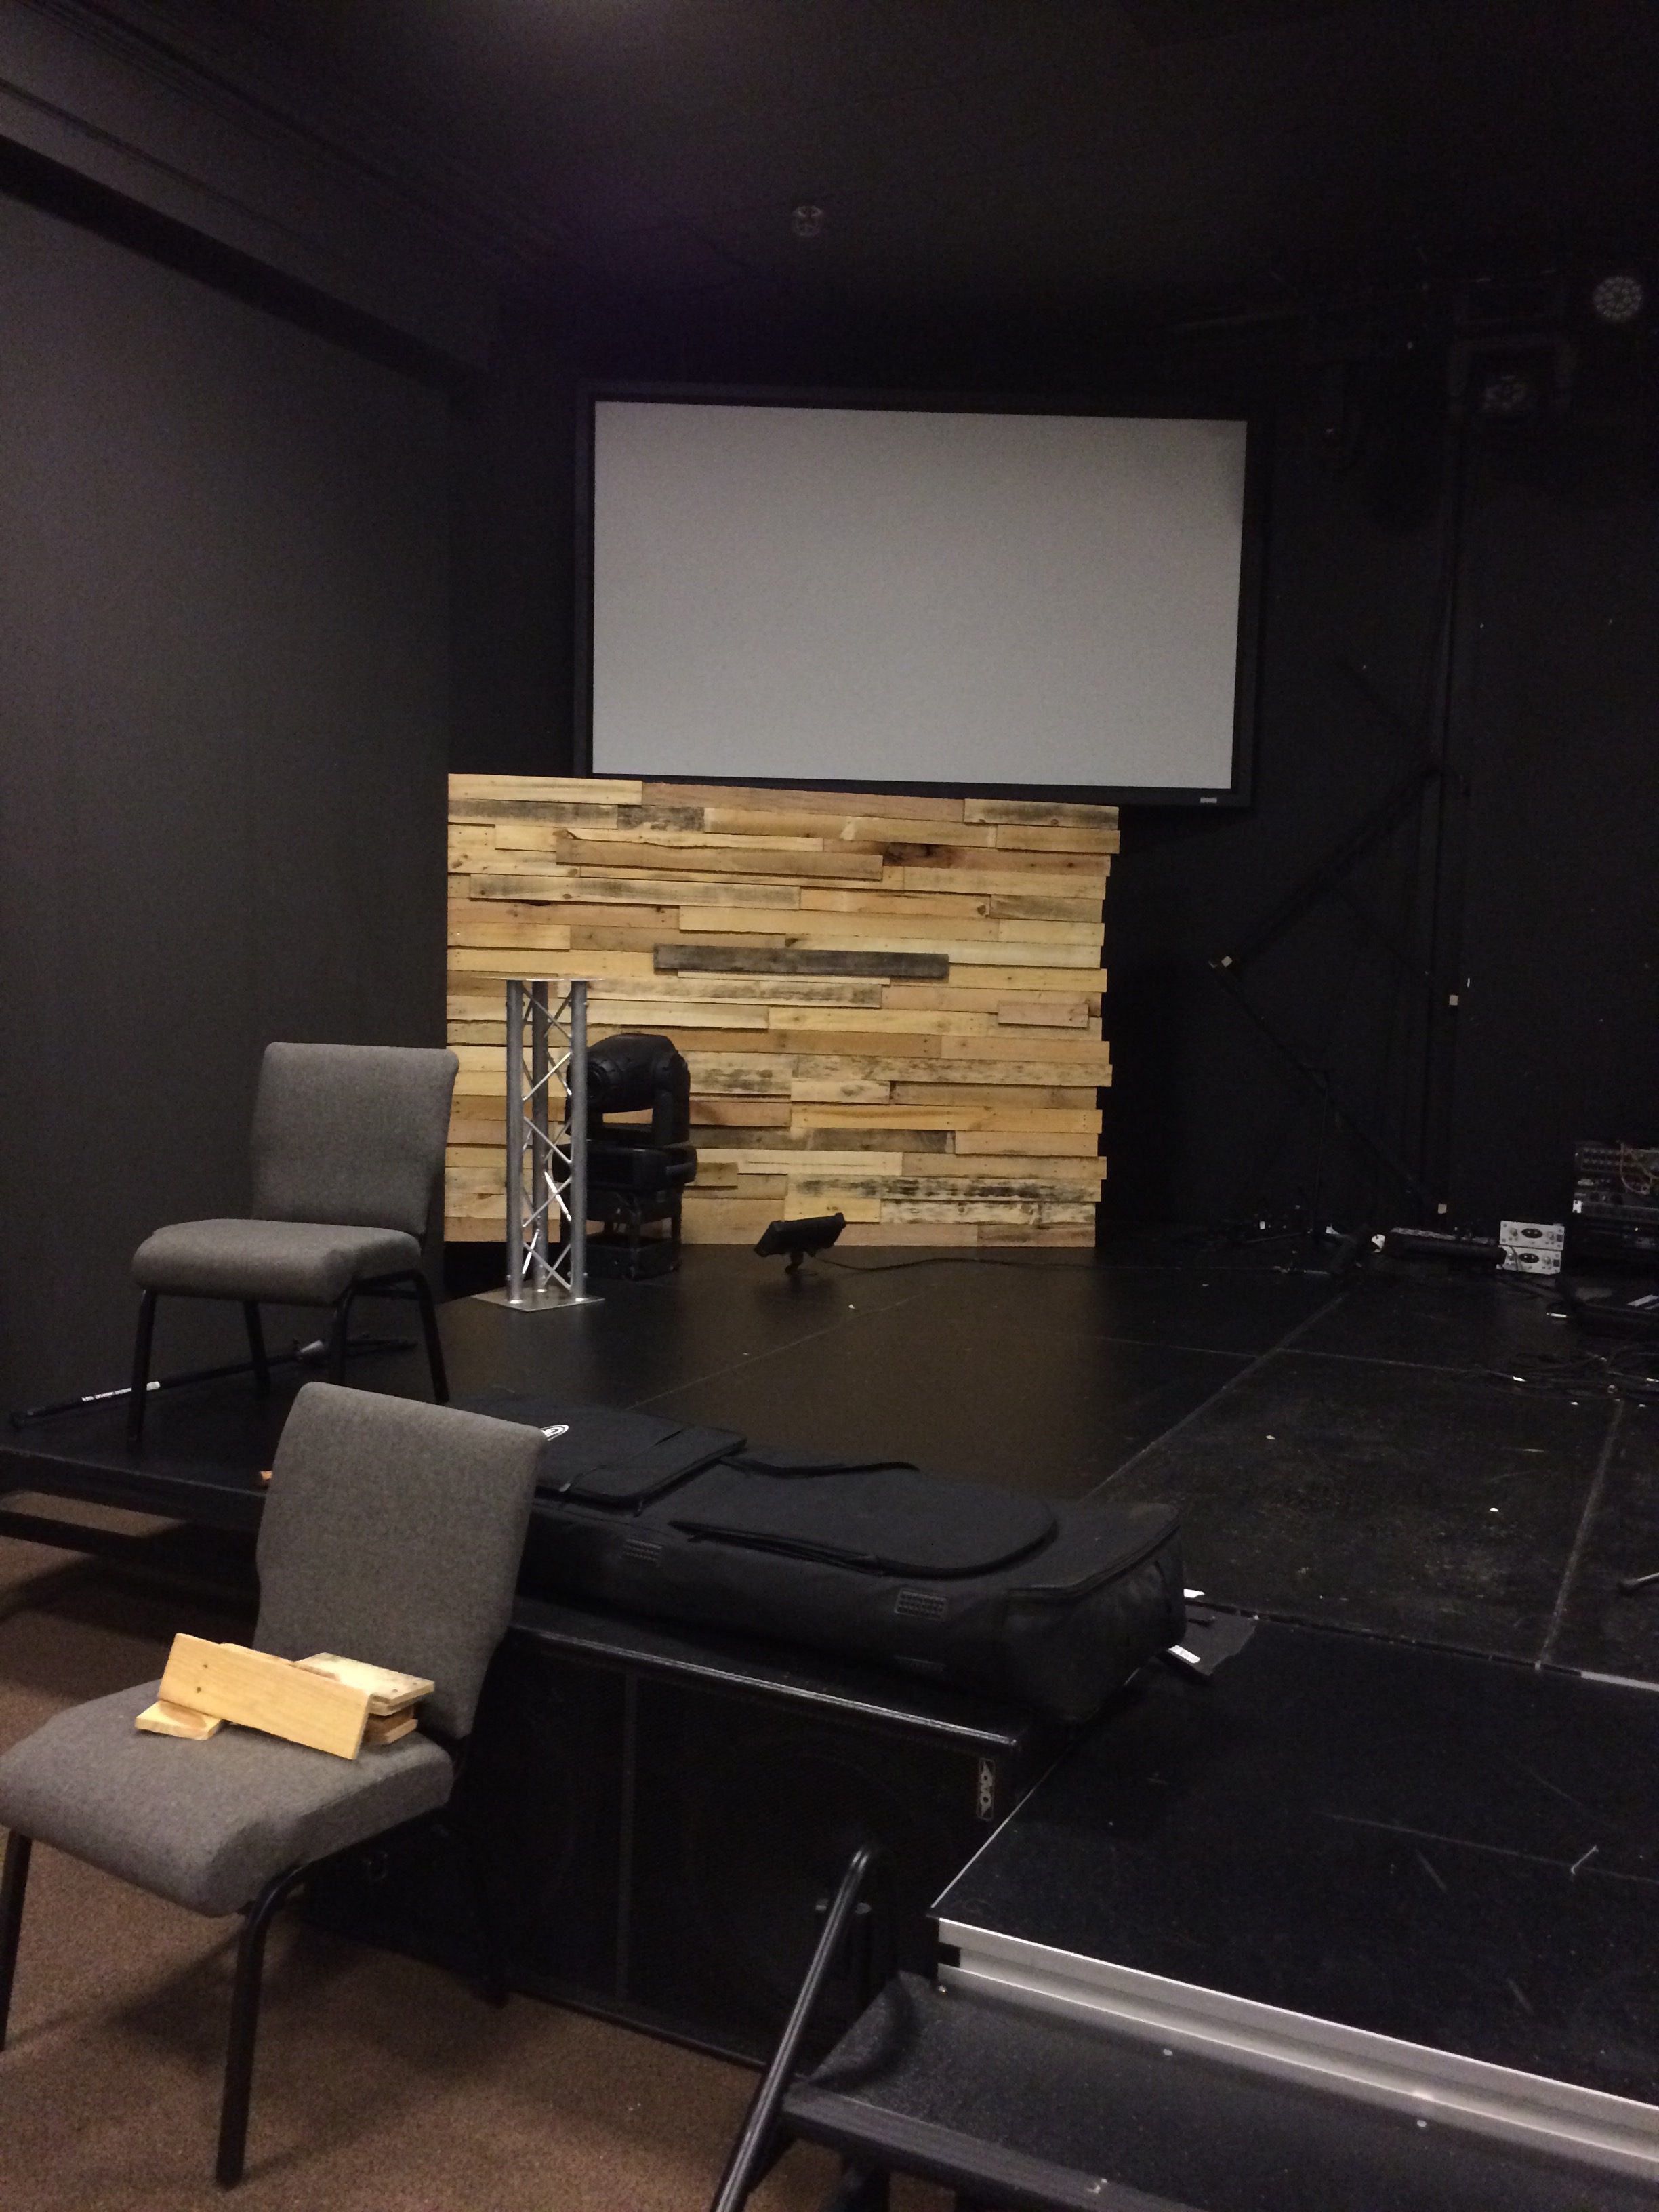
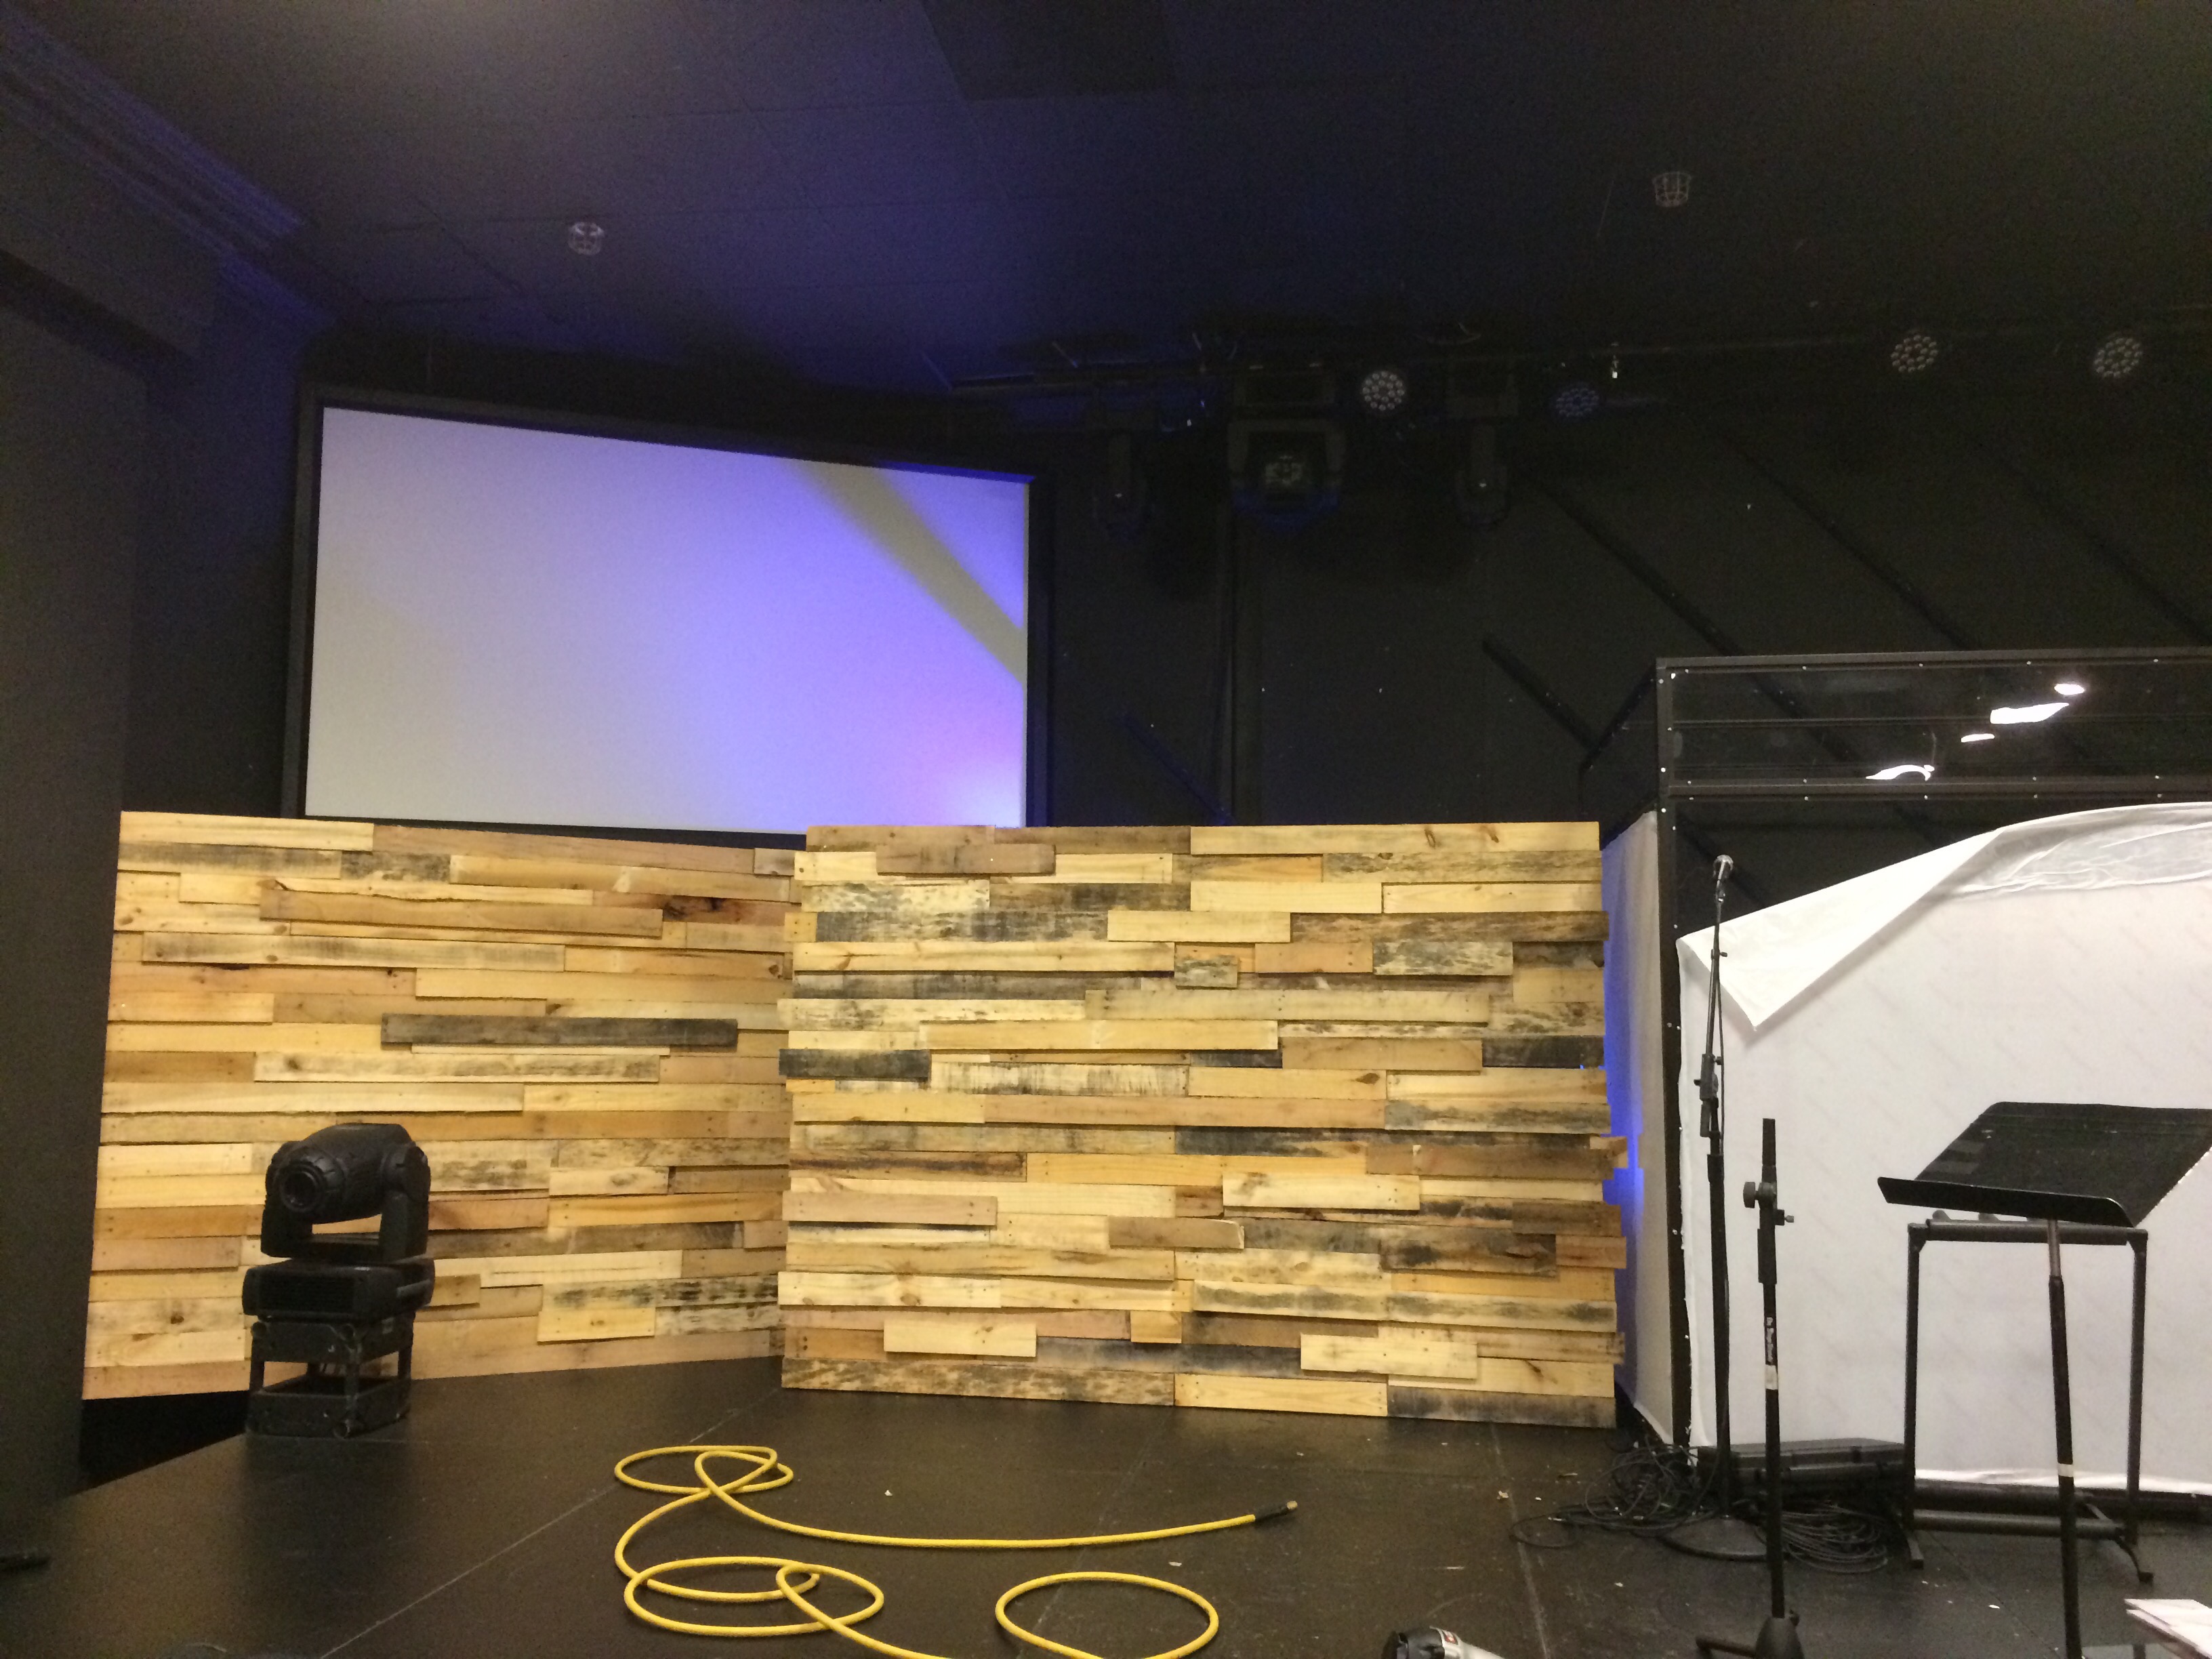
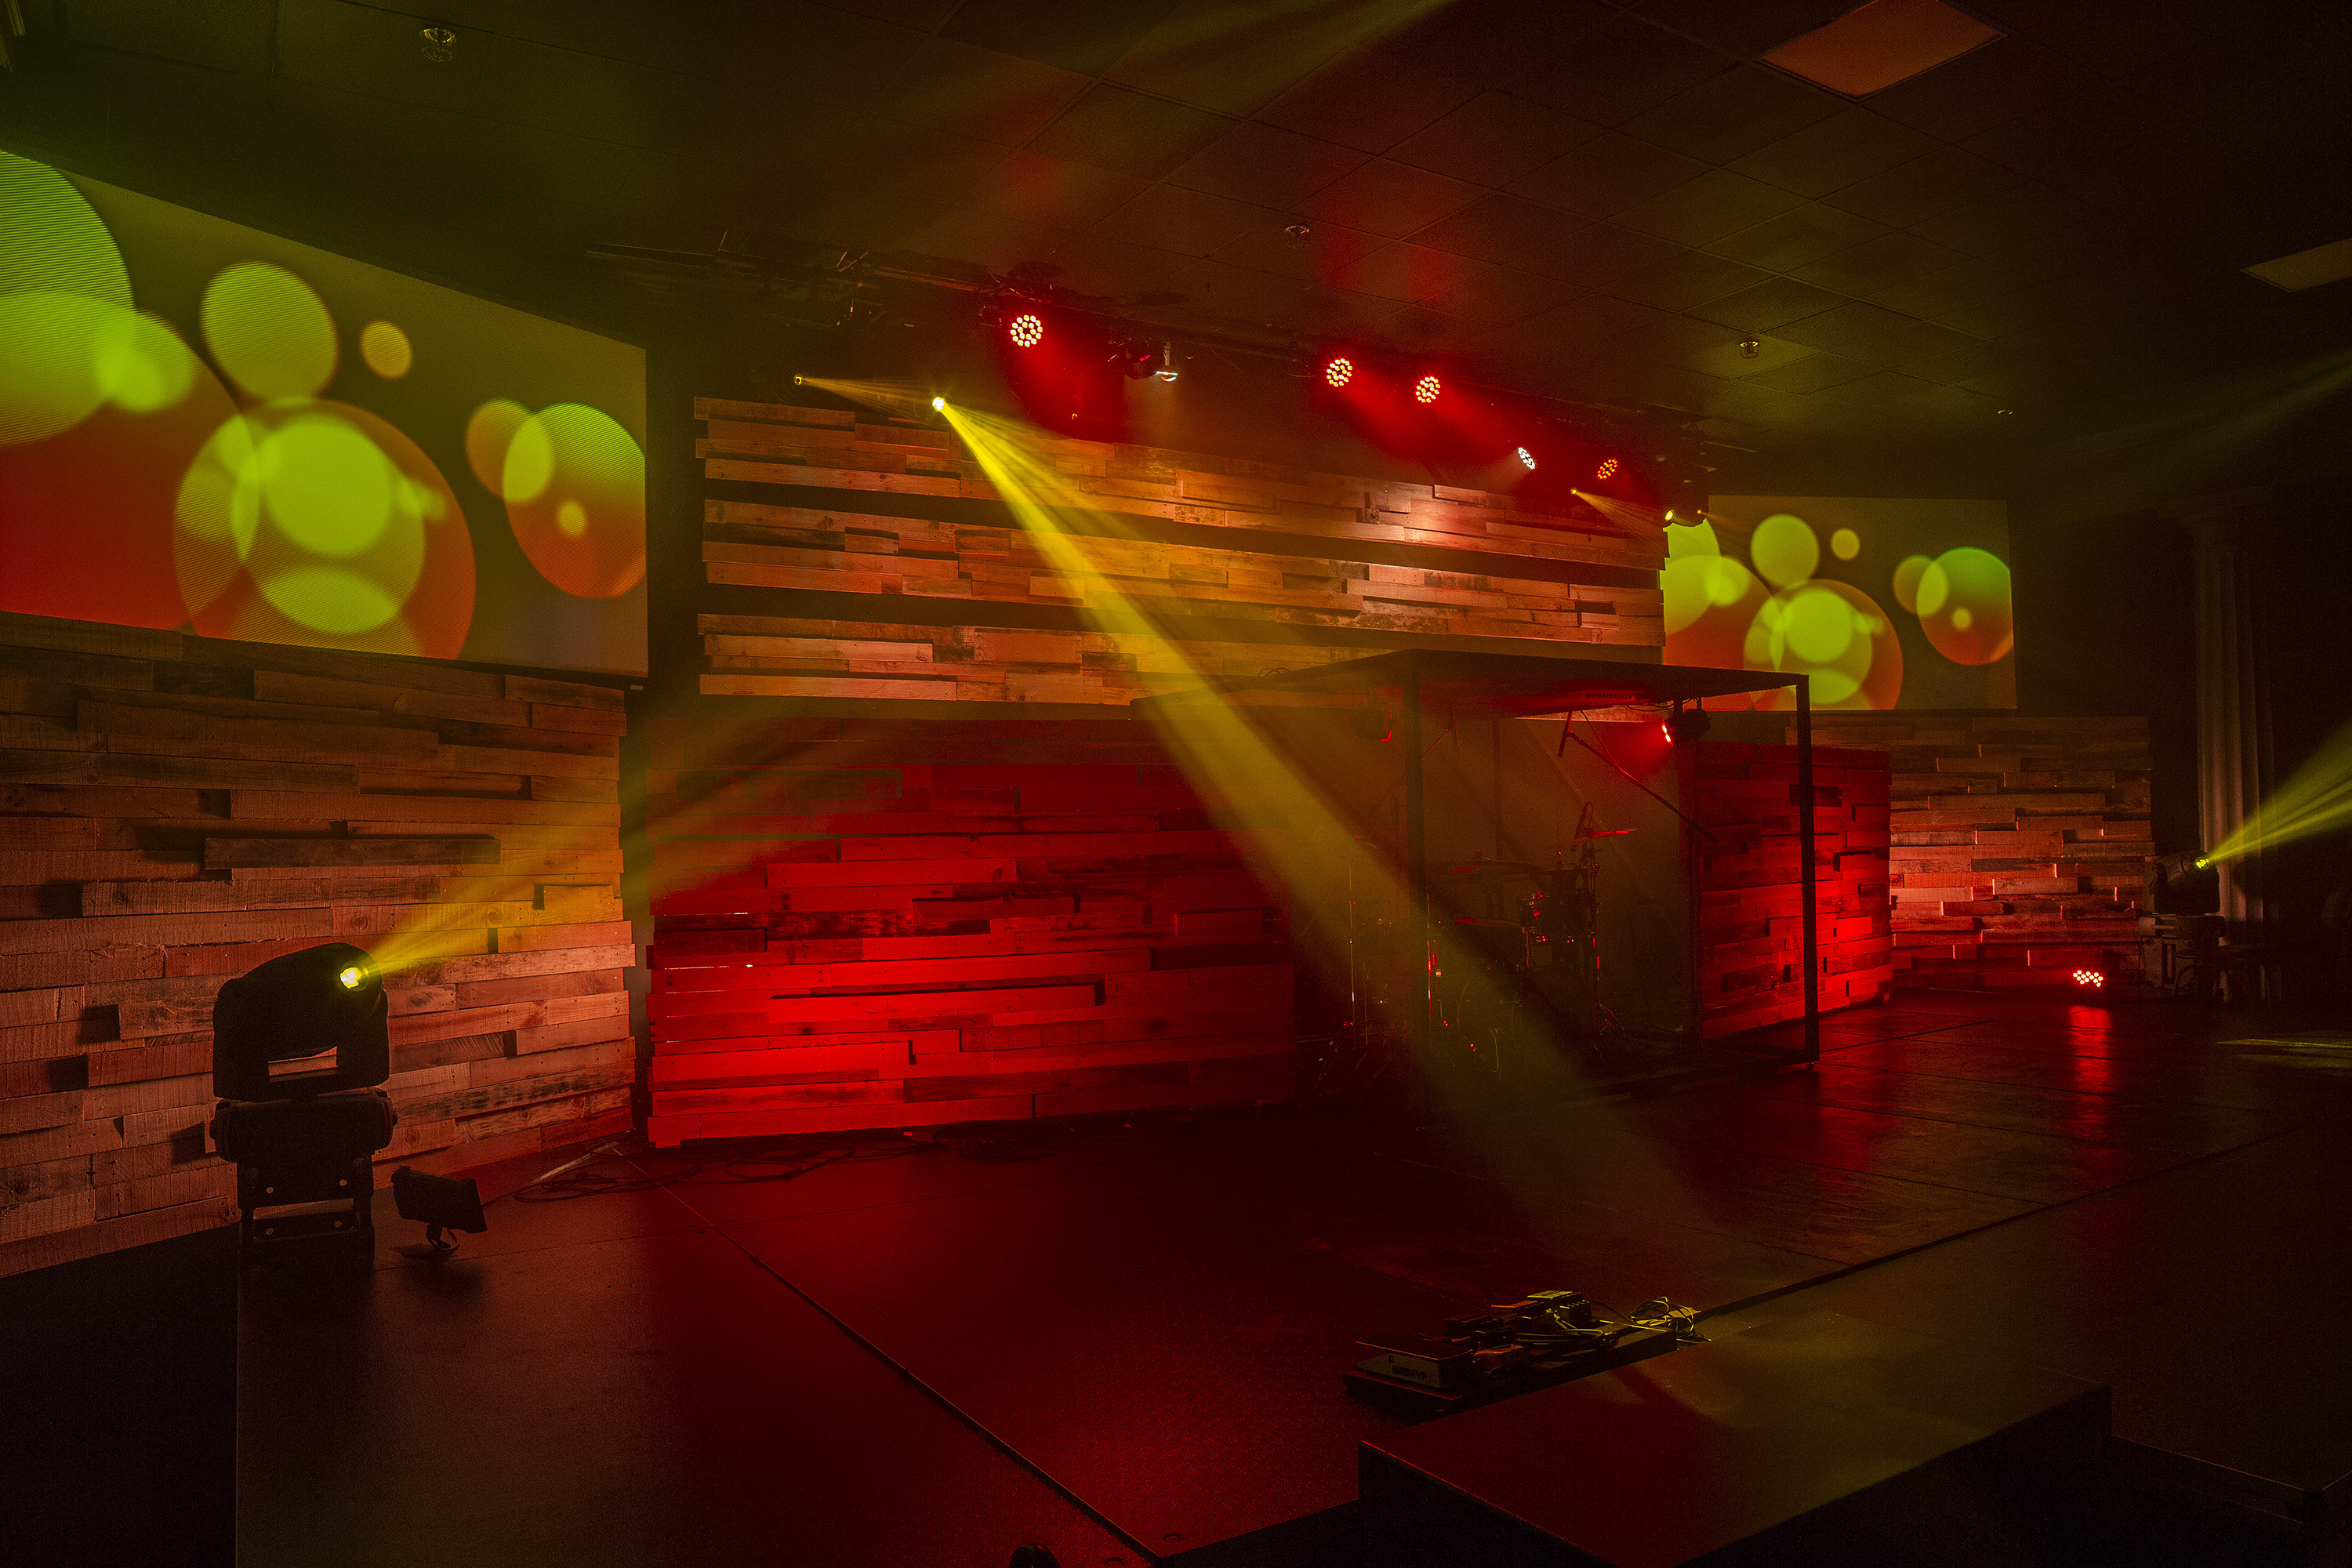
Once the wall pieces were mounted and the stage pieces were set, they had enough wood left over to cover the front of their stage as well to finish the look. Once they lit the set, Chess discovered an unexpected perk. Due to the positioning of our set pieces, he was able to really control the depth of their stage to create a number of different looks. He can choose to:
1. Use only our overhead stage wash lights to have an “infinitely deep” black background.
2. Light up only the wall pieces to create a deep stage.
3. Light up the wall pieces and the outside stage panels to create a wider stage.
4. Light up only the front set pieces to create a smaller, more intimate stage.
5. Light up the entire set.
Check out a more detailed write-up here.


Love the drum cage! great job! do you happen to have the schematics of it?
I’d be happy to send you all my documentation (as it was a custom build). Send me an e-mail at chess[dot]hoyle[at]foresthill.org.
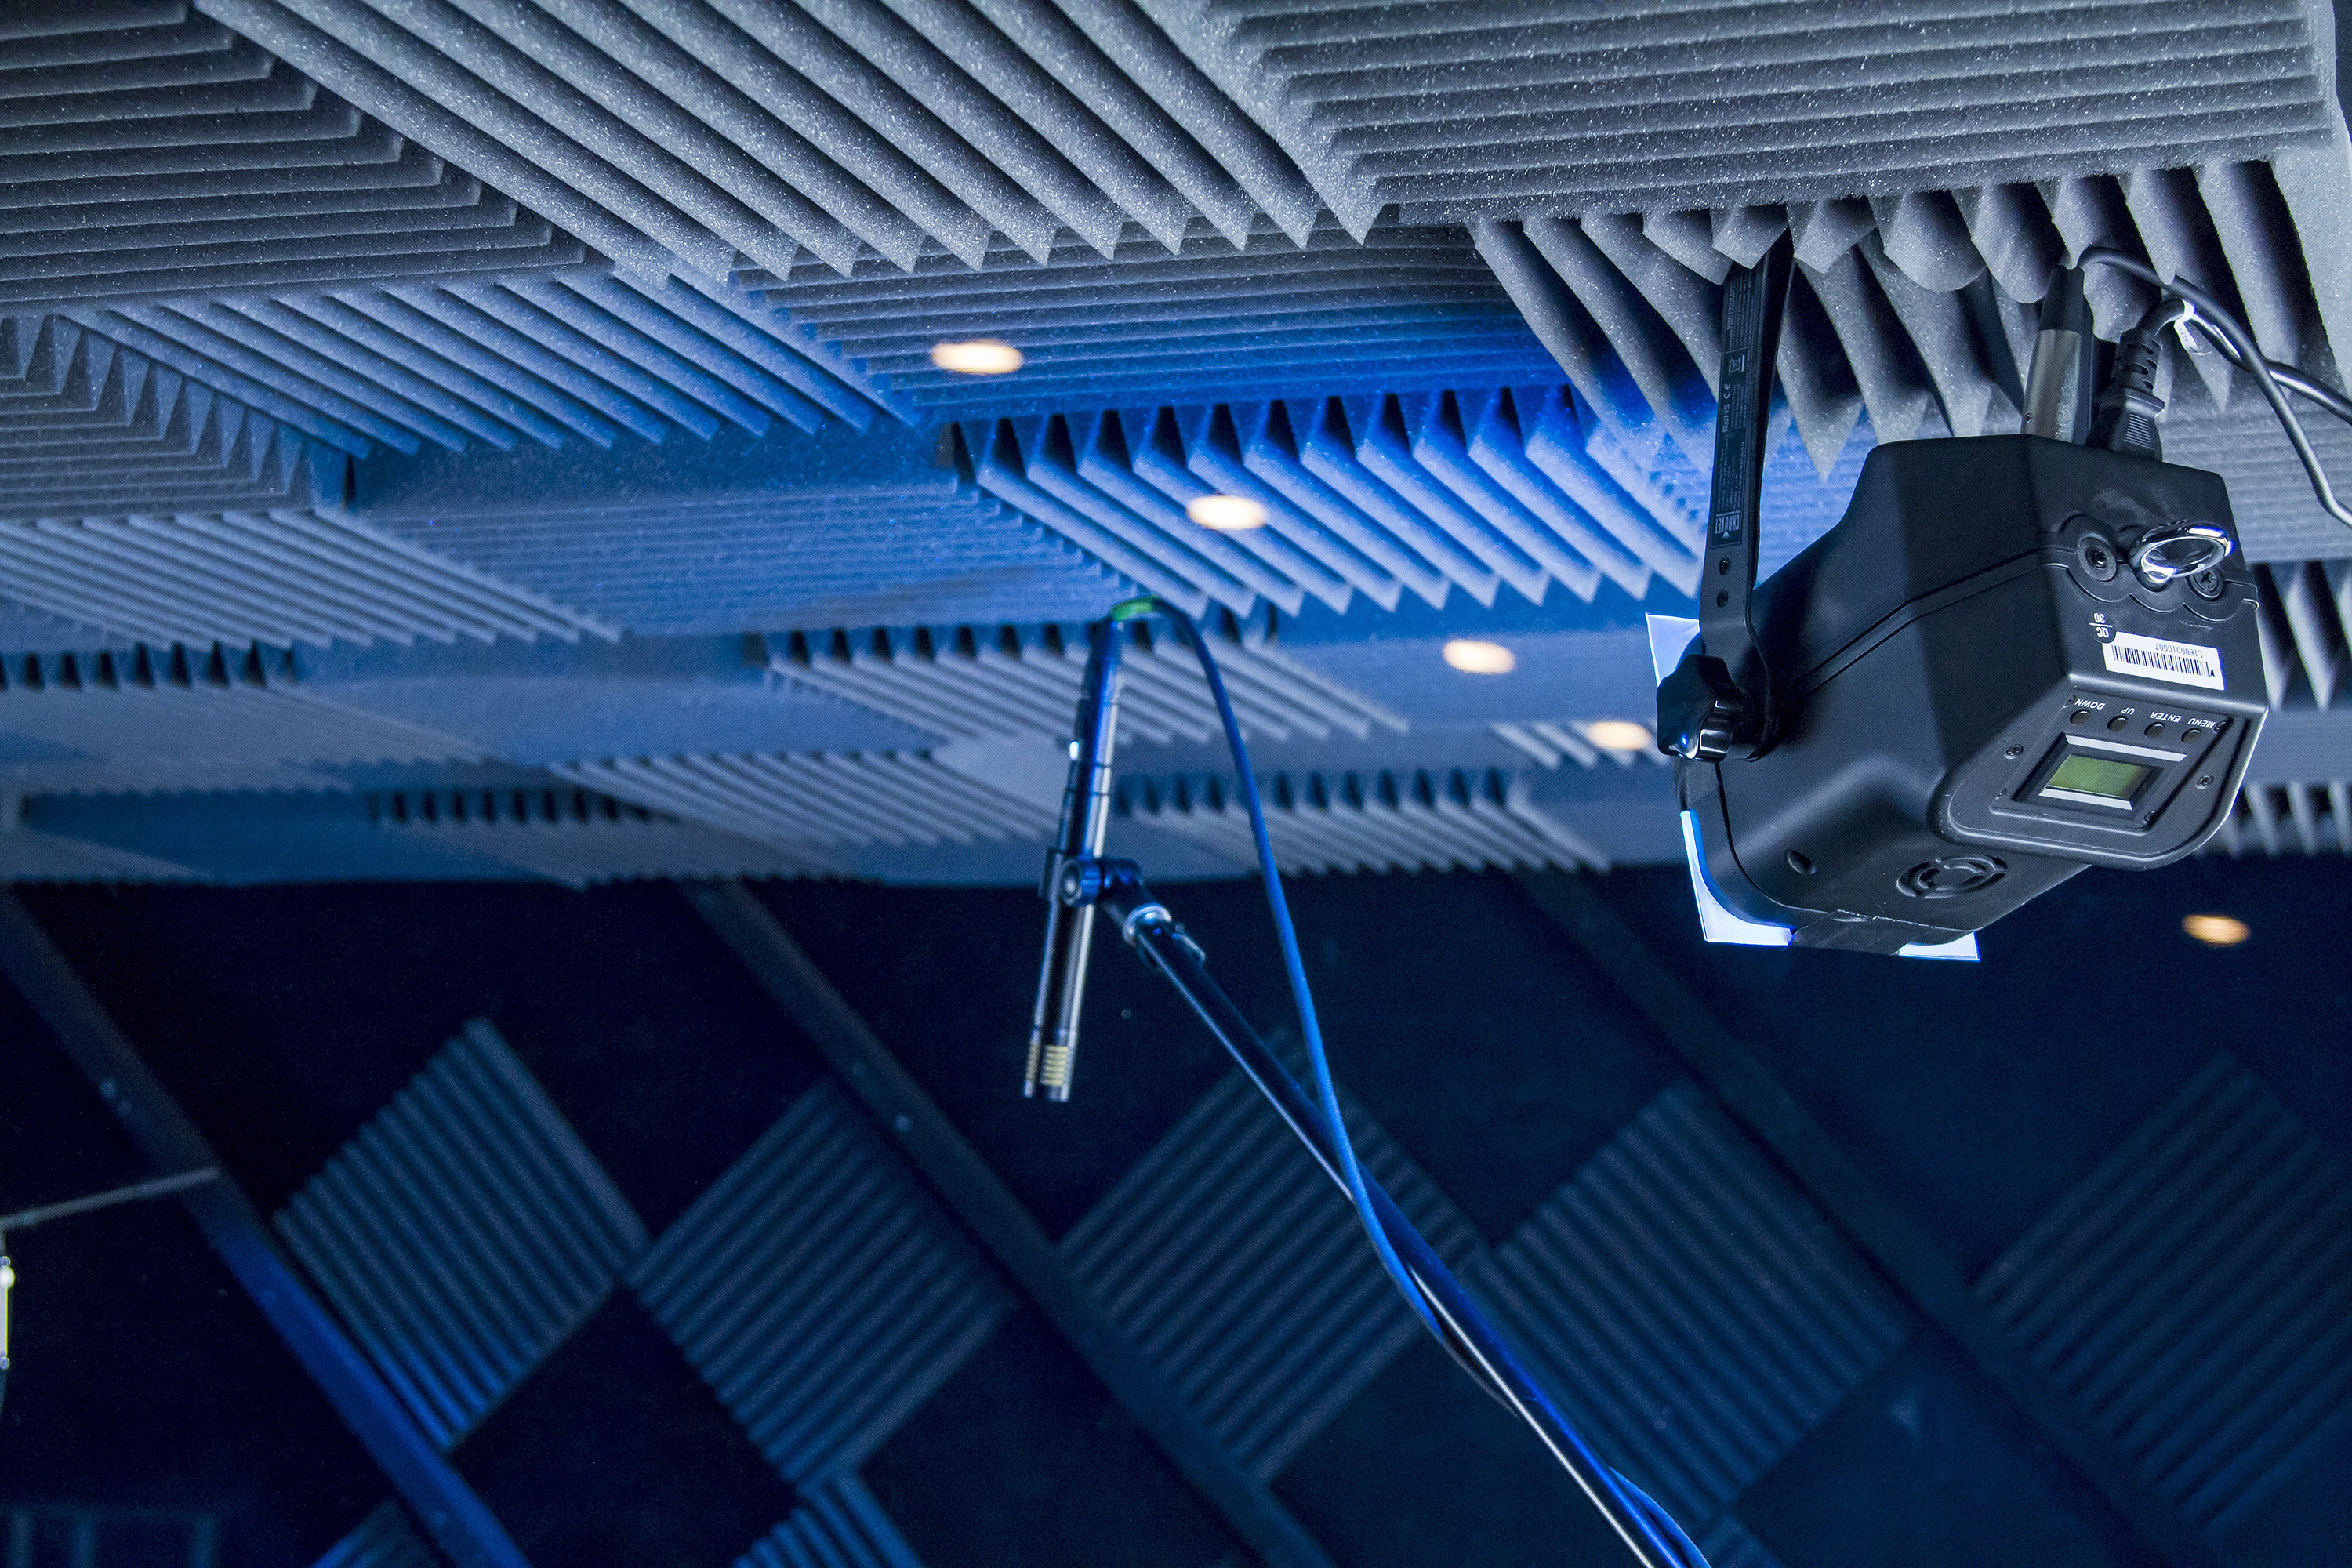
Can you pass along any information on the components making up the drum cage? Especially interested in the type of glass used and where it is available?
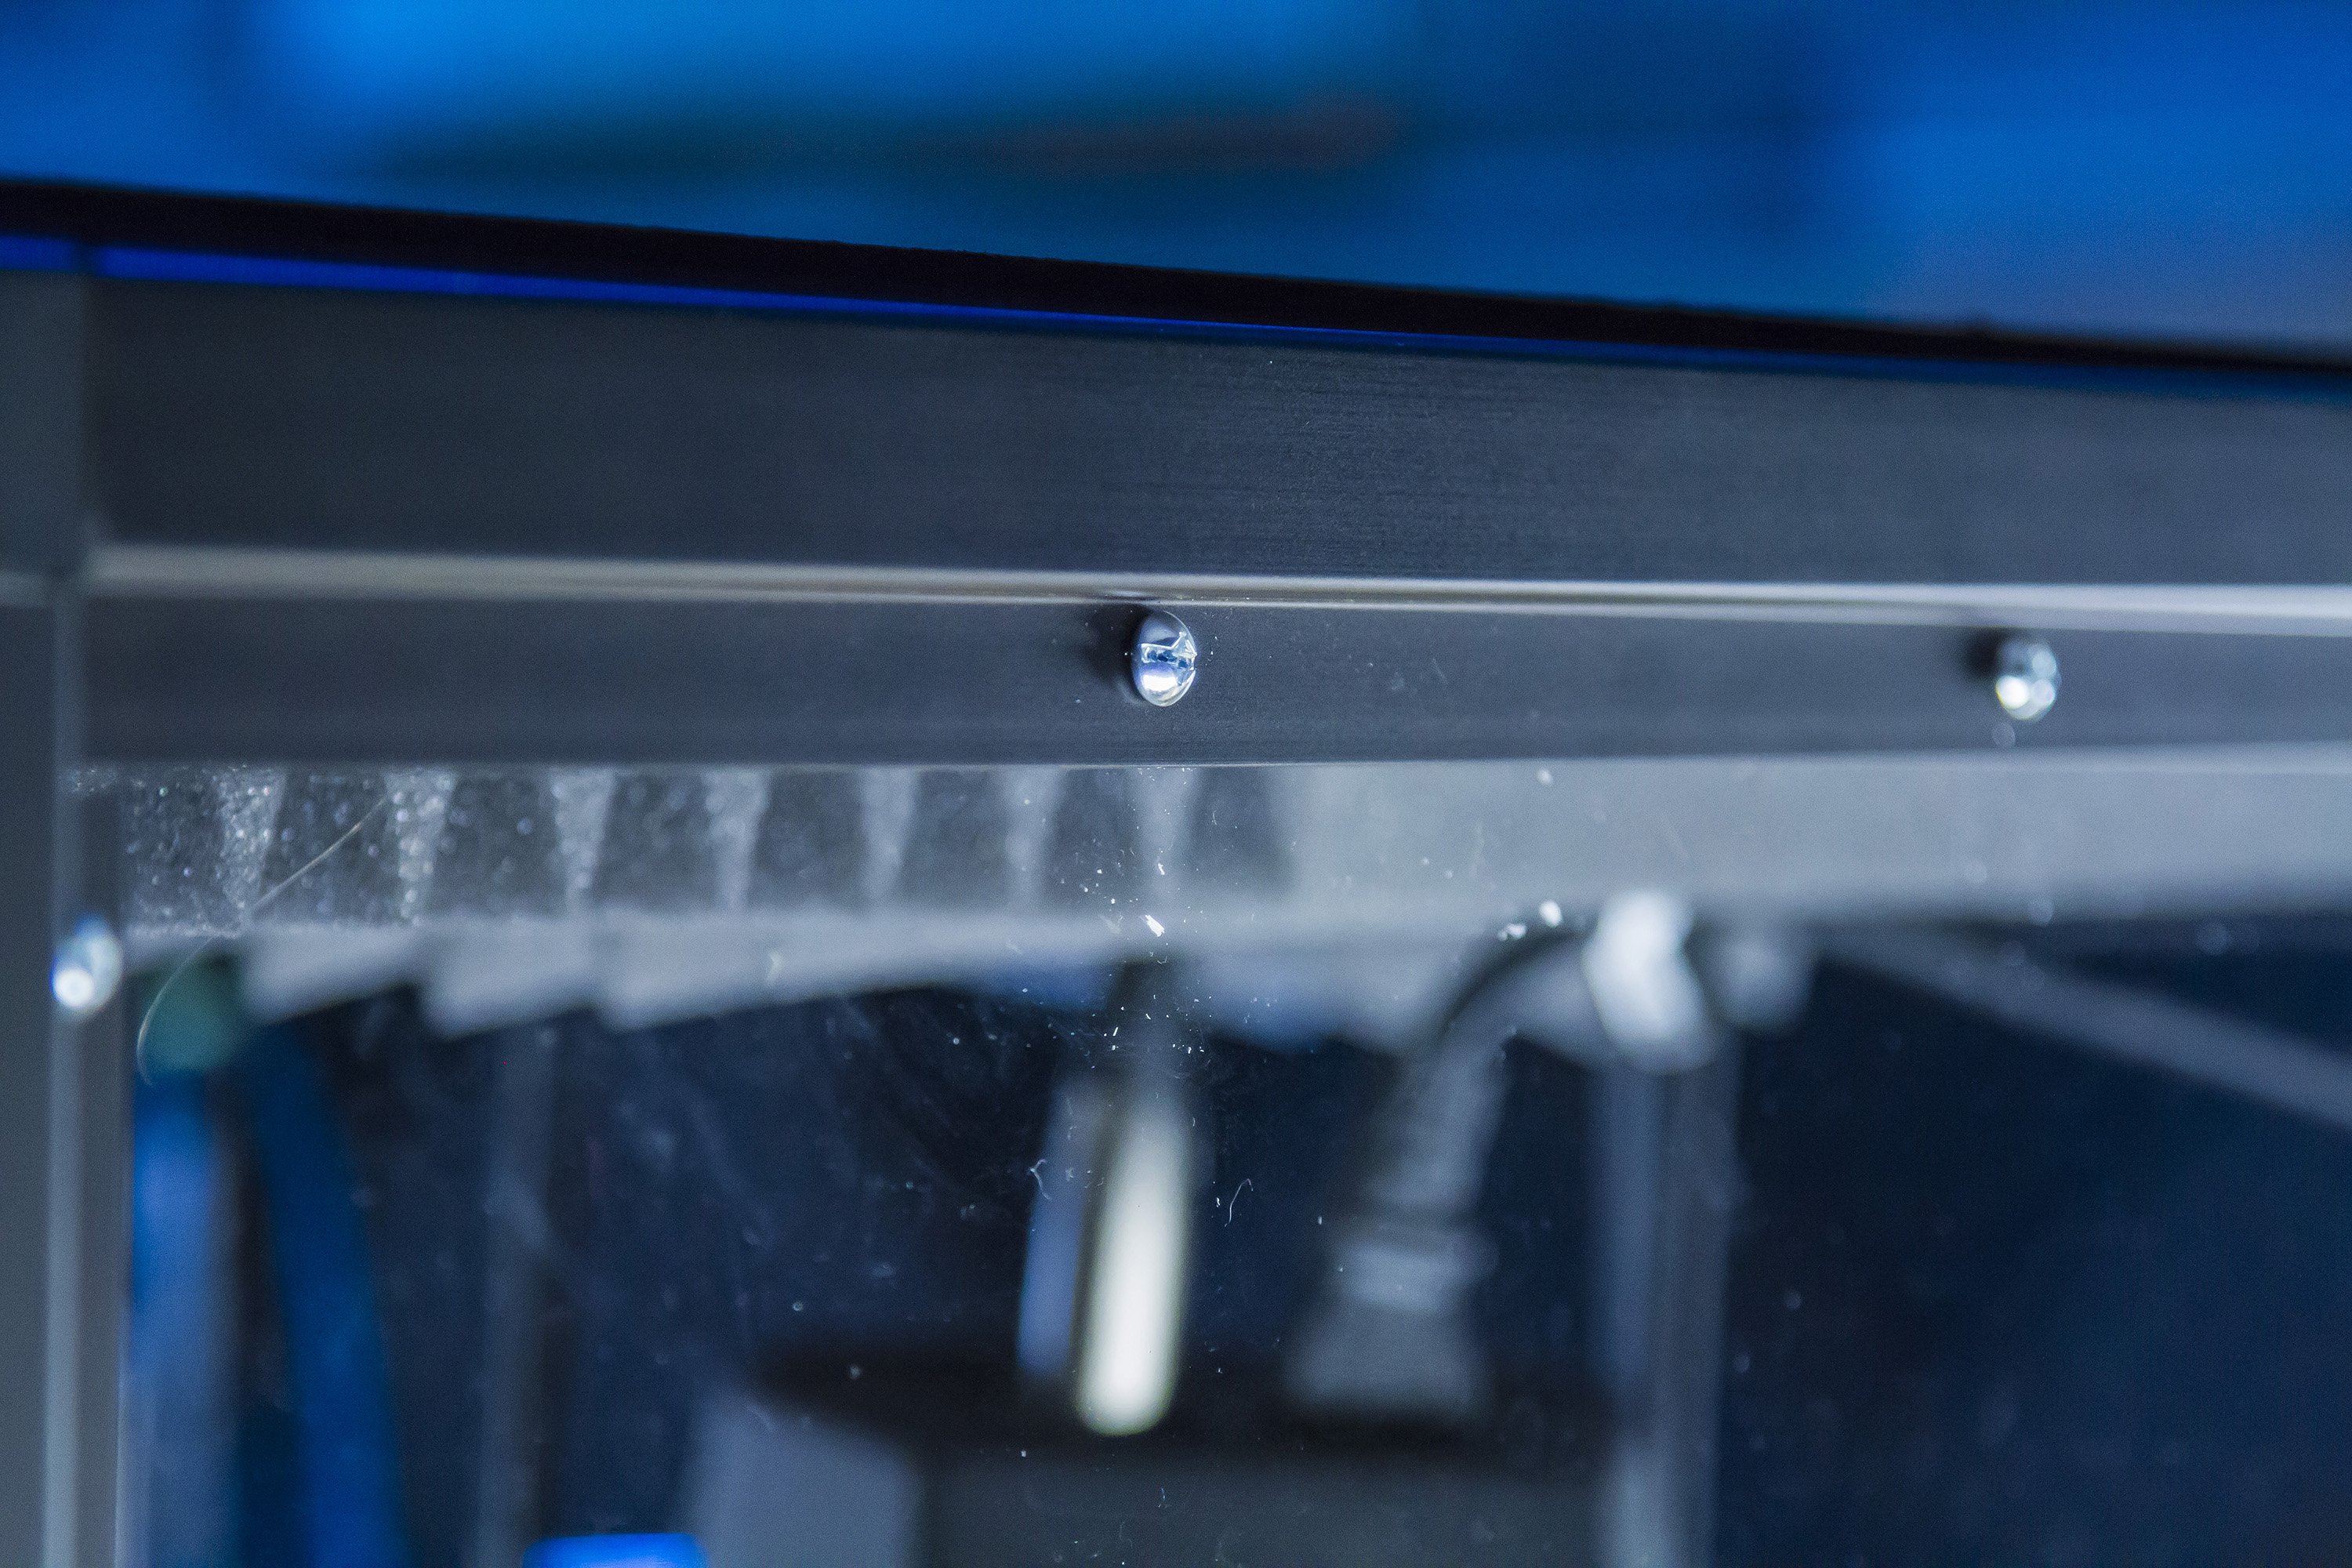
Hey James! Sorry I’m just now seeing this comment. The drum cage was built using 1 inch square aluminum tubing from Outwater Catalogs, 1/4″ polycarbonate (picked up from a local distributor), and a plywood roof with sound treatment. I’d be happy to send specs along; the total cost was about $1300.
j.anderson.cox@gmail.com
I’m doing this same stage. My question is, what lighting should I buy? It’s much smaller than this more like 30’x10′ stage with the backdrop these pallet wood on the wall. Got any simple buys?
Hey Caleb,
The #1 factor that will determine this is your budget. You could buy a cheap set of LEDs for $1000, or spend $5000 per fixture when it comes to lighting. I love our Color Kinetics Colorblast fixtures, which are the ones you see in the photos there. In general, with LED lighting, cheaper fixtures have a handful of potential problems:
1. They flicker on camera due to their refresh rate
2. They don’t do blended colors well (orange, yellow, pink, purple, etc.)
3. They don’t spread light as well due to the layout of their LEDs
When it comes to lighting pallets, wide LED bars are the way to go so that you get maximum coverage.
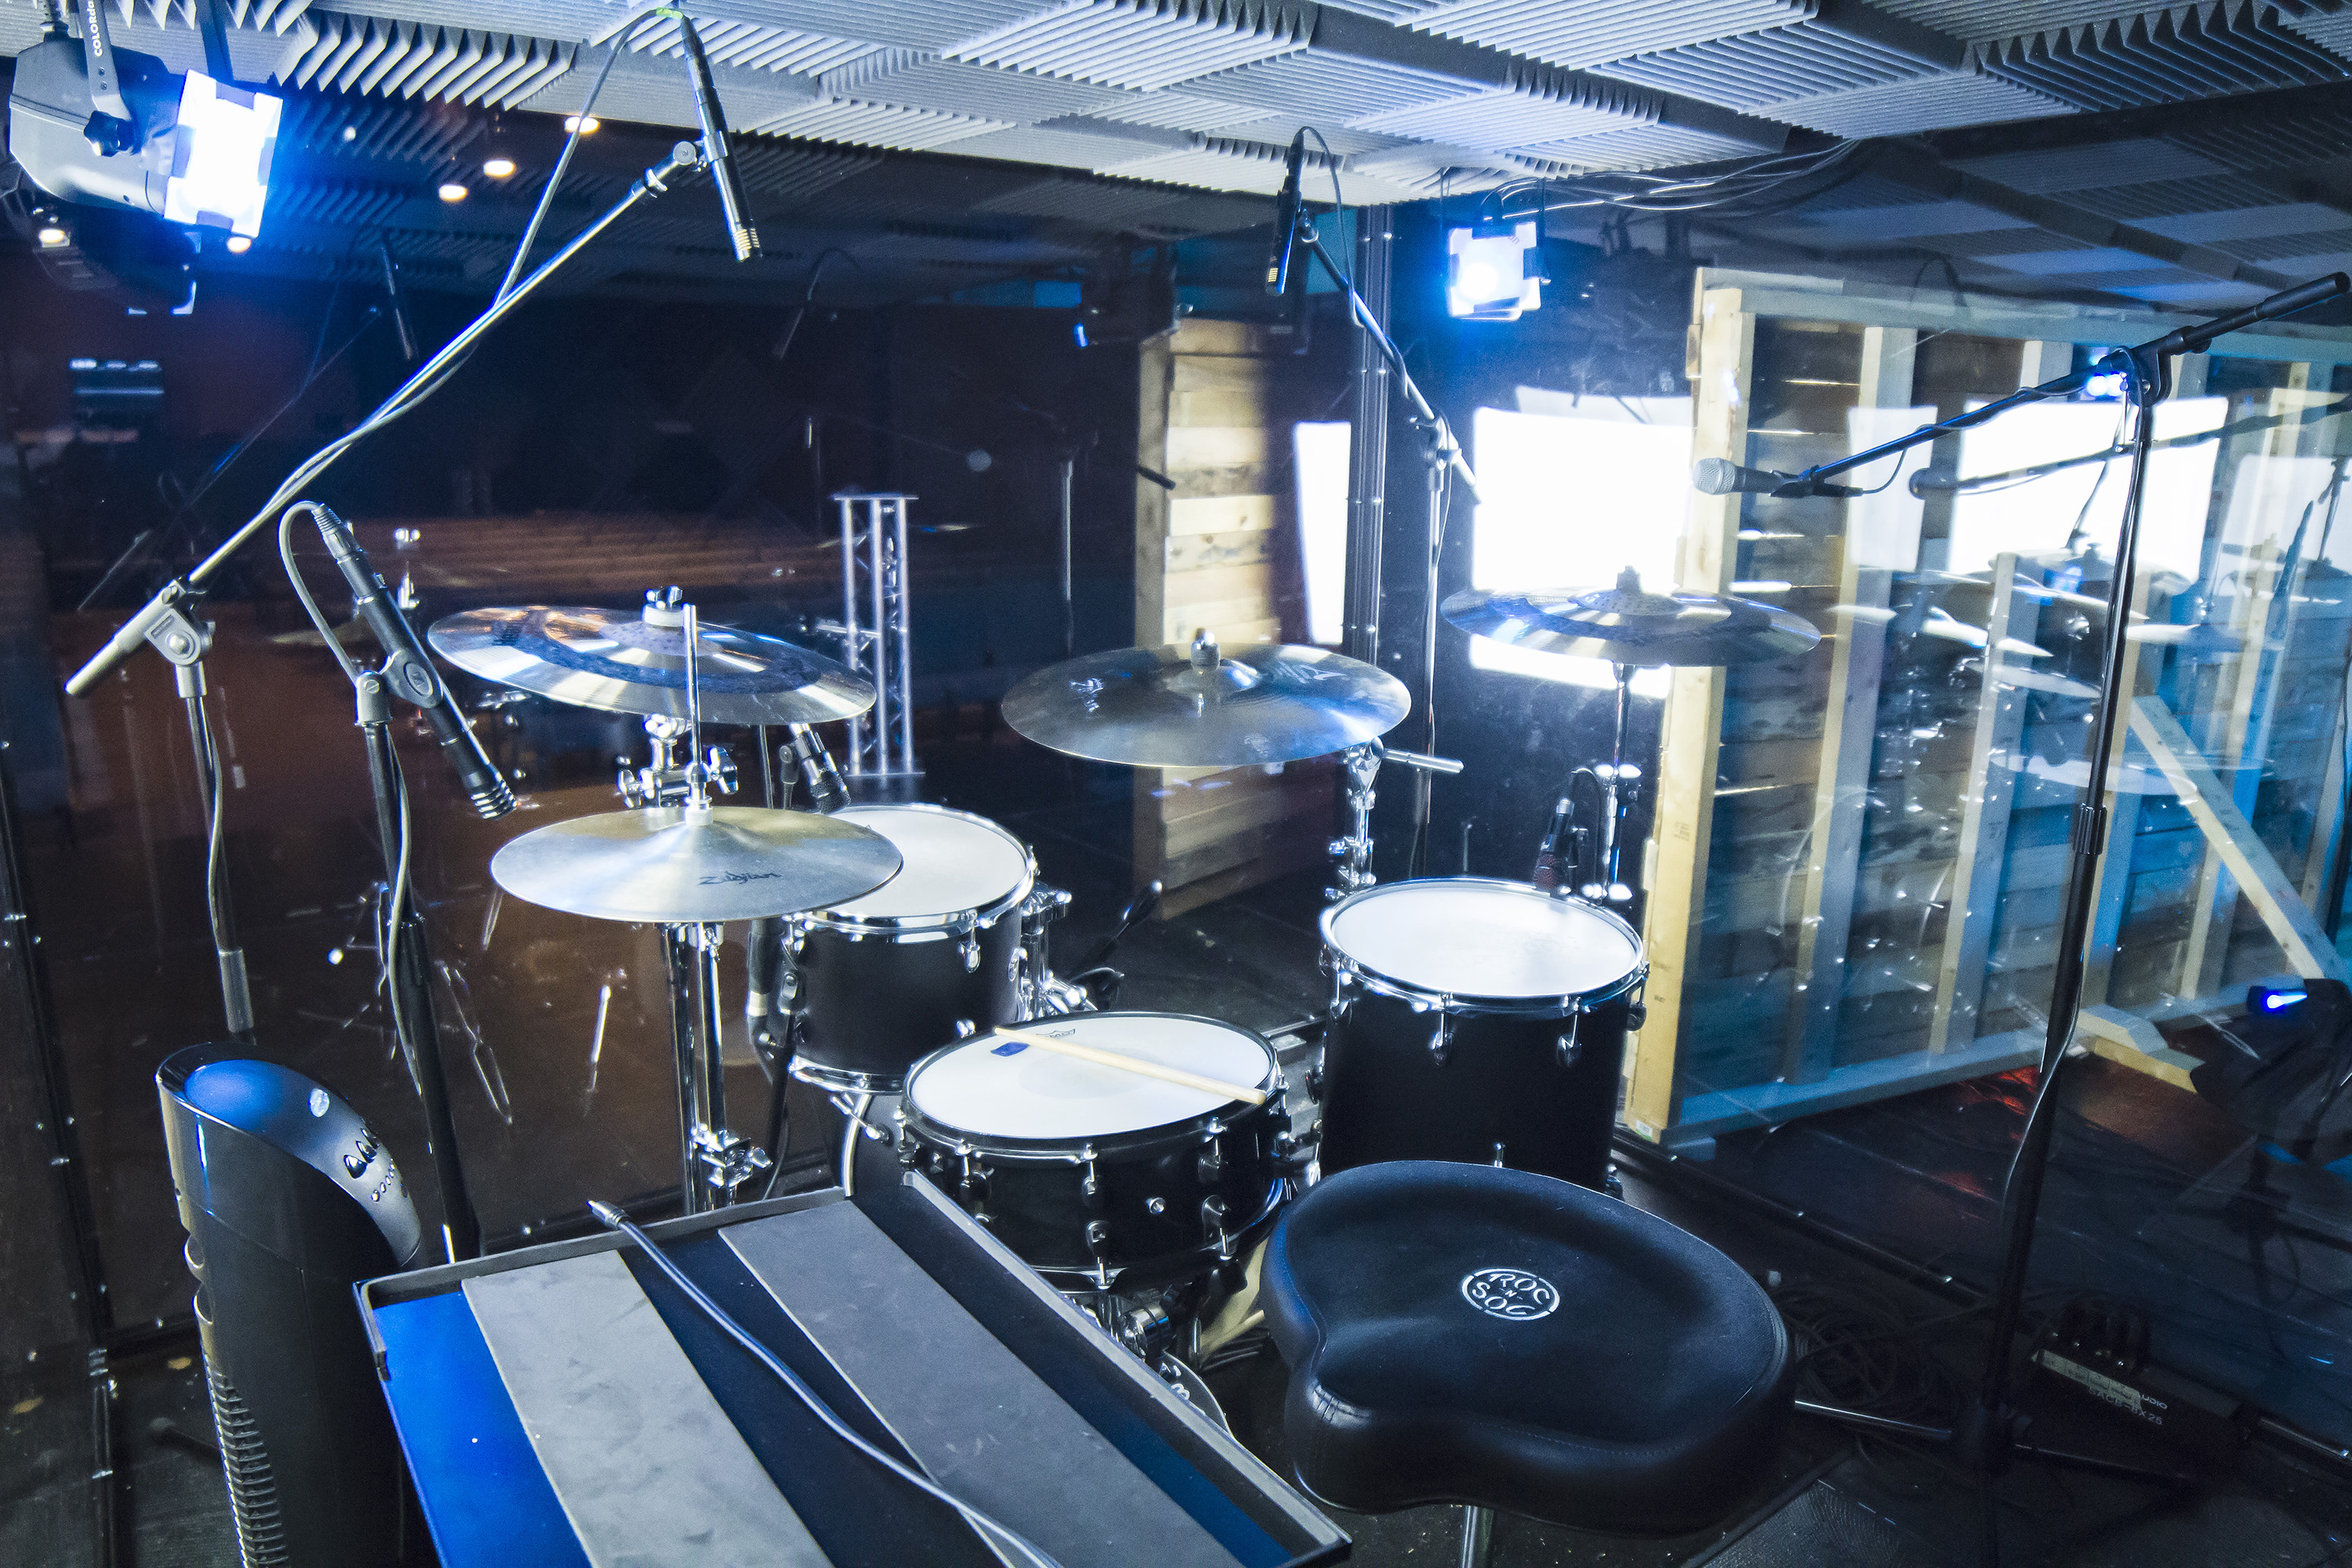
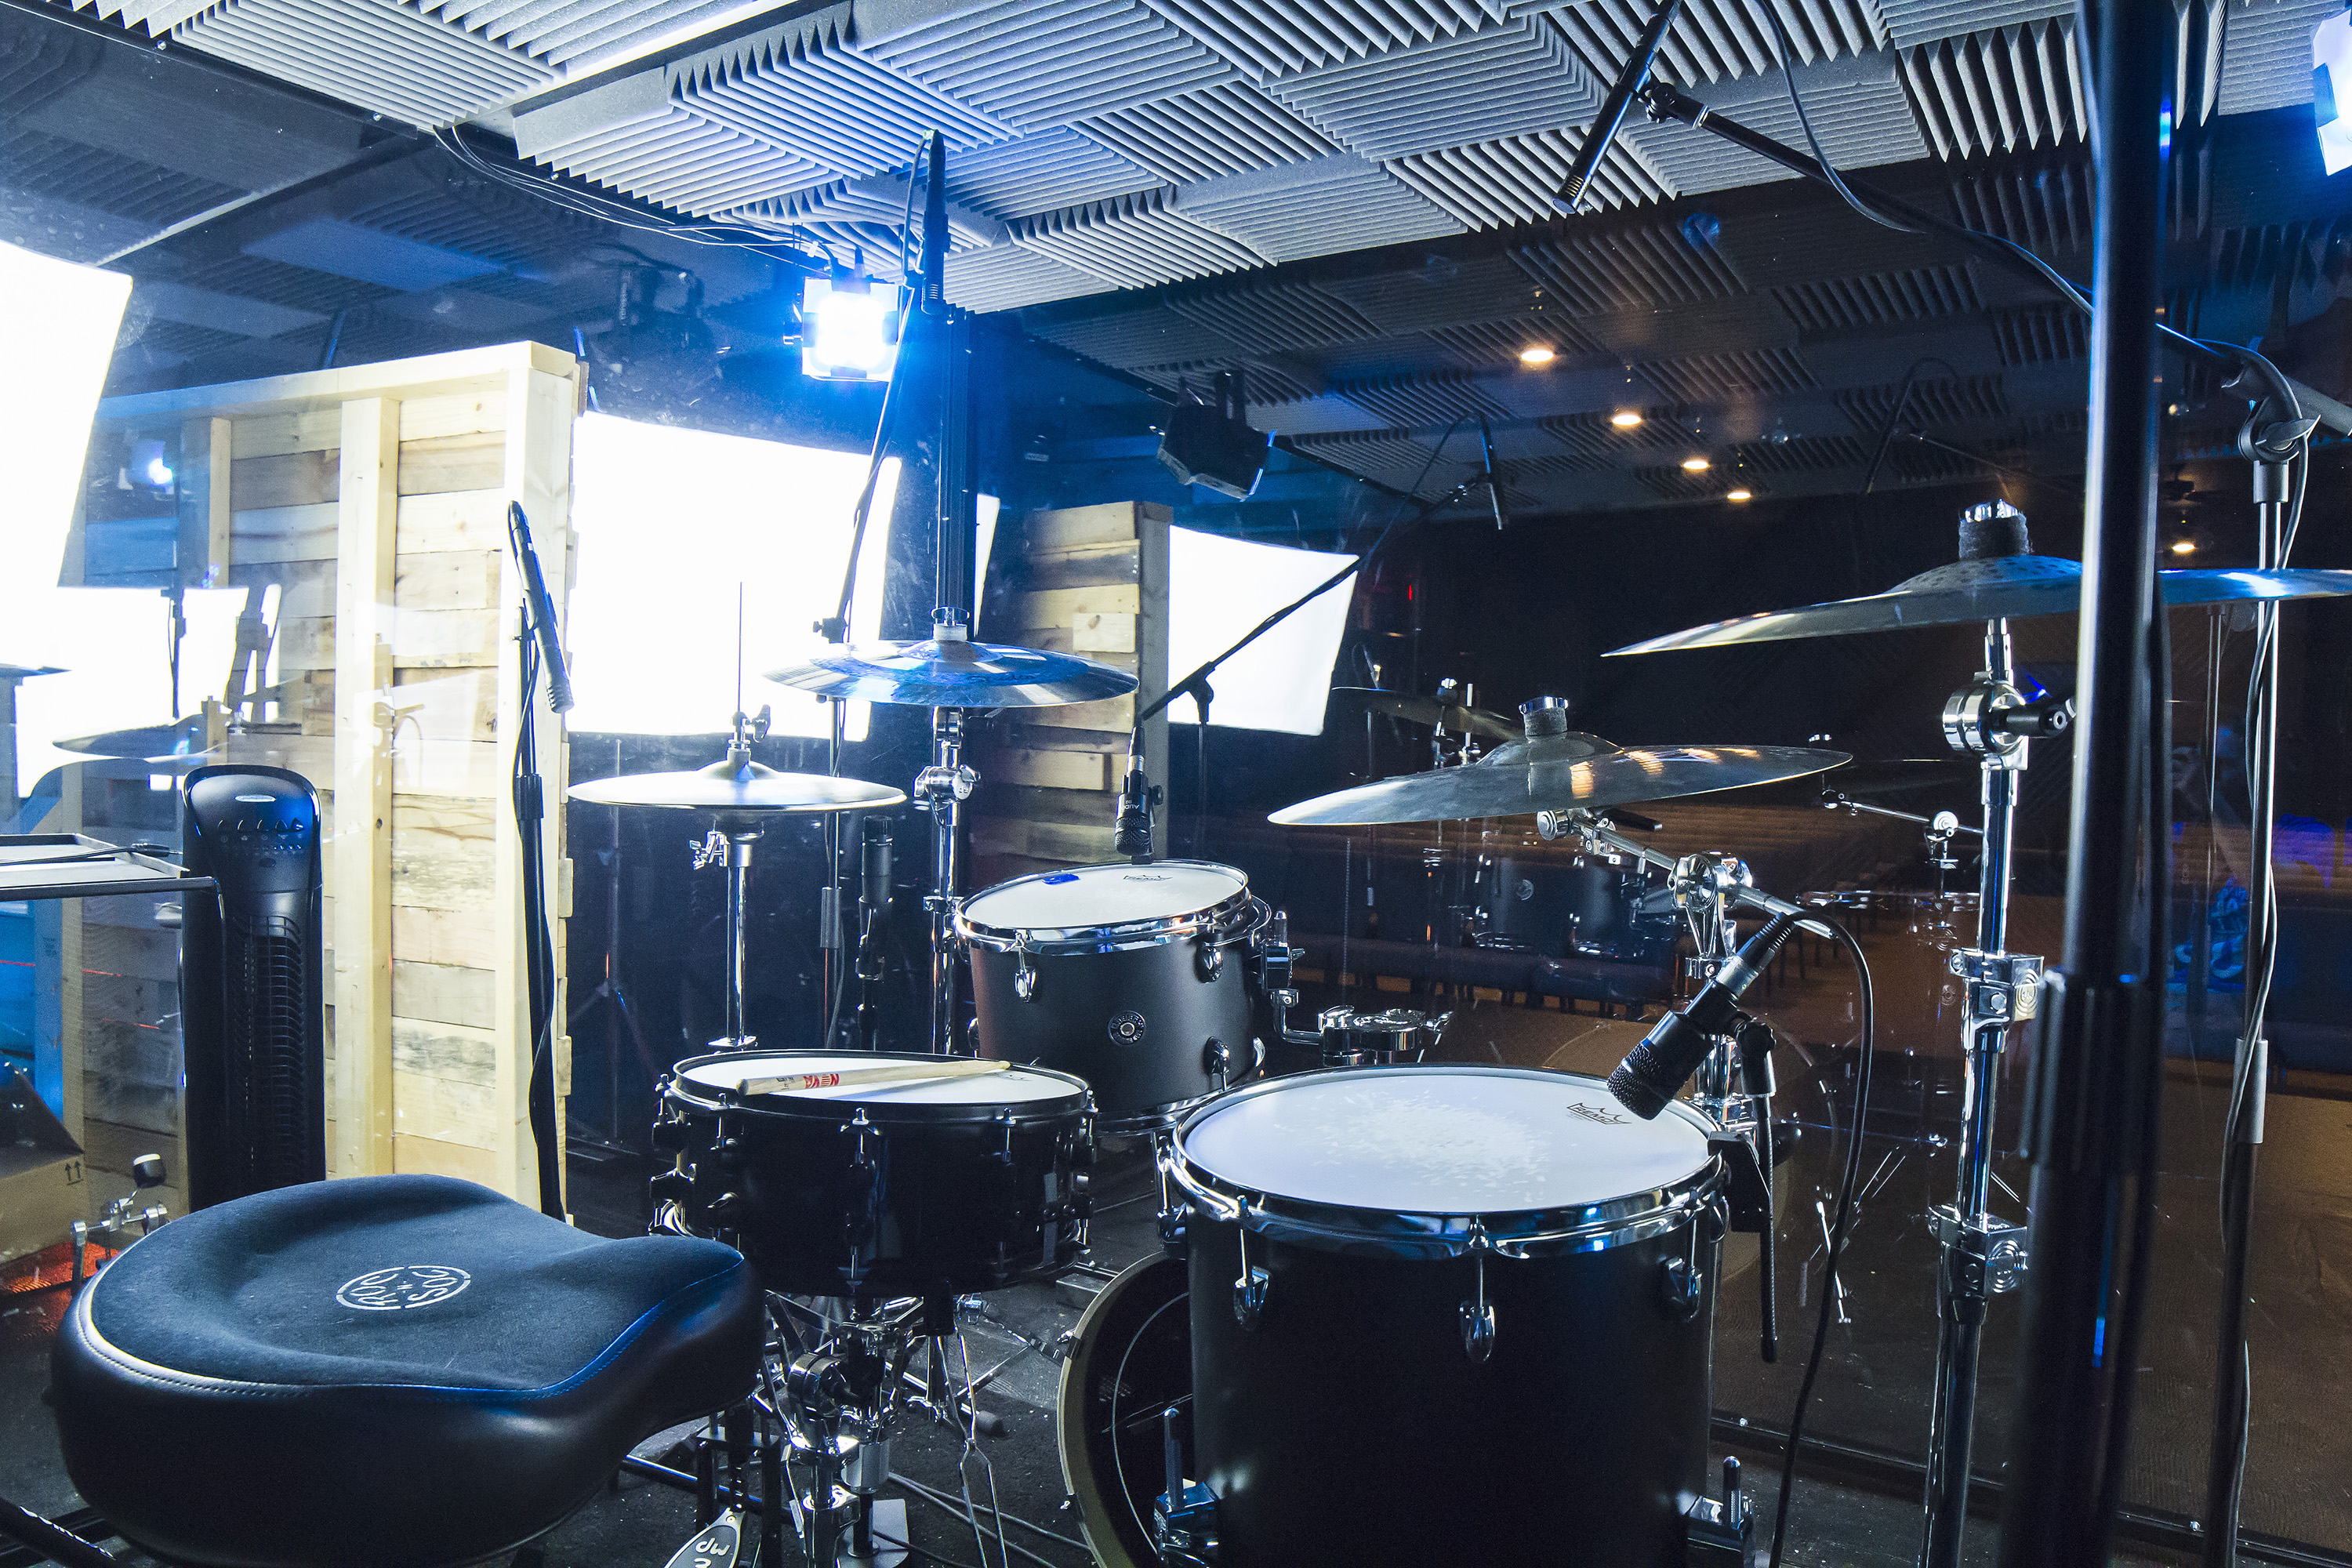
Awesome set design. Do you know what type of Gretsch kit that is?
It’s the Catalina Club.
https://www.sweetwater.com/store/detail/CT1-J484-PB
Thanks, I’m buying a kit for our church and having being looking at the Gretsch kits.
I am wanting to do this for my church stage and was wondering how you would recommend making these portable. I was thinking about putting feet on the ends using extra 2×4 wood.
Patrick, I’d recommend putting some sturdy 3 or 4 inch casters on the bottom (4-6 per wall, as they’ll be bearing a lot of weight). You would also want to add some sort of counter weight, as they will be top/front heavy when rolling, and you don’t want them to tip over.
If you want to keep chatting, feel free to send me an e-mail at chess[dot]hoyle[at]foresthill.org
Loved it, if u can share a design on building a church stage, it will be much appreciated